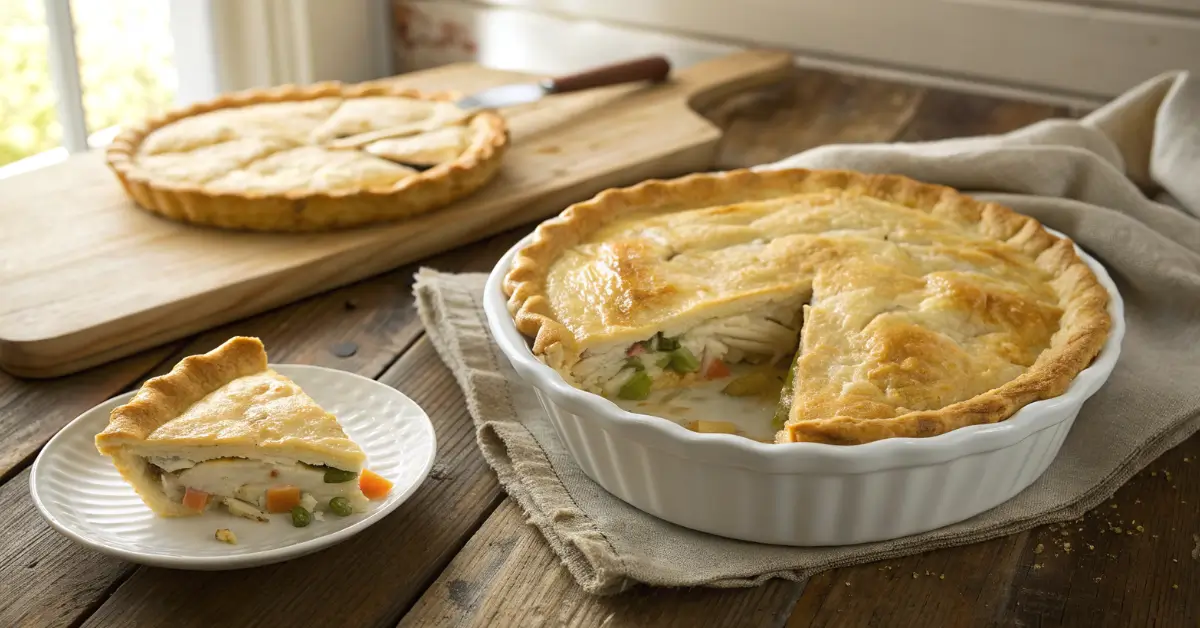
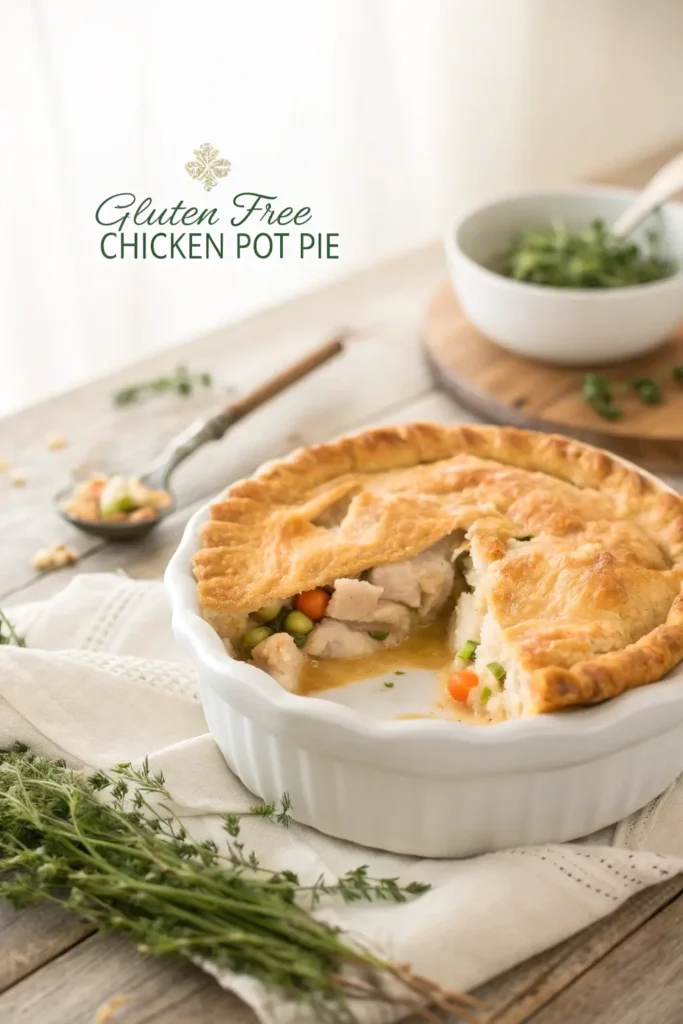
Gluten Free Chicken Pot Pie – Easy Homemade Recipe
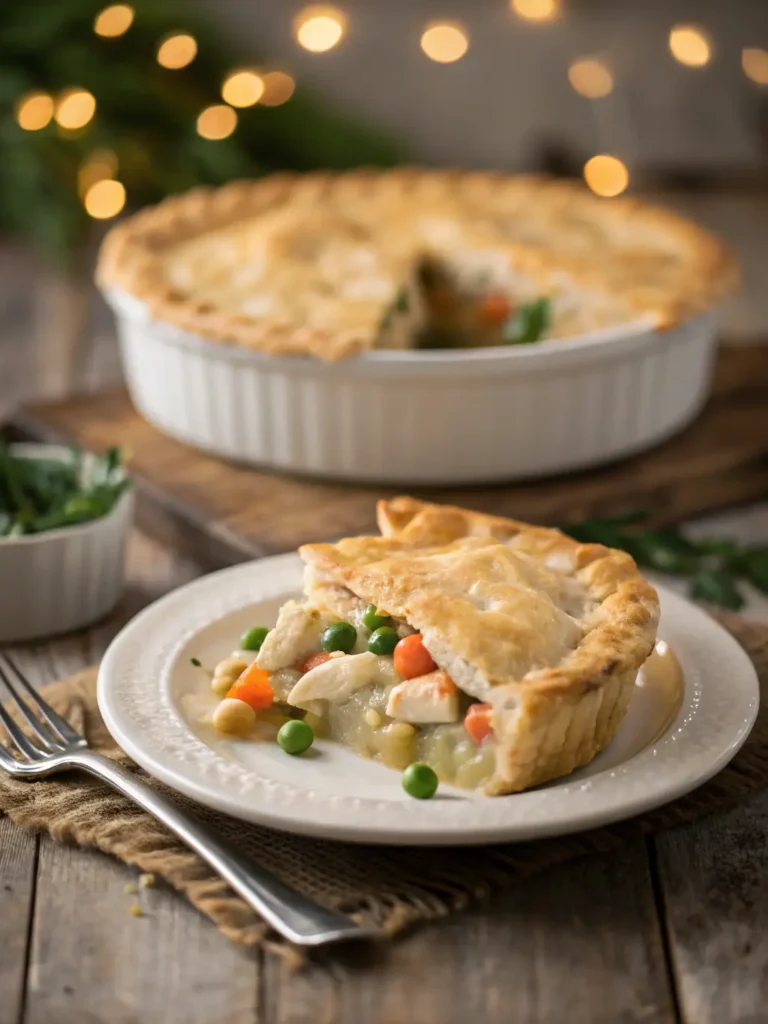
If you are looking for the best gluten free chicken pot pie, you just found it. This recipe gives you a flaky crust, a rich creamy filling, and a result that tastes just like the classic — nobody will even know it is gluten free.
I have tested this gluten free chicken pot pie recipe many times, and I can tell you exactly what works and what does not. Whether you are new to gluten free cooking or you have been doing it for years, this recipe is simple, reliable, and absolutely delicious.
Table of Contents
What Makes This Gluten Free Chicken Pot Pie Different
Most recipes for gluten free chicken pot pie end up with a soggy bottom crust or a filling that is too runny. This one solves both problems with a few key techniques that I will walk you through step by step.
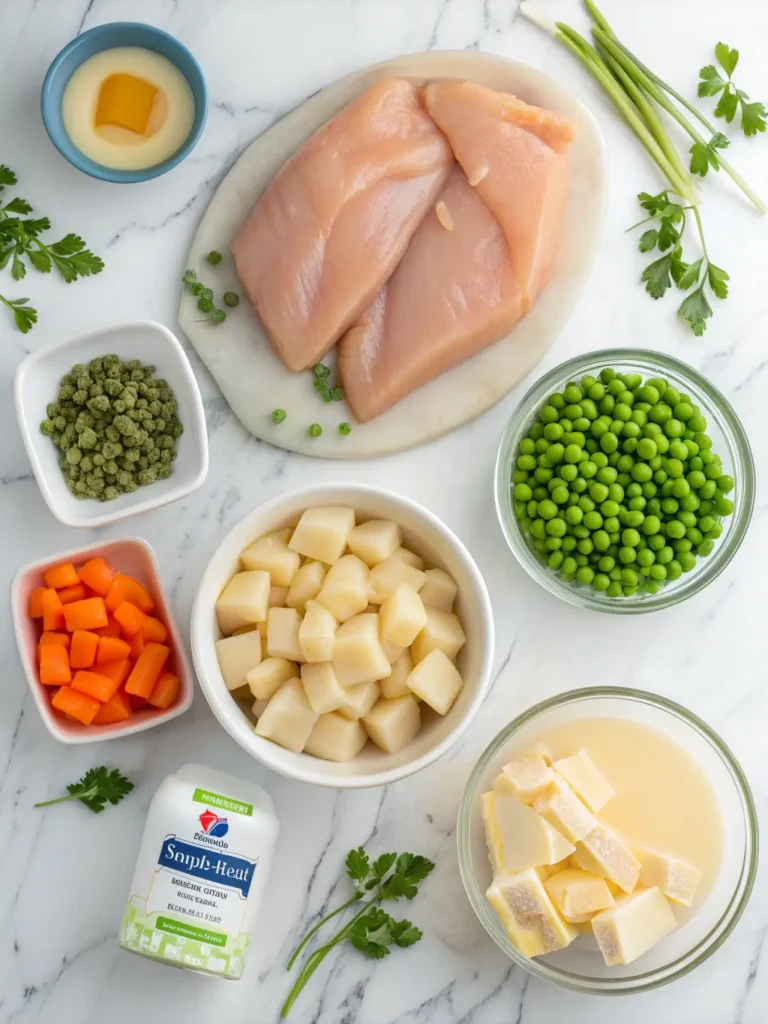
Ingredients for Gluten Free Chicken Pot Pie
Serves 6 | Prep Time: 20 minutes | Bake Time: 45 minutes
Gluten Free Pie Crust:
- 2 cups gluten free all purpose flour (Better Batter or Pillsbury GF recommended)
- 1 tsp xanthan gum (skip if your blend already includes it)
- ½ tsp salt
- ¾ cup cold butter, cubed (use Smart Balance for dairy free)
- 4 to 6 tbsp ice cold water
Filling:
- 2 cups cooked chicken, shredded or cubed (rotisserie chicken works perfectly)
- 1 cup diced potato
- 1½ cups frozen mixed vegetables (peas, carrots, corn, green beans)
- 3 tbsp butter
- 3 tbsp gluten free all purpose flour
- 1½ cups gluten free chicken broth
- ½ cup milk (use unsweetened almond milk for dairy free)
- ½ tsp salt
- ¼ tsp black pepper
- ½ tsp dried thyme
- ½ tsp onion powder
Egg Wash:
- 1 egg + 1 tbsp water
How To Make Gluten Free Chicken Pot Pie Step By Step
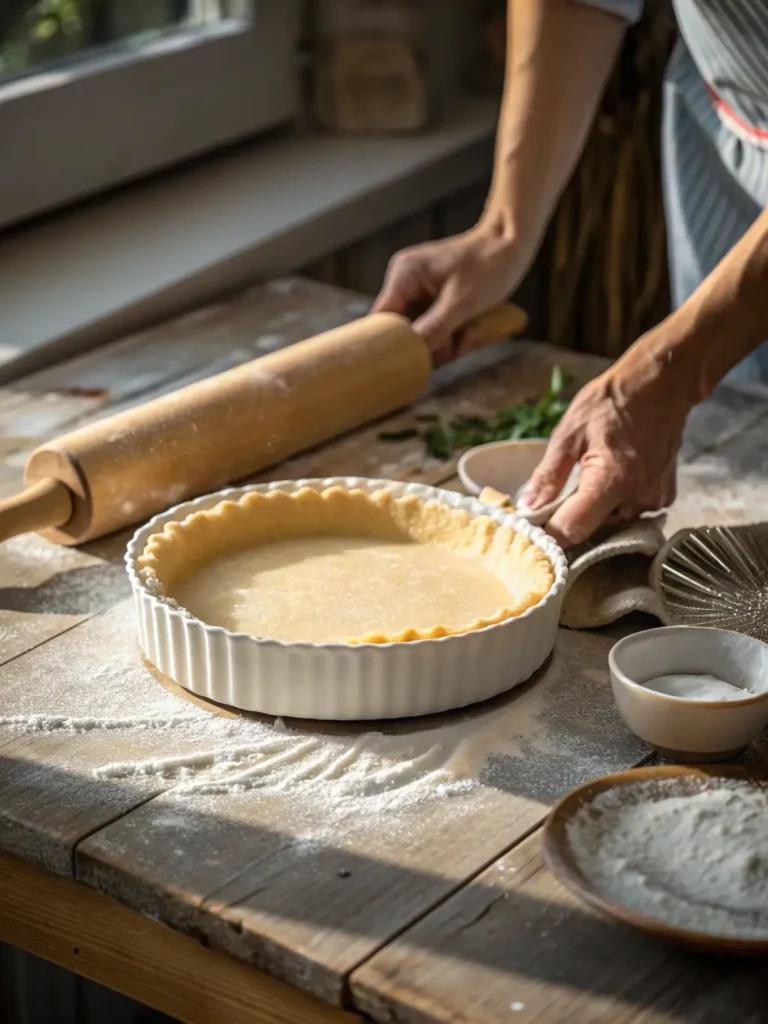
Step 1: Prepare the Gluten Free Crust
Mix flour, xanthan gum, and salt together. Cut in cold butter until the mixture looks like coarse crumbs. Add ice water one tablespoon at a time until the dough just comes together. Divide into two balls, wrap in plastic, and refrigerate for 30 minutes.
Pro tip: Keep everything cold. Cold butter is what creates those flaky layers in your gluten free chicken pot pie crust.
Step 2: Make the Creamy Filling
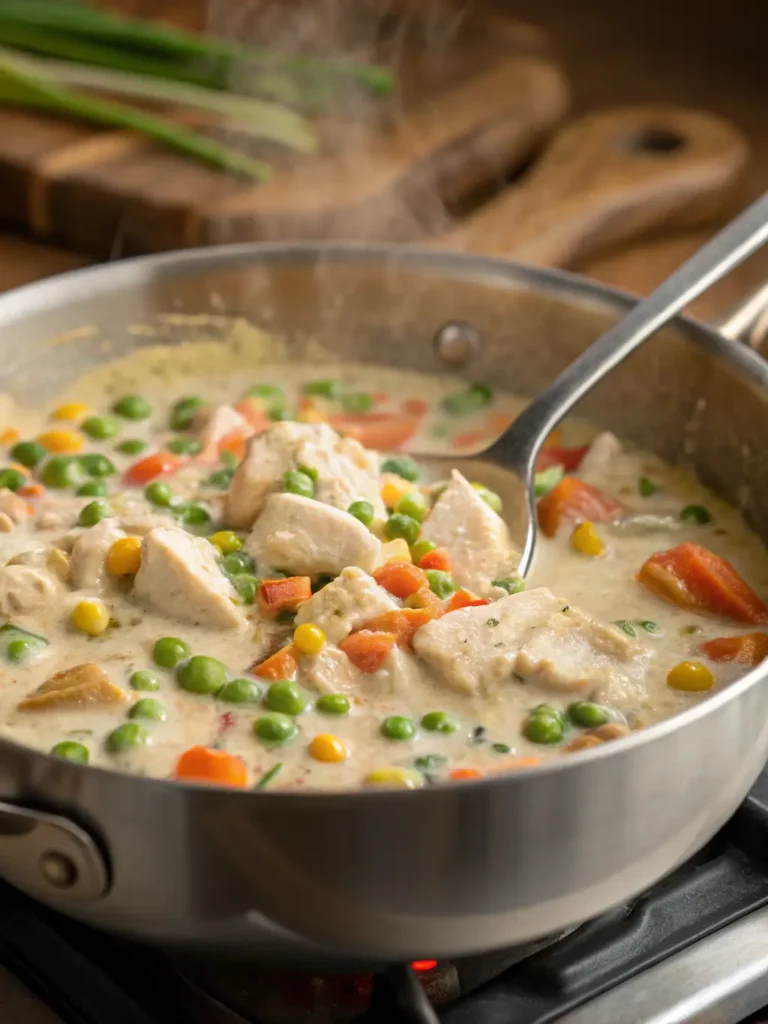
Melt butter in a large saucepan over medium heat. Whisk in gluten free flour and cook for 1 minute. Slowly pour in chicken broth and milk, whisking constantly until the sauce is smooth and thick, about 4 to 5 minutes.
Add chicken, potato, vegetables, salt, pepper, thyme, and onion powder. Stir everything together and simmer for 5 minutes.
Important: Pour the filling into the crust while it is still hot. Do not let it cool down first.
Step 3: Assemble Your Gluten Free Chicken Pot Pie
Preheat your oven to 400°F (200°C). Put a baking sheet inside the oven to preheat at the same time.
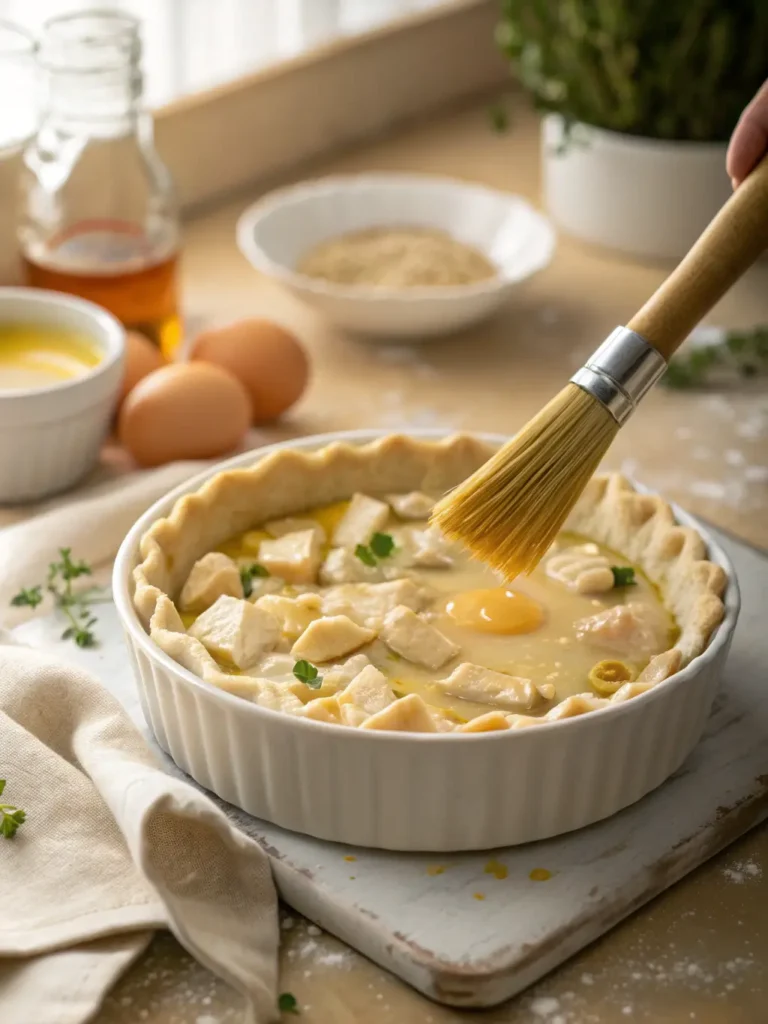
Roll out the first dough ball and press it into a 9 inch pie dish. Pour in the hot filling. Roll out the second dough ball and lay it over the top. Crimp the edges together and cut 4 to 5 small slits on top for steam to escape.
Brush the entire top crust with egg wash.
Step 4: Bake Until Golden
Place your gluten free chicken pot pie on the lowest rack of the oven, directly on top of the hot baking sheet. Bake for 45 to 50 minutes until the crust is deep golden brown.
Let it rest for 10 minutes before slicing and serving.
Tips For The Best Gluten Free Chicken Pot Pie
Use the right flour blend. Better Batter and Pillsbury gluten free flour give the best results for a flaky, buttery crust. Not all gluten free flours behave the same way.
Never skip the egg wash. The egg wash is what gives your gluten free chicken pot pie that beautiful golden color. Without it, the crust will look pale and flat.
Preheat your baking sheet. Placing your pie onto a hot baking sheet the moment it goes in the oven creates immediate heat from below and prevents a soggy bottom crust.
Thicken the filling if needed. If your filling looks too thin, whisk 2 tablespoons of cornstarch into ¼ cup of cold water and stir it into the filling before you pour it into the crust.
Let it rest before cutting. Give your gluten free chicken pot pie at least 10 minutes to rest after baking. This allows the filling to set so it does not run when you slice it.
Can You Make Gluten Free Chicken Pot Pie Ahead Of Time
Yes, and it actually tastes even better the next day. Here are your options:
Filling only: Make it up to 2 days ahead and store covered in the refrigerator.
Crust only: Make it up to 3 days ahead or freeze it for up to 1 month.
Full gluten free chicken pot pie unbaked: Freeze for up to 3 months. Bake straight from frozen and add 20 extra minutes to the baking time.
Full gluten free chicken pot pie baked: Let it cool completely, wrap tightly in plastic wrap then aluminum foil, and freeze for up to 3 months.
Storage and Reheating
| Method | How Long |
|---|---|
| Refrigerator covered | Up to 3 days |
| Freezer wrapped tight | Up to 3 months |
| Reheat in oven at 350°F | 15 to 20 minutes |
| Reheat in microwave | 2 to 3 minutes |
Freezer tip: Always use aluminum foil pie pans when freezing. Wrap first in plastic wrap, then in foil. Write the date on the outside.
Serving Suggestions
This gluten free chicken pot pie is a complete and hearty meal on its own. If you want to round out your table, a simple green salad or roasted vegetables pair beautifully with it.
It is also one of the best ways to use up leftover rotisserie chicken or even leftover turkey after Thanksgiving.
Frequently Asked Questions About Gluten Free Chicken Pot Pie
Can I use store bought gluten free pie crust? Yes. Brands like Wholly Wholesome make a decent gluten free crust. Homemade will always give you better texture and flavor though.
What is the best chicken to use? Rotisserie chicken is the easiest and most flavorful option. Leftover roasted or poached chicken also works well. Just make sure any pre-seasoned chicken is certified gluten free.
Can this gluten free chicken pot pie also be dairy free? Absolutely. Use Smart Balance instead of butter and unsweetened almond milk or coconut milk instead of regular milk.
Can I use fresh vegetables instead of frozen? Yes. Dice them small and sauté them for 3 to 4 minutes before adding them to the filling.
Why is my gluten free pie crust falling apart? This usually means the dough is too dry or your flour blend does not have enough xanthan gum. Add ice water one teaspoon at a time until the dough holds together without crumbling.
Final Thoughts
This gluten free chicken pot pie is proof that eating gluten free does not mean giving up the comfort foods you love. With the right ingredients and a few simple techniques, you get a pot pie that is flaky, creamy, and completely satisfying.
Make it once and it will earn a permanent spot in your weekly dinner rotation. 🥧
Always check all ingredient labels to confirm they are certified gluten free, especially your chicken broth and flour blends.

Gluten Free Chicken Pot Pie
Ingredients
Equipment
Notes
up to 2 days ahead and store covered in the refrigerator. ✅ Freezer Instructions: Wrap the unbaked or baked pie tightly
in plastic wrap then aluminum foil. Freeze for up to 3 months.
Bake from frozen and add 20 extra minutes to baking time. ✅ Dairy Free Option: Use Smart Balance instead of butter
and unsweetened almond milk instead of regular milk. ✅ Thicker Filling Tip: If filling looks too thin, whisk
2 tablespoons of cornstarch into ¼ cup cold water and
stir into the filling before pouring into the crust. ✅ Always check all ingredient labels to confirm
they are certified gluten free.
| Pin to Pinterest | Share on Facebook
Follow us On : Facebook and Pinterest