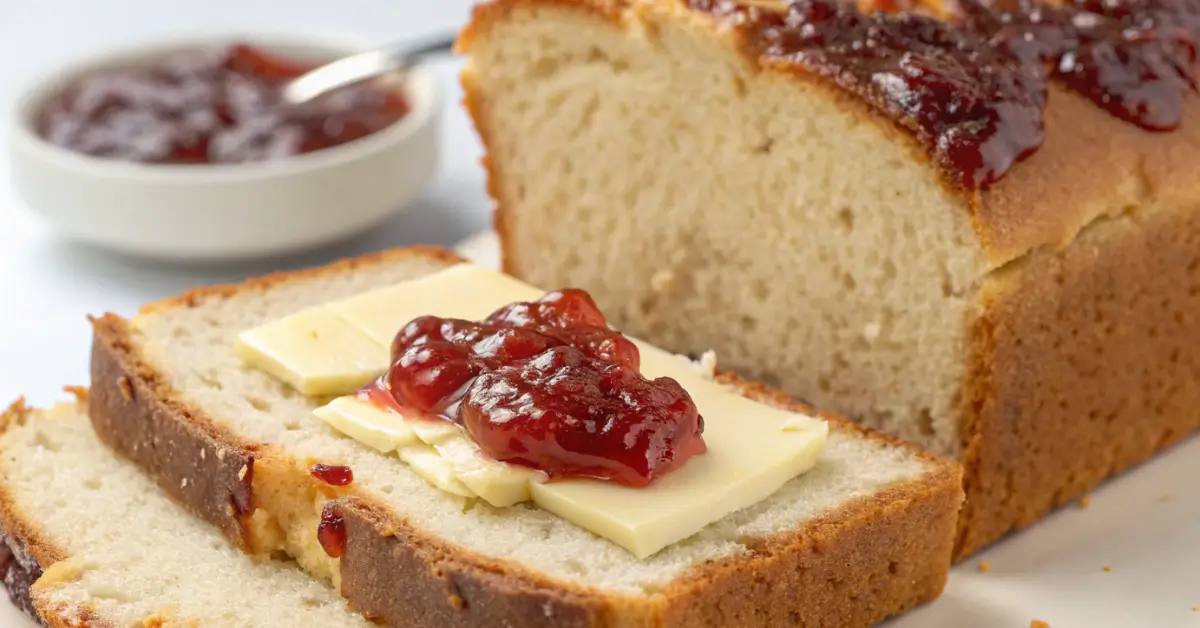
Perfect Gluten Free Bread Recipe – Soft, Fluffy & Easy to Make!
Finally, a gluten free bread recipe that doesn’t taste like cardboard! This foolproof gluten free bread recipe creates perfectly soft, airy bread with a golden crust that rivals any wheat-based loaf.
Table of Contents
Recipe Details:
- Prep Time: 15 minutes
- Rise Time: 1 hour 30 minutes
- Bake Time: 45 minutes
- Total Time: 2 hours 30 minutes
- Servings: 1 large loaf (12-14 slices)
- Difficulty: Beginner-friendly
Why This Gluten Free Bread Recipe Works
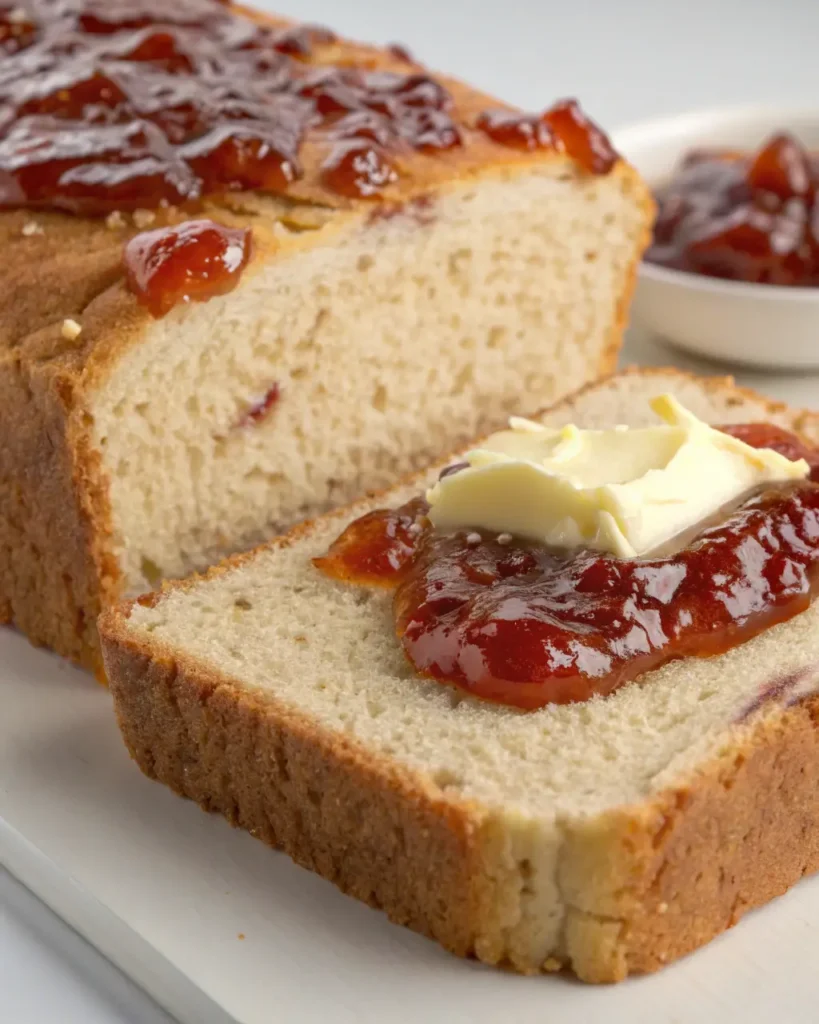
After years of dense, crumbly gluten free bread disasters, I’ve perfected this gluten free bread recipe. The secret lies in three key elements: the right flour blend ratio, proper hydration, and a foolproof rising technique that creates the light, airy texture you’ve been craving.
This homemade gluten free bread recipe produces results that far exceed store-bought alternatives. Unlike commercial gluten free bread that often tastes artificial and falls apart, this gluten free bread recipe has a tender crumb, stays fresh for days, and actually toasts beautifully. Plus, it’s made with simple, wholesome ingredients you probably already have in your pantry.
Ingredients for Perfect Gluten Free Bread
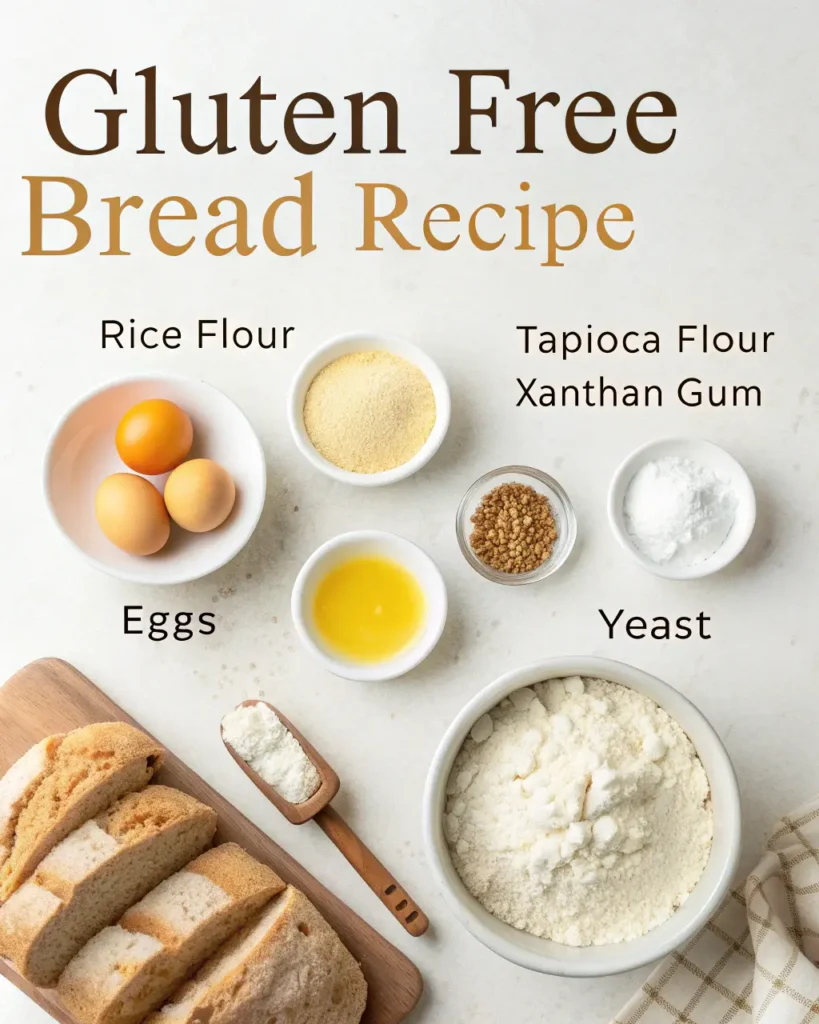
This gluten free bread recipe uses a carefully balanced blend of flours and binding agents to create the perfect texture. Each ingredient in this gluten free bread recipe serves a specific purpose:
For the Flour Blend:
- 2 cups brown rice flour – provides structure and nutty flavor
- 1 cup white rice flour – adds lightness and helps with rise
- ½ cup potato starch – creates softness and moisture retention
- ½ cup tapioca flour – gives elasticity and chewiness
- 2 teaspoons xanthan gum – replaces gluten’s binding properties
For the Bread:
- 1 packet (2¼ tsp) active dry yeast
- 1 tablespoon sugar – feeds the yeast
- 1¼ cups warm water (110°F)
- 3 large eggs – adds structure and richness
- ¼ cup olive oil – keeps bread moist
- 2 tablespoons honey – enhances flavor and browning
- 1½ teaspoons salt – balances flavors
- 2 teaspoons apple cider vinegar – improves texture and rise
Optional Add-ins:
- 2 tablespoons psyllium husk powder – for extra binding (highly recommended)
- 1 tablespoon sesame seeds or poppy seeds – for topping
Step-by-Step Instructions
Step 1: Prepare Your Flour Blend
In a large bowl, whisk together brown rice flour, white rice flour, potato starch, tapioca flour, and xanthan gum until completely combined. This blend can be made ahead and stored in an airtight container for up to 3 months.
Step 2: Activate the Yeast
In a small bowl, combine warm water, sugar, and yeast. Stir gently and let sit for 5-10 minutes until foamy and bubbly. If it doesn’t foam, your yeast is dead – start over with fresh yeast.
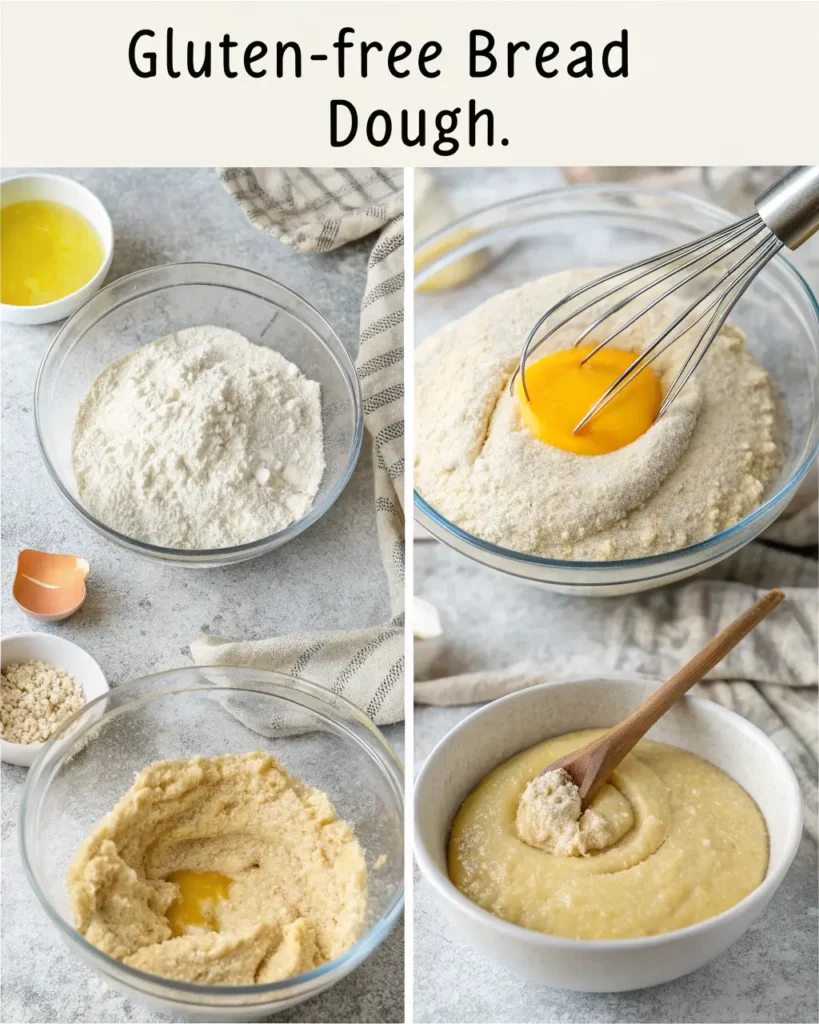
Step 3: Mix the Wet Ingredients
In a separate bowl, whisk together eggs, olive oil, honey, salt, and apple cider vinegar until smooth and well combined.
Step 4: Combine Everything
Add the activated yeast mixture to the wet ingredients, then gradually mix in the flour blend. The dough will be much wetter than traditional bread dough – this is normal and necessary for gluten free bread.
Step 5: Beat and Rest
Using a stand mixer with paddle attachment (or vigorous hand mixing), beat the dough for 3-4 minutes until smooth and slightly stretchy. Cover and let rest for 10 minutes – this allows the flours to fully hydrate.
Step 6: Shape and First Rise
Grease a 9×5 inch loaf pan thoroughly. Transfer the dough to the pan and smooth the top with wet hands. Cover with a damp towel and place in a warm, draft-free area for 60-90 minutes until doubled in size.
Step 7: Bake to Perfection
Preheat oven to 375°F. Optional: brush the top with beaten egg and sprinkle with seeds. Bake for 45-50 minutes until golden brown and internal temperature reaches 200°F.
Step 8: Cool Properly
Let the bread cool in the pan for 10 minutes, then turn out onto a wire rack. Cool completely before slicing – this prevents crumbling and ensures the best texture.
Pro Tips for Gluten Free Bread Success
These expert tips will ensure your gluten free bread recipe turns out perfectly every time:
Temperature matters: Use a thermometer to ensure your water is exactly 110°F. Too hot kills yeast, too cold prevents activation in any gluten free bread recipe.
Don’t over-flour: This gluten free bread recipe produces dough that should be sticky and wet. Resist the urge to add more flour if it seems too loose.
Create a warm environment: Place the rising dough on top of your refrigerator or in an oven with just the light on for optimal rising conditions when following this gluten free bread recipe.
Invest in a kitchen scale: For the most consistent results, weigh your ingredients. 1 cup brown rice flour = 140g.
Be patient with cooling: I know it’s tempting, but warm gluten free bread will be gummy. Wait at least 2 hours for the best slice.
Storage and Freezing Instructions
Short-term storage: Keep bread in an airtight container at room temperature for up to 4 days. For longer freshness, store in the refrigerator for up to 1 week.
Freezing: Slice the cooled bread and freeze individual slices in freezer bags for up to 3 months. Toast directly from frozen.
Refreshing day-old bread: Lightly toast slices or warm whole loaf in a 300°F oven for 5-10 minutes wrapped in foil.
Substitutions and Variations
Flour Substitutions:
- No brown rice flour? Use additional white rice flour, though texture will be slightly less nutty
- Missing potato starch? Substitute with cornstarch in equal amounts
- No xanthan gum? Use guar gum in equal amounts, or psyllium husk powder (use 1½ teaspoons)
Flavor Variations:
- Herb bread: Add 2 tablespoons dried herbs (rosemary, thyme, or Italian seasoning)
- Seeded bread: Mix in 2 tablespoons each of sunflower seeds and pumpkin seeds
- Sweet bread: Increase honey to ¼ cup and add 1 teaspoon vanilla extract
Dietary Modifications:
- Dairy-free: Recipe is already dairy-free
- Egg-free: Replace eggs with 3 flax eggs (3 tbsp ground flaxseed + 9 tbsp water, let sit 15 minutes)
- Sugar-free: Use stevia equivalent to 1 tablespoon sugar
Troubleshooting Common Issues
Dense, heavy bread: Usually caused by old yeast, incorrect water temperature, or not enough rising time. Always check yeast expiration dates and create a warm rising environment.
Crumbly texture: Often from too much flour or not enough binding agents. Ensure you’re measuring accurately and consider adding psyllium husk powder.
Sunken center: This happens when the bread rises too quickly or the oven temperature is too low. Use an oven thermometer to verify temperature accuracy.
Gummy interior: Result of slicing too soon while still warm. Always cool completely before cutting.
Frequently Asked Questions
Can I make this bread without a stand mixer? Absolutely! Mix by hand with a wooden spoon, though it will take more elbow grease. The dough won’t be quite as smooth, but it will still produce delicious bread.
Why is my gluten free bread dough so wet? This is completely normal. Gluten free flours absorb liquid differently than wheat flour, and the extra moisture is essential for creating a soft, non-crumbly texture.
Can I double this recipe? Yes, but I recommend making two separate loaves rather than one giant loaf for even baking. The recipe scales perfectly.
How do I know when it’s fully baked? The bread should be golden brown on top and sound hollow when tapped on the bottom. An instant-read thermometer should read 200°F when inserted into the center.
Can I add nuts or dried fruit? Definitely! Add up to ½ cup of mix-ins like chopped walnuts, raisins, or dried cranberries during the final mixing stage.
The Science Behind Great Gluten Free Bread
Understanding why this recipe works helps you become a better gluten free baker. Traditional bread relies on gluten proteins to create structure and trap gas bubbles from yeast. In gluten free baking, we recreate this with:
Xanthan gum acts as a binding agent, mimicking gluten’s elasticity. Eggs provide protein structure and help trap air. The flour blend combines different starches and proteins to replicate wheat flour’s properties. Extra moisture compensates for gluten free flours’ higher absorption rates.
Proper rising time is crucial because gluten free doughs need longer to develop flavor and structure. The acid from vinegar helps tenderize the crumb and improves rise.
Make-Ahead Tips
Prepare the flour blend: Mix large batches and store in airtight containers. Label with the date and contents.
Overnight method: After the first mix, cover and refrigerate the dough overnight. Bring to room temperature and proceed with rising the next day.
Freeze the dough: Shape the dough in the pan, wrap tightly, and freeze for up to 1 month. Thaw in refrigerator overnight, then let rise and bake as directed.
Conclusion
This gluten free bread recipe proves that giving up gluten doesn’t mean sacrificing flavor or texture. With the right technique and ingredients, you can enjoy fresh, homemade bread that’s every bit as satisfying as traditional wheat bread.
The key is understanding that gluten free baking is different, not difficult. Once you master this basic recipe, you’ll have the confidence to experiment with flavors and create the perfect loaf for your family.
Whether you’re newly gluten-free or a seasoned baker looking for improvement, this recipe delivers consistent, delicious results every single time. Your kitchen will smell amazing, and your taste buds will thank you.
Have you tried this gluten free bread recipe? I’d love to hear about your results and any creative variations you’ve discovered. Happy baking!
| Pin to Pinterest | Share on Facebook
Follow us On : Facebook and Pinterest