Rice Cakes Recipe – Easy Homemade Guide (Step by Step)
If you’ve ever wondered how to make rice cakes from scratch — soft, chewy, and perfectly cooked — you’re in the right place. This guide covers everything you need to know, from the basic recipe to creative ways to serve them. Whether you’re a first-time cook or someone who’s made them before, you’ll find something useful here.
What Are Rice Cakes?
Rice cakes are a simple, versatile food made from rice flour and water. They come in many shapes and textures depending on how they’re prepared — from soft and chewy Korean tteok to crispy pan-fried rounds.
The most popular type searched online is the Korean-style rice cake, used in dishes like tteokbokki (spicy rice cakes) and tteokguk (rice cake soup). That’s what this guide focuses on, with extra tips for other styles too.
Why Make Rice Cakes at Home?
- Fresher taste and texture — homemade rice cakes are chewier and softer than store-bought
- No additives — you control exactly what goes in
- Cheaper — especially if you don’t live near a Korean or Asian grocery store
- Customizable — adjust size and thickness depending on what you’re cooking
Ingredients You’ll Need
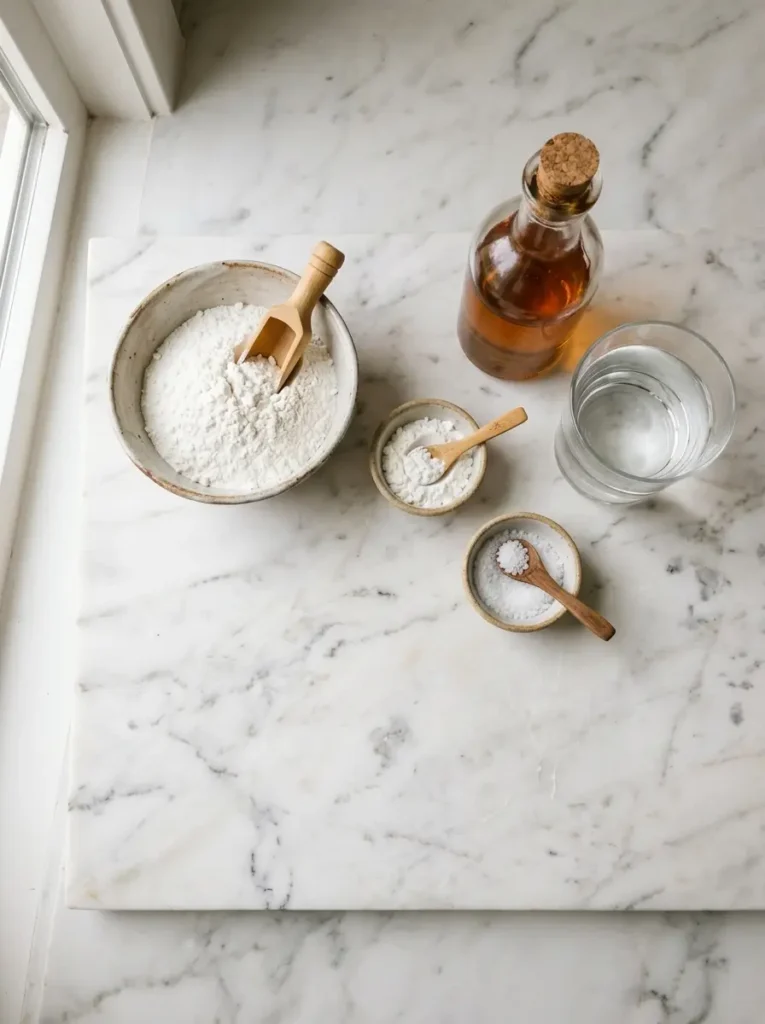
These are the core ingredients for a basic Korean-style rice cake (garaetteok):
- 2 cups rice flour — use short-grain or medium-grain (like sushi rice), wet-milled if possible
- 1 tablespoon cornstarch — for a softer, chewier texture
- 1 teaspoon fine salt
- ¾ cup boiling water (for microwave method) or ¼ cup boiling water (for steamer method)
- ½ teaspoon sesame oil — for shaping, prevents sticking
Note: If you’re using store-bought rice flour, check whether it’s wet-milled or dry-milled. Dry-milled flour absorbs more water, so you may need to adjust the amount slightly.
How to Make Rice Flour at Home (Optional but Recommended)
If you can’t find rice flour at your local store, making it at home is easier than you think.
Step 1 — Rinse and soak Rinse 2.5 cups of short-grain rice until the water runs clear. Soak in water for 12 hours or overnight.
Step 2 — Drain Drain the rice and let it sit in a strainer for about 1 hour to remove excess moisture.
Step 3 — Grind Blend the rice in a food processor until it becomes a fine powder. Work in batches for better results.
Step 4 — Sift Sift the flour 2 to 3 times to remove any unground pieces. Re-grind anything that doesn’t pass through. You should end up with about 4.5 cups of rice flour.
Tip: The finer the flour, the smoother your rice cakes will be. Don’t skip the sifting step.
How to Make Rice Cakes — Two Methods
Method 1: Microwave (Faster)
- Mix rice flour, cornstarch, salt, and ¼ cup of boiling water in a microwave-safe bowl. Stir until smooth.
- Add another ¼ cup of boiling water and mix again.
- Cover with cling wrap, leaving a small gap for steam. Microwave on high for 2 minutes.
- Remove, add the last ¼ cup of boiling water, mix, cover, and microwave for another 1 minute 30 seconds.
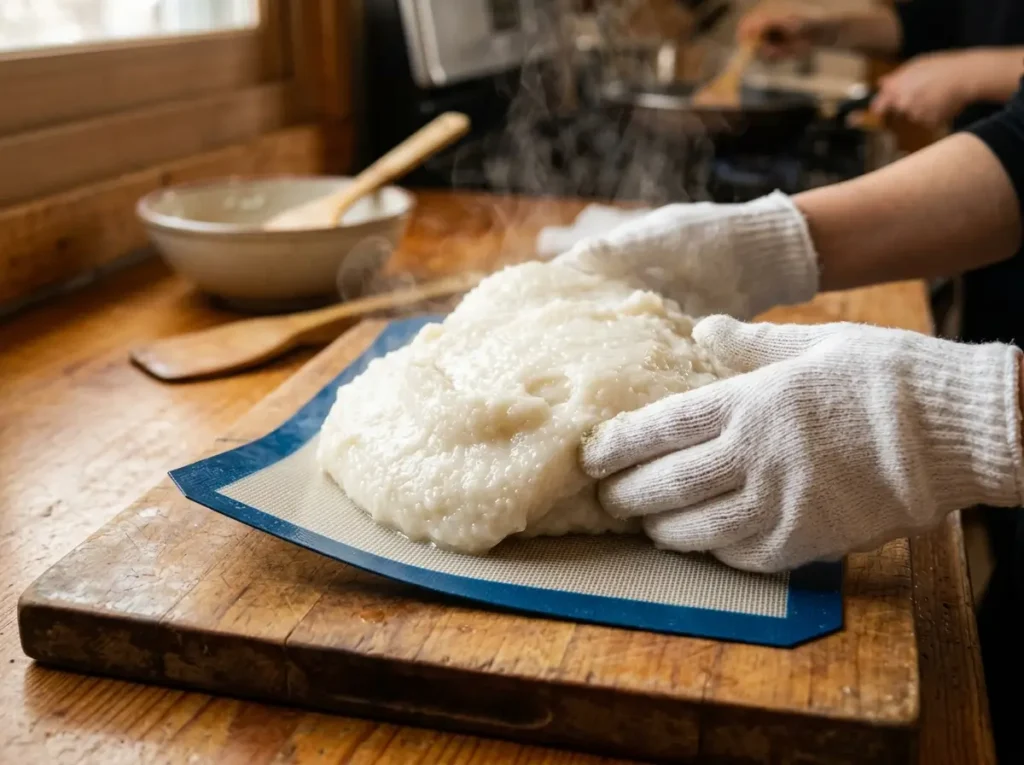
- Transfer dough to a lined surface and knead with gloves until smooth and elastic — about 5 minutes.
Important: The dough will be extremely hot. Always wear thick cotton gloves with food-safe gloves on top.
Method 2: Steamer (More Traditional)
- Mix rice flour, cornstarch, and salt. Add ¼ cup of boiling water and mix gently — the flour should look lightly moistened, not wet.
- Line your steamer with a silicone mat or baking paper with holes. Spread the mixture loosely across the liner.
- Steam over high heat for 15 minutes.
- Transfer dough to a lined board and knead with gloves until smooth and elastic — about 5 minutes.
How to Shape Rice Cakes
Once the dough is ready, shaping depends on how you plan to use them.
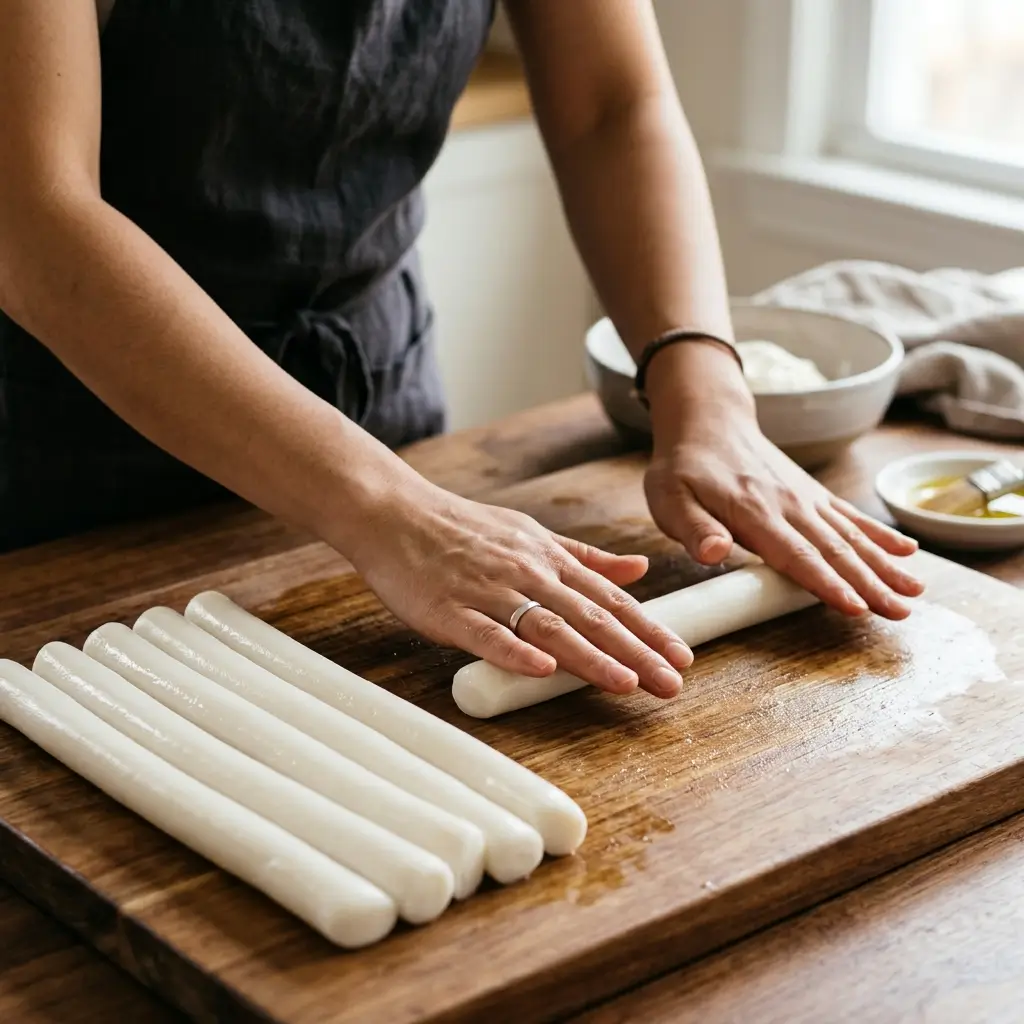
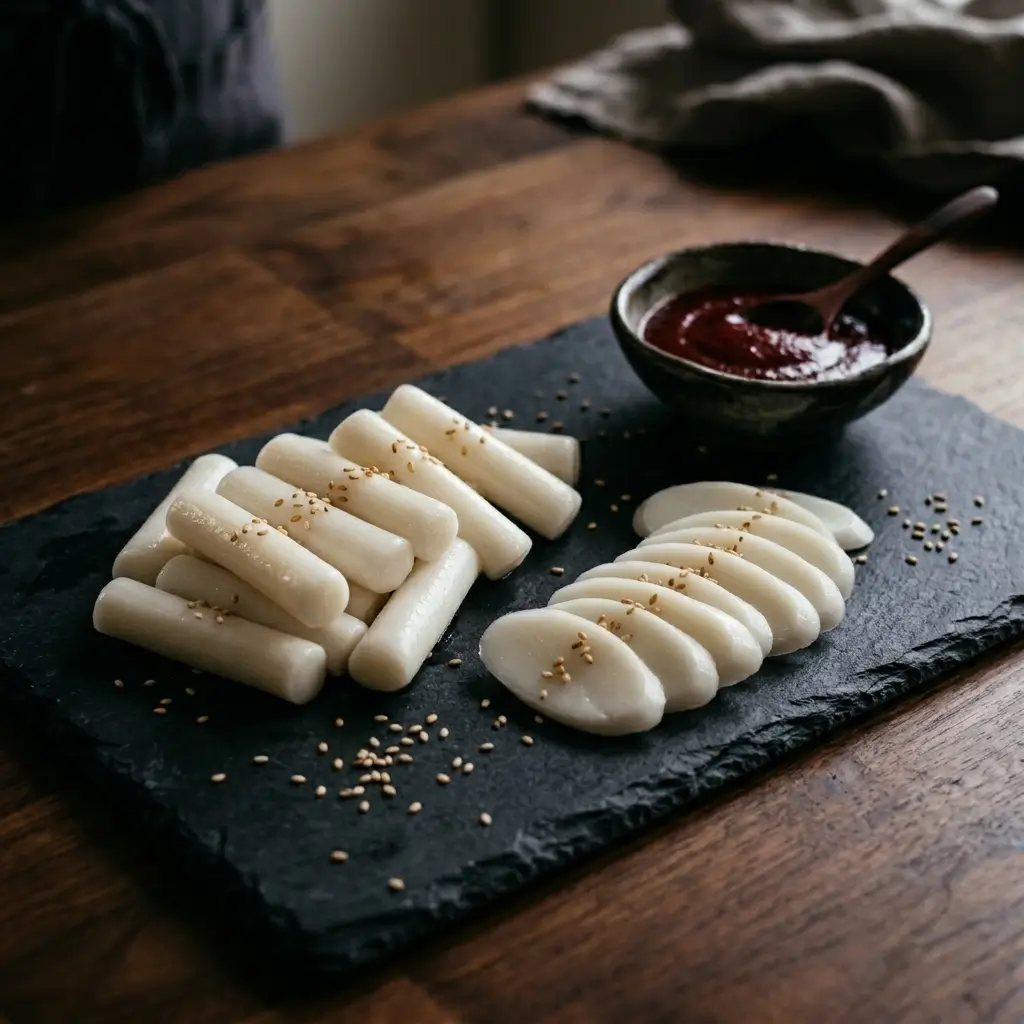
For Tteokbokki (Spicy Rice Cakes)
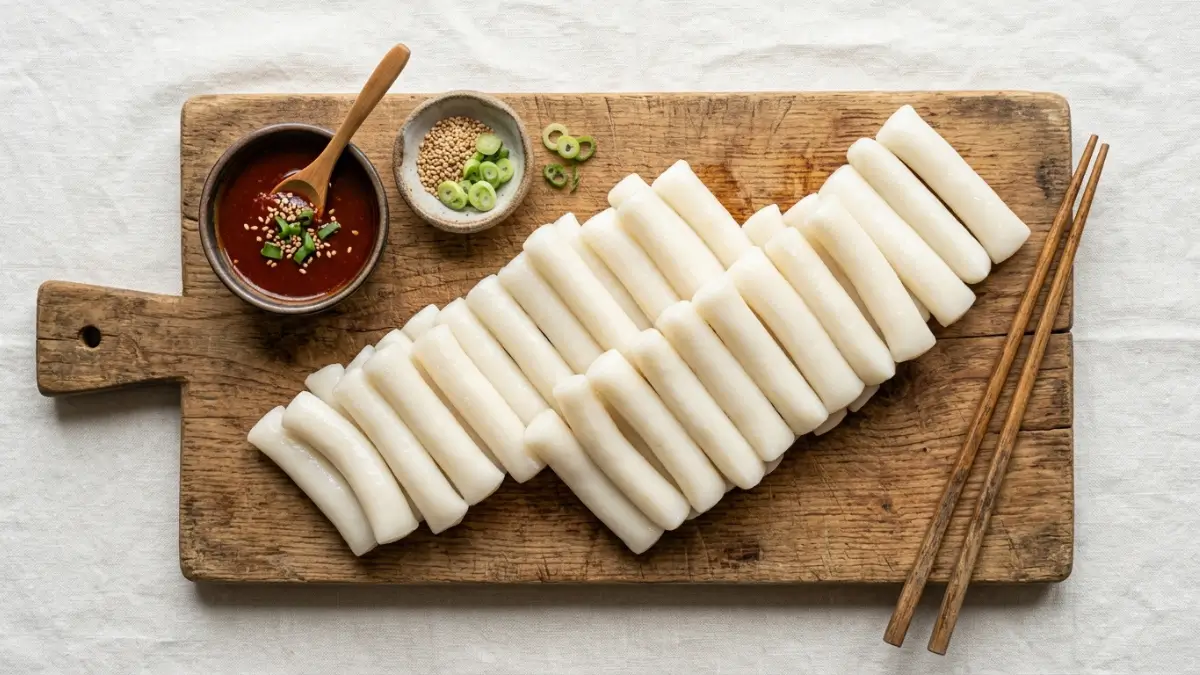
Divide the dough into 5 pieces. Rub your palms with sesame oil and roll each piece into a cylinder about 1–1.5 cm thick. Cut into 6 cm lengths — roughly the size of a finger.
For Tteokguk (Rice Cake Soup)
Divide the dough into 2 pieces. Roll each into a thicker cylinder, about 2–3 cm wide. Refrigerate for 1 hour until firm, then slice diagonally into thin oval shapes (about 0.5 cm thick).
Tips for Perfect Rice Cakes Every Time
On the flour:
- Short-grain or medium-grain rice gives the best chewy texture. Long-grain rice (like jasmine or basmati) doesn’t work well here.
- Soak rice for at least 12 hours — longer soaking means finer flour after grinding.
- In hot weather, soak in the fridge to prevent fermentation.
On the dough:
- Add extra boiling water gradually — a small spoon at a time — to avoid making the dough too wet.
- Don’t skip kneading and pounding. This step develops the texture and elasticity.
- The dough should feel smooth, slightly sticky, and bouncy when ready.
On cooking:
- In the microwave, watch carefully — overcooked dough becomes dry and difficult to work with.
- In the steamer, spread the flour loosely so it steams evenly.
How to Store Rice Cakes
Rice cakes are best eaten fresh — they’re at their softest and chewiest right after making.
If you need to store them:
- Freeze in a sealed zip-lock bag for up to 1 month
- Always slice before freezing so they’re ready to use straight from the freezer
- Do not refrigerate without freezing — they harden quickly in the fridge
What to Make With Rice Cakes
Now that you’ve made your rice cakes, here are some great ways to use them. Check the recipes on our site:
- Tteokbokki — the most popular Korean street food, cooked in a spicy gochujang sauce
- Tteokguk — a comforting rice cake soup, traditionally eaten on Korean New Year
- Gungjung Tteokbokki — a non-spicy royal court version with soy sauce and vegetables
- Rice Cake Skewers — grilled and coated in sweet or spicy sauce
- Rabokki — rice cakes cooked together with ramen noodles
Frequently Asked Questions
Can I use regular rice flour from the supermarket? Yes, but make sure it’s short or medium-grain rice flour. Dry-milled flour may need slightly more water. Avoid glutinous (sweet) rice flour — it gives a completely different texture.
Why are my rice cakes hard after cooling? This is normal. Rice cakes firm up as they cool. To soften them, briefly soak in warm water or reheat in your dish directly.
Can I make rice cakes without a steamer or microwave? The microwave method is the most accessible. If you don’t have either, a pot with a steamer basket and a lid works perfectly.
How do I know the dough is ready? It should be smooth, slightly shiny, and elastic — not sticky, not crumbly. If it tears easily, knead a little more.
Are rice cakes gluten-free? Yes. Made from rice flour, they are naturally gluten-free — just double-check your cornstarch is certified gluten-free if needed.
Final Thoughts
Making rice cakes at home is easier than most people expect. With just a few ingredients and either a microwave or steamer, you can have fresh, chewy rice cakes ready in under 30 minutes — not counting the flour-making step.
Once you’ve got the base recipe down, the possibilities are wide open. From spicy tteokbokki to comforting soup, rice cakes are one of the most satisfying things you can make from scratch.
Ready to try it? Start with the recipe above and let us know how it goes in the comments below.
Rice Cake Recipe
Ingredients
Equipment
Method
- Rinse 2.5 cups of short-grain rice until water runs clear. Soak in water for 12 hours or overnight.
- Drain and let sit in a strainer for 1 hour to remove excess moisture.
- Grind in a food processor until a fine powder forms. Work in batches.
- Sift the flour 2–3 times. Re-grind any unground pieces. You should get about 4.5 cups.
Notes
- Best eaten fresh on the day of making.
- Freeze in a sealed bag for up to 1 month. Slice before freezing.
- Do not refrigerate — rice cakes harden quickly.
- If dough feels too dry, add boiling water gradually — 1 small spoon at a time.
- Nutrition info is an estimate based on an online calculator.