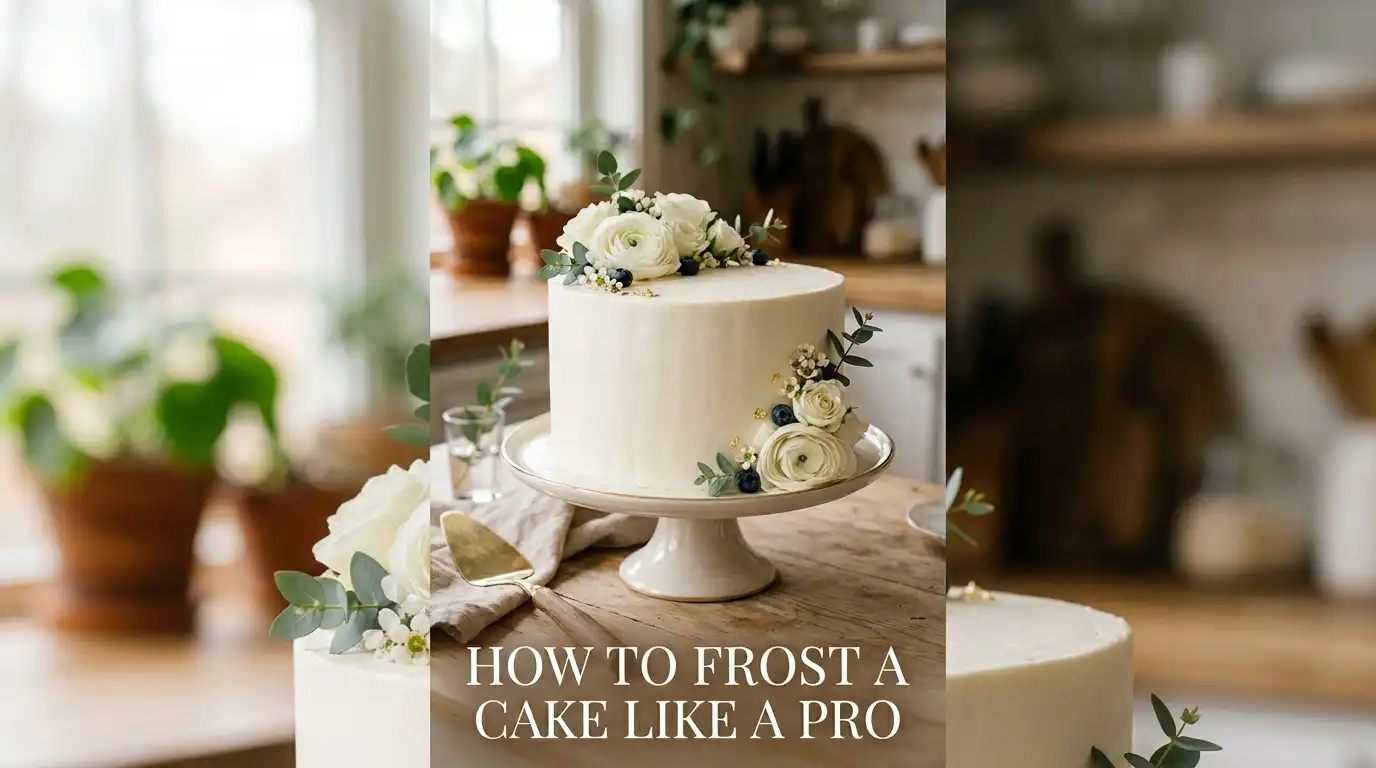
How to Frost a Cake Like a Pro – Step-by-Step Guide
Learning how to frost a cake properly can completely transform the way your homemade cakes look and taste. Many home bakers struggle with lumpy frosting, uneven layers, or frosting that slides off. In this complete guide, you’ll learn exactly how to frost a cake smoothly and professionally, even if you’re a complete beginner.
Whether you’re preparing a simple birthday cake or a special Father’s Day cake, mastering the technique of frosting will make your cakes look much more impressive.
Why Learning How to Frost a Cake Matters
Knowing how to frost a cake correctly does more than just make it look beautiful. Proper frosting helps seal in moisture, keeps the cake fresher for longer, and gives it a polished, bakery-style finish. Many people skip learning the proper technique and end up with messy results. That’s why understanding how to frost a cake step by step is essential for every home baker.
Tools You Need to Frost a Cake
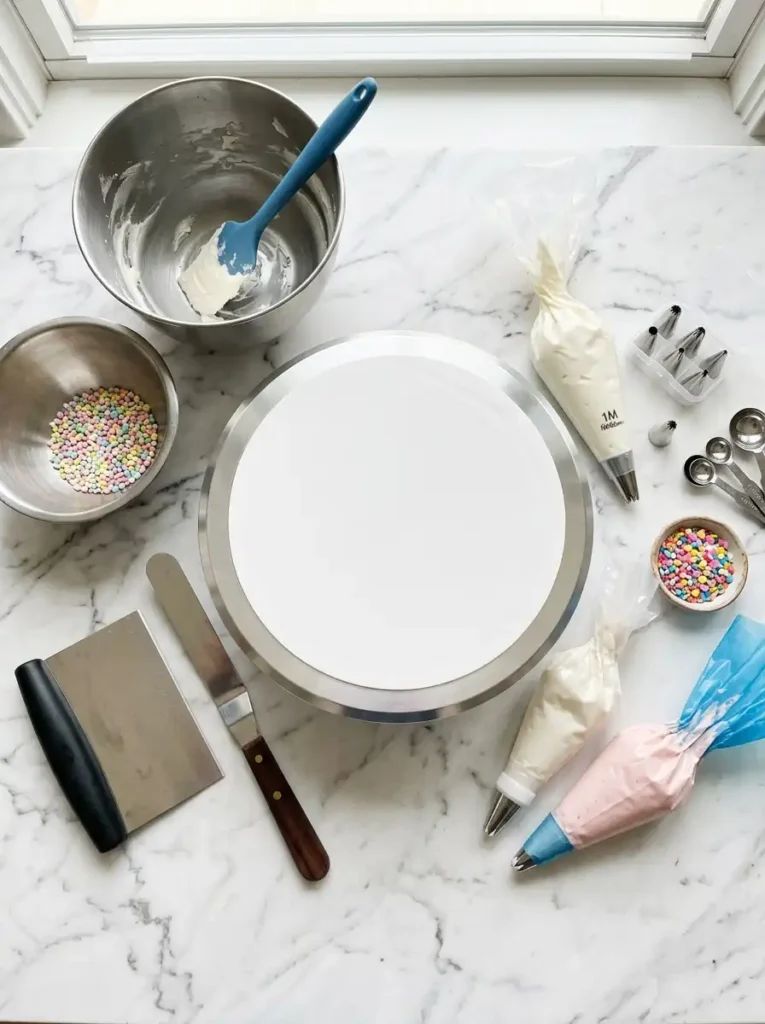
Before you begin, gather these tools:
- Offset spatula (very important)
- Bench scraper or cake smoother
- Cake turntable (strongly recommended)
- Piping bags and tips
- Serrated knife (for leveling)
- Cooling rack
Having the right tools makes a big difference when learning how to frost a cake.
Ingredients for Perfect Buttercream Frosting
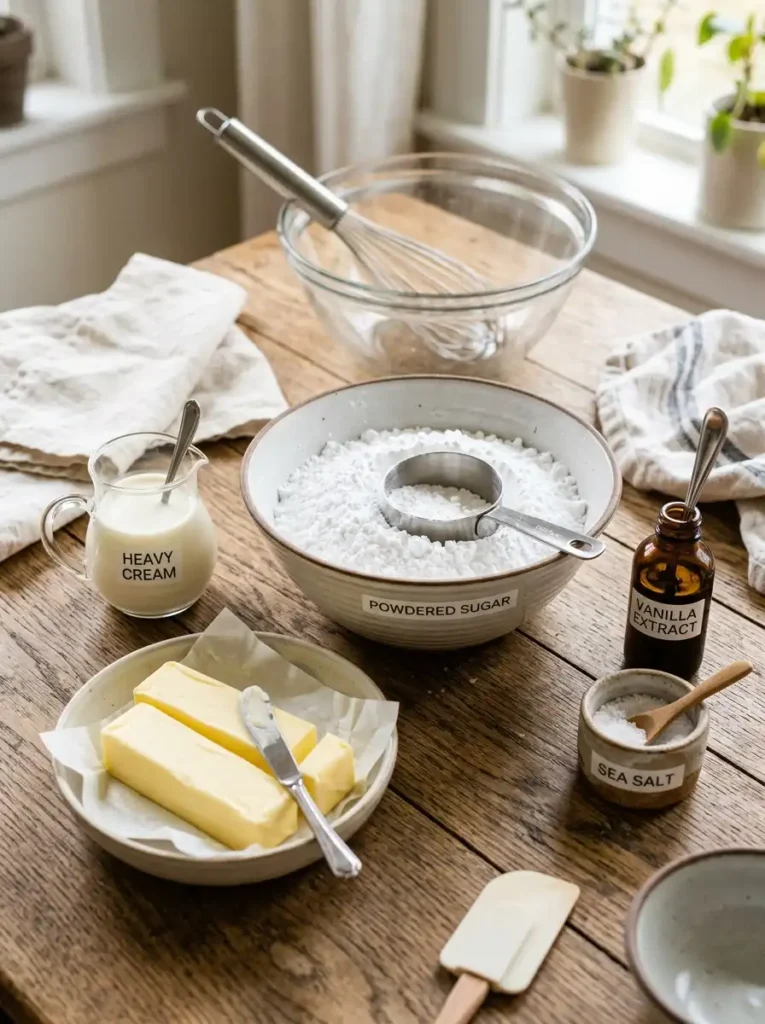
Here’s a simple and reliable frosting recipe:
- 1 cup (226g) unsalted butter, softened
- 3½–4 cups powdered sugar
- 2–3 tablespoons heavy cream or milk
- 2 teaspoons vanilla extract
- ¼ teaspoon salt
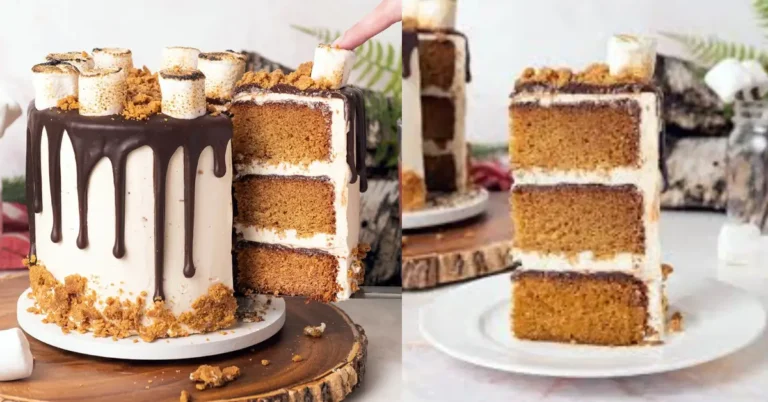
Pro Tip: For a richer flavor, you can use chocolate ganache. Check our Tuxedo Cake Recipe for a great example.
Step-by-Step: How to Frost a Cake
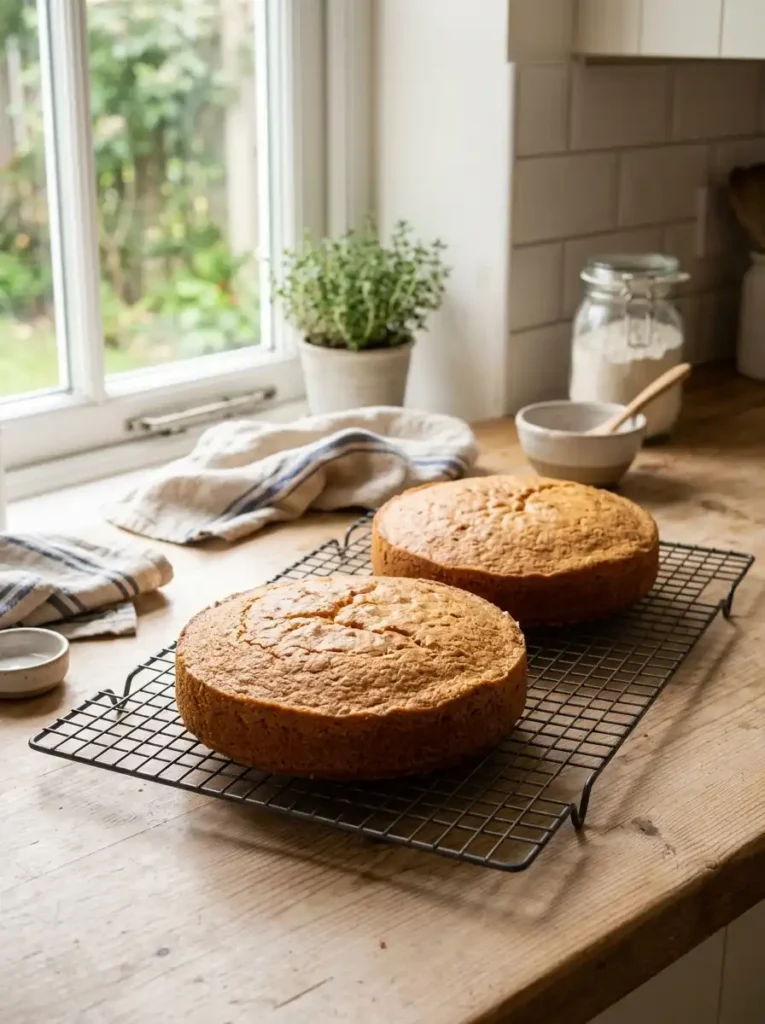
Step 1: Let the cake cool completely
This is the most important step. Never try to frost a warm cake. Let the layers cool for at least 1–2 hours at room temperature, or place them in the fridge for 30 minutes. Frosting a warm cake is the #1 reason people fail at how to frost a cake.
Step 2: Level your cake layers
Use a serrated knife to cut off any domed tops so the layers stack flat and evenly.
Step 3: Prepare your frosting
Beat the butter until light and fluffy. Slowly add the powdered sugar, then add the cream, vanilla, and salt. Beat for 3–4 minutes until the frosting is smooth and creamy.
Step 4: Apply a crumb coat
Spread a thin layer of frosting all over the cake. This seals in the crumbs. Refrigerate the cake for 15–20 minutes. The crumb coat is a crucial step when learning how to frost a cake smoothly.

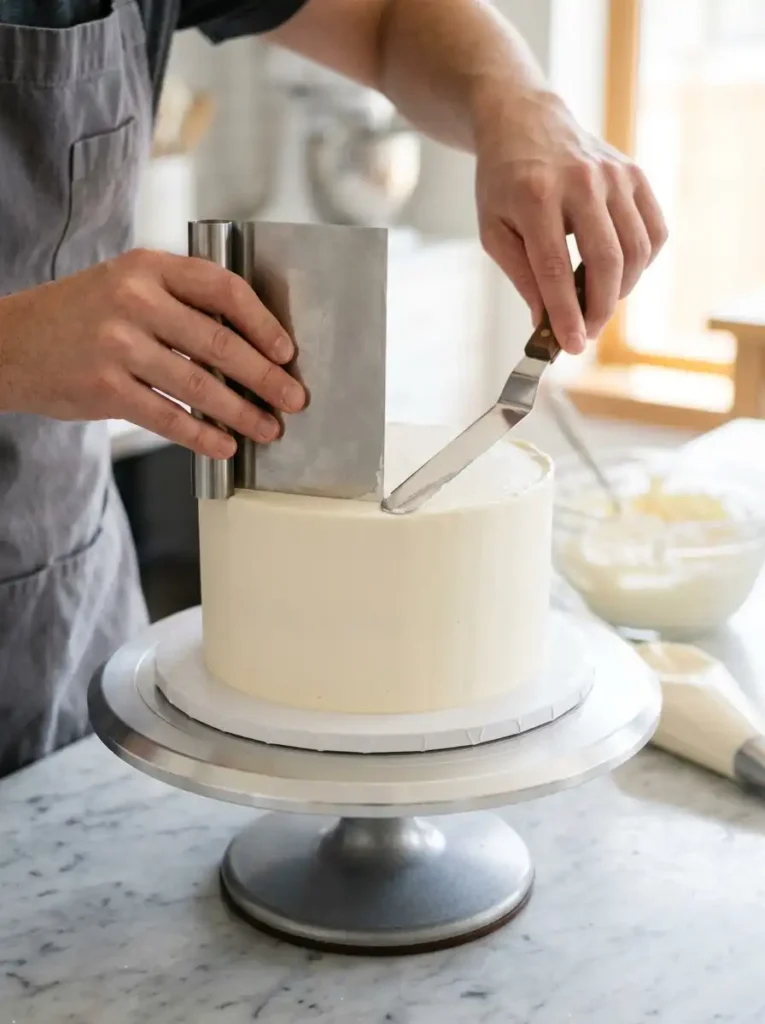
Step 5: Add the final coat of frosting
Apply a thick layer of frosting and smooth it out using a bench scraper while rotating the turntable. For sharp edges, run an offset spatula around the top.

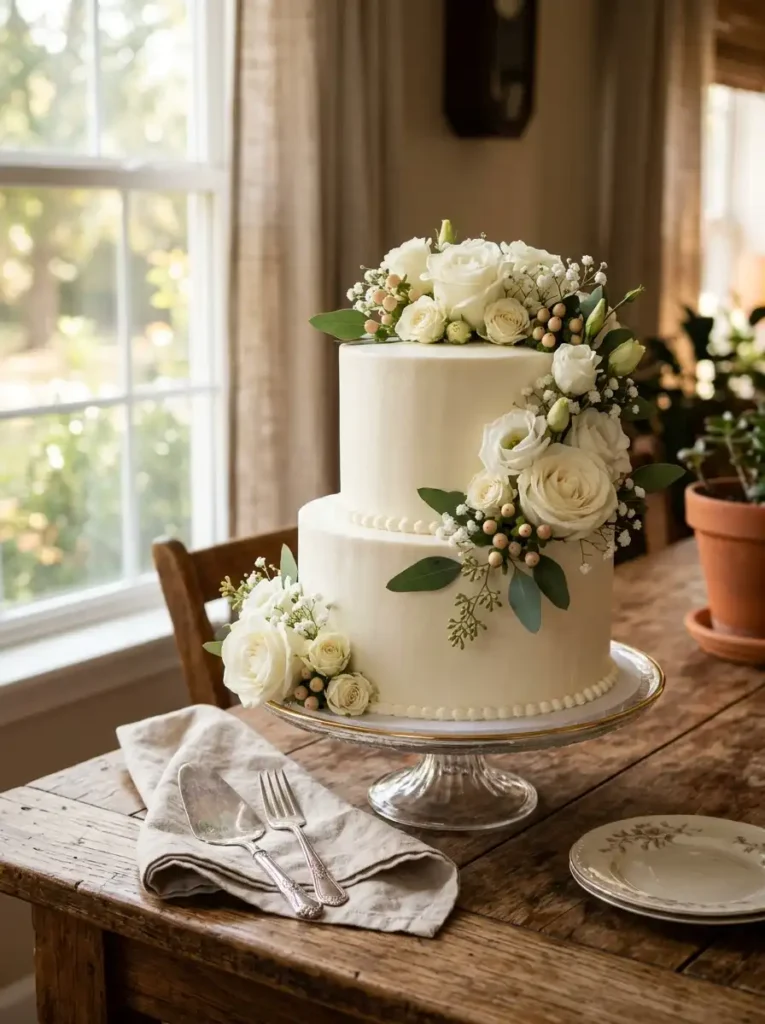
Step 6: Decorate your cake
You can leave it smooth, add a chocolate drip, or pipe borders and designs. For inspiration, see our Strawberry Crunch Cake.
Common Mistakes When Frosting a Cake
Many beginners make these errors when trying to learn how to frost a cake:
- Frosting a warm cake
- Using frosting that’s too thick or too thin
- Skipping the crumb coat
- Not using a turntable
- Adding too much frosting at once
Pro Tips for Smoother Results
Here are some advanced tips to improve your cake frosting skills:
- Warm your offset spatula in hot water, then wipe it dry for a super smooth finish.
- If your frosting is too stiff, add a teaspoon of cream at a time.
- Chill the cake between coats for cleaner results.
- For chocolate lovers, try using our Biscoff Brownies recipe as inspiration for chocolate frosting.
How Long Should You Let a Cake Cool Before Frosting?
This is one of the most asked questions. You should let the cake cool for at least 1 hour at room temperature. If you’re in a hurry, 30 minutes in the refrigerator works well. Never frost a warm cake.
Different Frosting Techniques
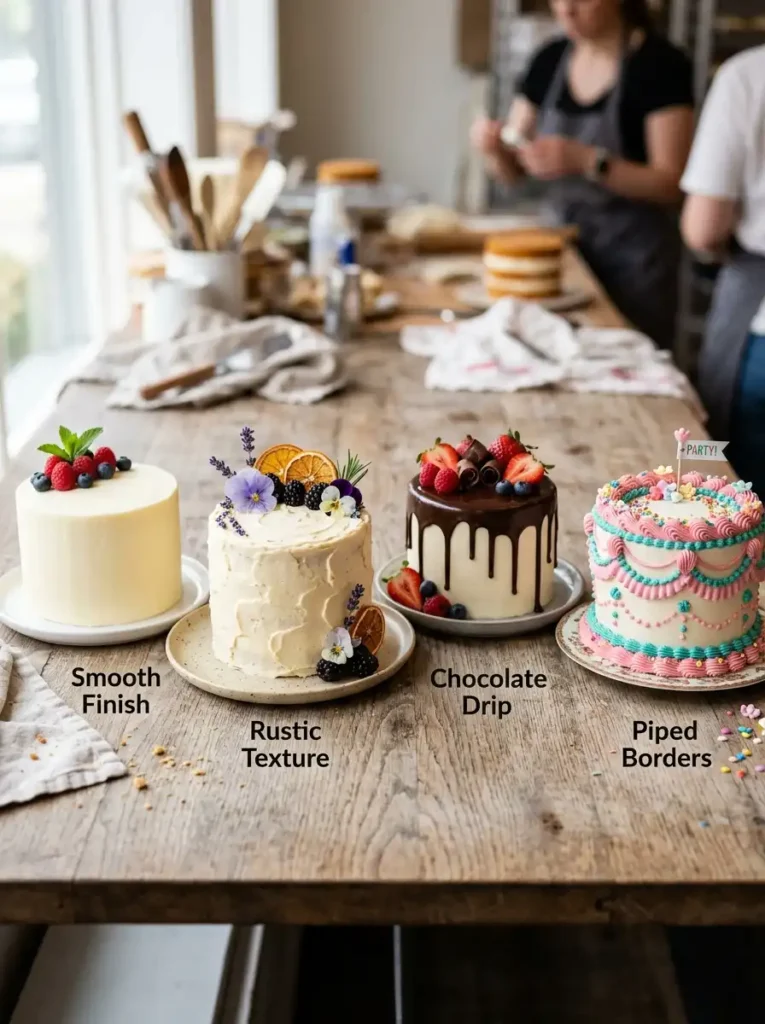
| Technique | Best For | Difficulty |
|---|---|---|
| Smooth finish | Elegant and modern cakes | Medium |
| Rustic texture | Casual and homemade look | Easy |
| Chocolate drip | Showstopper cakes | Medium |
| Piped borders | Classic and traditional cakes | Easy |
| Ombré effect | Special occasion cakes | Hard |
How to Frost a Cake for Beginners
If you’re just starting out, keep it simple. Focus on a good crumb coat and a smooth final layer. Don’t worry about fancy decorations at first. Once you master the basics of how to frost a cake, you can move on to more advanced techniques.
Frequently Asked Questions
How do I frost a cake without getting crumbs in the frosting?
Always apply a crumb coat first and chill the cake before adding the final layer.
Can I frost a cake the day before serving?
Yes. After frosting, loosely cover the cake and store it in the refrigerator.
What’s the easiest frosting for beginners?
American buttercream is the most forgiving and easiest when learning how to frost a cake.
How do I get sharp edges on my cake?
Use a bench scraper and rotate the turntable slowly while applying gentle pressure.
How long does it take to frost a cake?
Once the cake is cooled, it usually takes 20–30 minutes to frost and decorate a two-layer cake.
Final Thoughts
Mastering how to frost a cake takes some practice, but the results are worth it. With the right tools, a good crumb coat, and patience, you can achieve a beautiful, professional-looking finish every time.
Whether you’re making a simple vanilla cake or a special Father’s Day cake, these steps will help you frost your cakes with confidence.
Start practicing with one of our popular recipes such as the Tuxedo Cake or Strawberry Crunch Cake. Once you get comfortable with how to frost a cake, your homemade cakes will look just as good as the ones from a bakery.

How to Frost a Cake Like a Pro
Ingredients
Equipment
Method
- Let the cake layers cool completely for at least 1 hour.
- Level the tops of the cake layers using a serrated knife.
- In a large bowl, beat the butter until light and fluffy.
- Gradually add the powdered sugar while mixing on low speed.
- Add the heavy cream, vanilla extract, and salt. Beat for 3-4 minutes until smooth and creamy.
- Apply a thin crumb coat over the entire cake and refrigerate for 15-20 minutes.
- Add the final layer of frosting and smooth it using a bench scraper and offset spatula.
- Decorate as desired and serve.