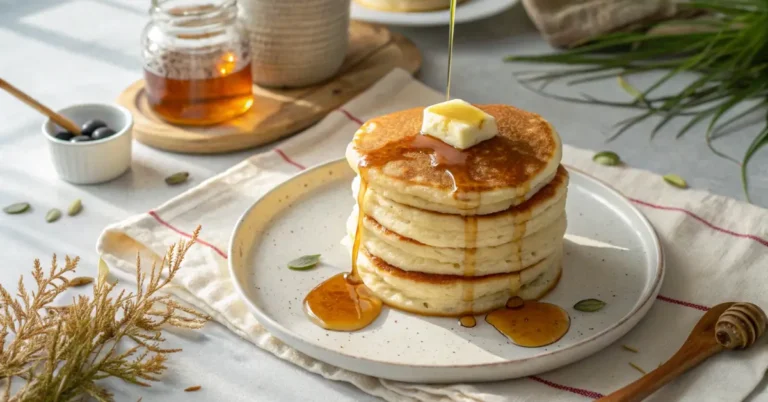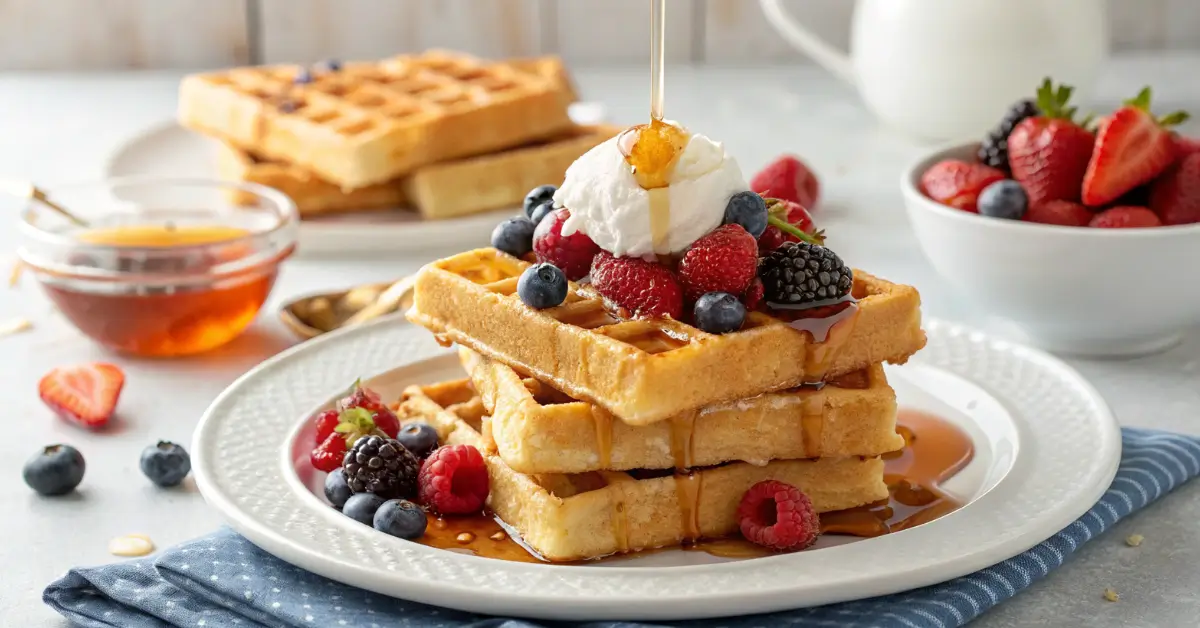
Crispy Fluffy Wafles in 15 Minutes – Easy & Delicious Recipe
Master the art of wafles making with this foolproof recipe that creates golden, crispy-outside, fluffy-inside wafles in just 15 minutes using ingredients you already have!
Have you ever wondered why restaurant wafles taste so much better than homemade ones? The secret isn’t expensive equipment or mysterious ingredients – it’s understanding the simple science behind perfect batter and following a few crucial techniques that most recipes skip entirely.
This ultimate recipe will transform your breakfast game forever. In just 15 minutes, you’ll create restaurant-quality wafles with crispy exteriors and impossibly fluffy centers that put frozen options to shame. The best part? You probably have every ingredient sitting in your pantry right now.
Whether you’re craving classic buttermilk varieties drowning in maple syrup, savory options topped with fried chicken, or creative variations loaded with fresh berries and whipped cream, this master recipe serves as your foundation for breakfast perfection.
Why This Recipe Works Better Than Others
Most recipes fail because they treat these breakfast treats like thick pancakes. But wafles require a different approach entirely. This recipe uses the optimal ratios of fat, liquid, and leavening agents to create results that are:
- Crispy on the outside thanks to higher butter content and proper cooking technique
- Light and fluffy inside from carefully balanced wet-to-dry ingredient ratios
- Structurally perfect for holding toppings without getting soggy
- Consistent every time because every measurement has been tested dozens of times
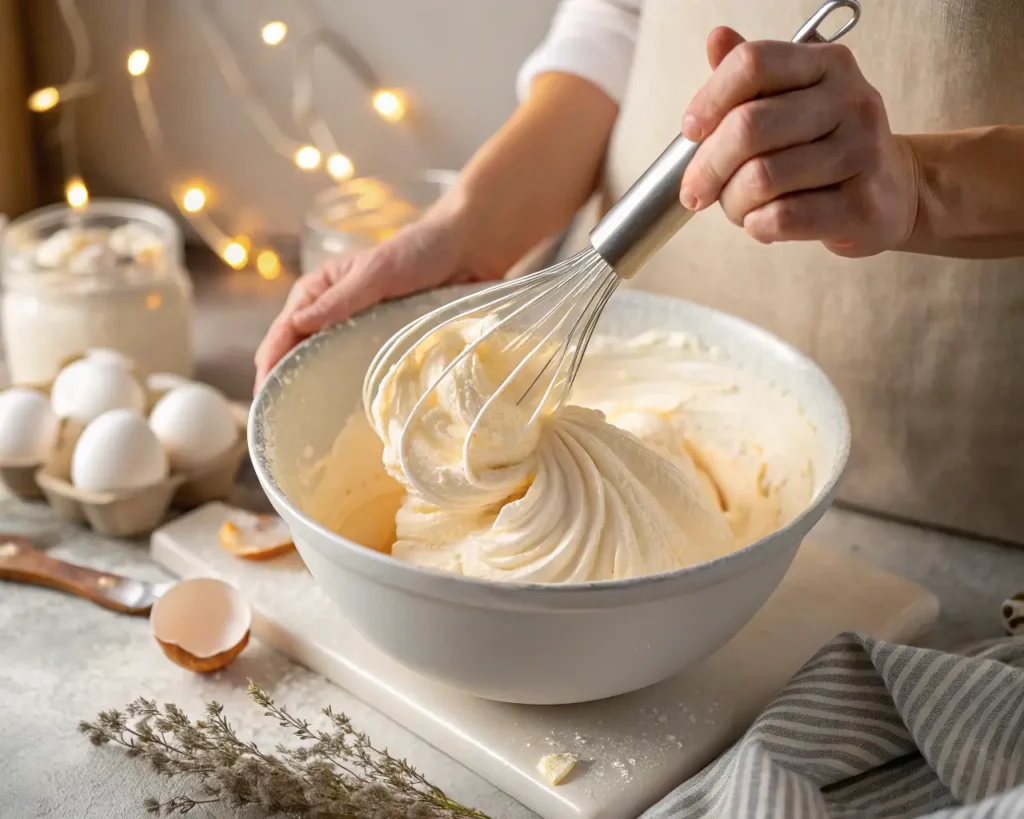
The secret weapon? We separate the eggs and whip the whites to soft peaks, creating an airy batter that produces breakfast treats with incredible texture contrast.
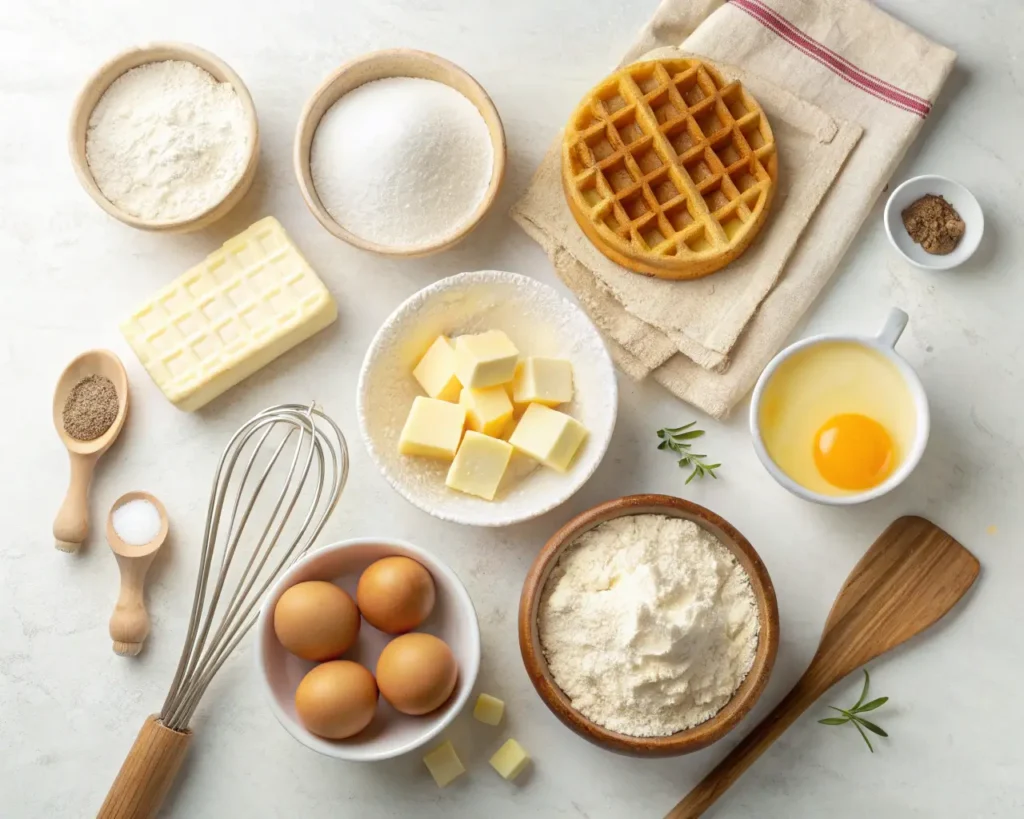
Essential Ingredients for Perfect Wafles
Dry Ingredients
- All-purpose flour (2½ cups/315g) – The foundation of your recipe. Measuring by weight guarantees consistency.
- Granulated sugar (⅓ cup/65g) – Creates caramelization for crispy exteriors while balancing the buttermilk’s tang.
- Baking powder (2 tablespoons) – Double the amount in most recipes for maximum lift and fluffiness.
- Salt (1 teaspoon) – Enhances every other flavor and strengthens gluten structure.
- Baking soda (½ teaspoon) – Reacts with buttermilk for extra rise and tender crumb.
Wet Ingredients
- Buttermilk (2 cups/480ml) – The acidity creates tender results and activates the baking soda for superior lift.
- Unsalted butter (½ cup/113g, melted) – High fat content = crispy exterior. Never substitute with oil.
- Large eggs (3, separated) – Room temperature eggs incorporate better. Separating creates lighter texture.
- Pure vanilla extract (2 teaspoons) – Use real vanilla, not imitation, for authentic flavor depth.
Pro tip: If you don’t have buttermilk, make your own by adding 2 tablespoons white vinegar to 2 cups regular milk. Let sit 5 minutes until slightly curdled.
Step-by-Step Instructions for Wafles Perfection
Preparation (5 minutes)
- Preheat your waffle iron to medium-high heat. Most people use too low a temperature. You want it hot enough that a drop of water sizzles and evaporates within 2-3 seconds.
- Separate your eggs while cold, then let them come to room temperature (15-20 minutes). Cold eggs separate more easily, but room temperature eggs whip better and incorporate more smoothly.
Making the Batter (8 minutes)
- Combine all dry ingredients in a large mixing bowl. Whisk thoroughly to eliminate lumps and ensure even distribution of leavening agents.
- In a separate bowl, whisk together buttermilk, melted butter, egg yolks, and vanilla until completely smooth. The melted butter should be warm, not hot, so it doesn’t cook the eggs.
- Using clean beaters, whip egg whites until they form soft peaks that hold their shape but aren’t stiff. This takes 2-3 minutes with an electric mixer.
- Pour the wet ingredients into the dry ingredients. Stir just until the flour disappears – lumps are perfectly fine and actually desirable.
- Gently fold in the whipped egg whites using a large spoon or spatula. Use a folding motion from bottom to top, rotating the bowl quarter-turns. Stop as soon as no white streaks remain.
Cooking the Breakfast (2 minutes per piece)
- Spray or brush the waffle iron with melted butter – never cooking spray, which can damage non-stick surfaces over time.
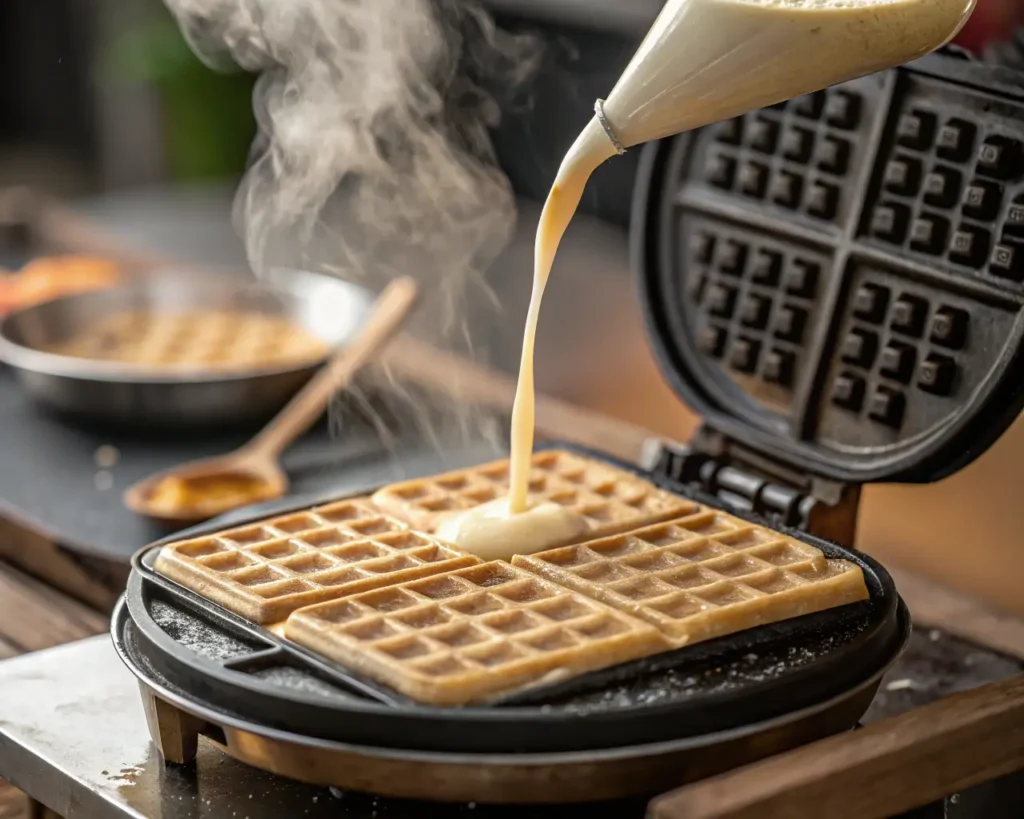
- Pour ¾ cup batter into the center of the waffle iron (adjust for your iron’s size). The batter should almost fill the surface but leave about ¼ inch border.
- Close the lid and cook for 90 seconds to 2 minutes until the steam stops emerging and the result is golden brown. Resist the urge to peek early – this releases steam and prevents proper crisping.
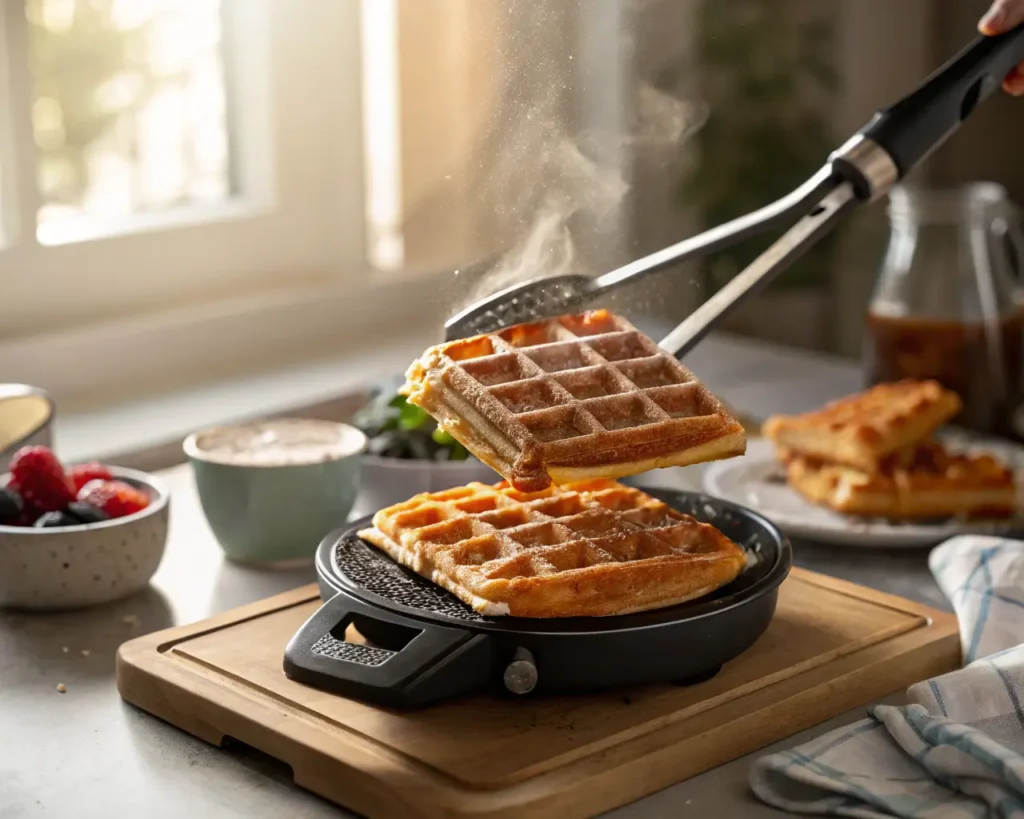
- Remove with a fork or tongs and place immediately on a wire cooling rack. Never stack hot pieces or they’ll steam and lose their crispiness.
Professional Tips for Restaurant-Quality Results
Temperature and Timing Secrets
- Let the iron recover between batches. Wait 30-45 seconds after removing each piece before adding new batter. The iron needs to return to optimal temperature.
- Look for the steam signals. Heavy steam means the breakfast is still cooking. When steam reduces to wisps, your creation is nearly done.
- The “lift test” never lies. If the waffle iron resists opening slightly, give it 15-30 more seconds.
Texture Perfection Techniques
- Don’t overmix the batter. Lumpy batter creates tender results. Smooth batter creates tough, chewy outcomes.
- Use the batter immediately. The leavening agents start working as soon as liquid hits them. Waiting reduces fluffiness.
- Keep items warm and crispy by placing the cooling rack in a 200°F oven. They’ll stay perfect for up to 30 minutes.
Measuring Like a Pro
- Weigh your flour for consistency. 2½ cups can vary by up to 50 grams depending on how you scoop.
- Room temperature ingredients blend more easily and create smoother batters with better texture.
- Fresh baking powder is crucial. Test yours by adding ½ teaspoon to hot water – it should bubble vigorously.
Creative Variations and Flavor Ideas
Sweet Variations
- Blueberry Style: Fold 1 cup fresh blueberries into finished batter
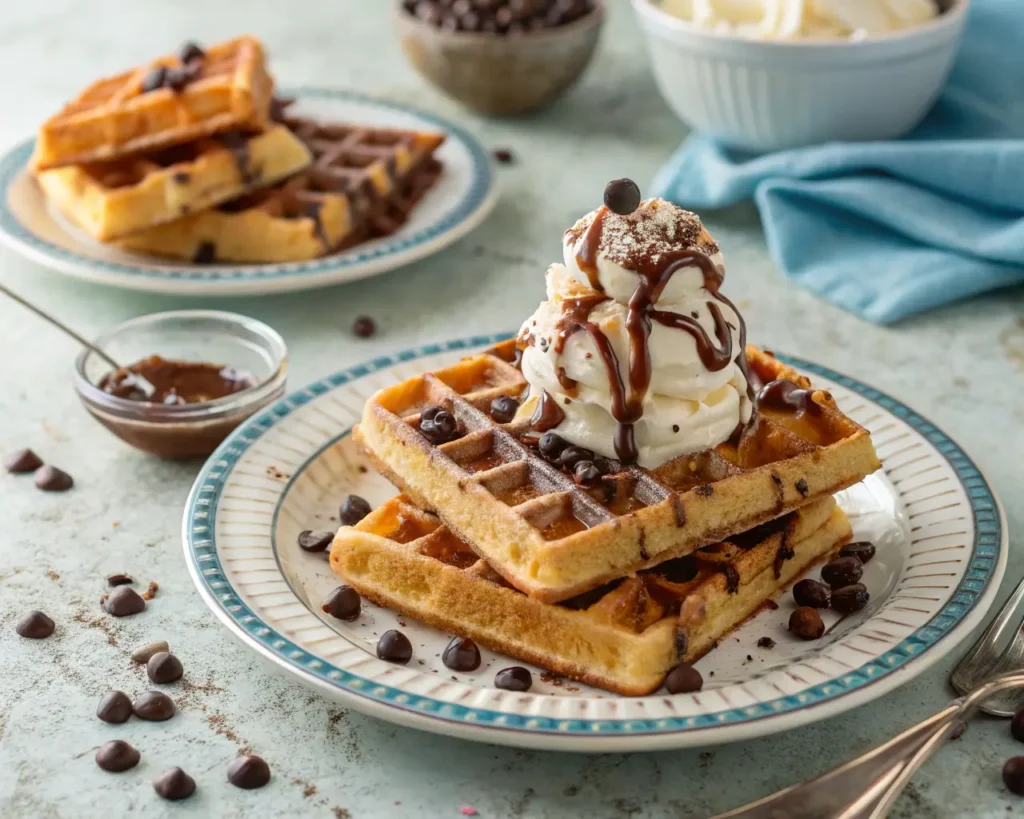
- Chocolate Chip Version: Add ¾ cup mini chocolate chips after folding in egg whites
- Cinnamon Roll Twist: Add 2 teaspoons cinnamon and swirl in cream cheese mixture
- Lemon Ricotta Option: Replace ½ cup buttermilk with ricotta and add lemon zest
Savory Options
- Herb and Cheese Style: Reduce sugar to 1 tablespoon, add ½ cup grated cheese and fresh herbs
- Cornmeal Version: Replace ½ cup flour with cornmeal for Southern-style texture
- Everything Bagel Twist: Add everything bagel seasoning to batter for brunch perfection
Topping Ideas That Take Wafles to the Next Level

Classic Combinations
- Traditional: Butter pats and pure maple syrup (Grade A Dark Robust preferred)
- Berry Bliss: Fresh strawberries, blueberries, and raspberries with whipped cream
- Banana Foster Style: Sliced bananas, caramel sauce, and chopped pecans
Gourmet Options

- Chicken and Wafles: Crispy fried chicken with hot honey drizzle
- Apple Pie: Sautéed cinnamon apples with vanilla ice cream
- S’mores Style: Nutella, mini marshmallows, and crushed graham crackers
International Inspirations
- Belgian Style: Pearl sugar mixed into batter, served with fresh fruit
- Scandinavian: Lingonberry jam and freshly whipped cream
- Mexican Street Food: Dulce de leche, cinnamon, and fresh fruit
Troubleshooting Common Problems
Soggy or Soft Results
Problem: Your breakfast loses crispiness quickly Solutions:
- Increase cooking time by 30 seconds
- Use a wire rack instead of plates
- Check if your waffle iron is hot enough
- Avoid covering hot items
Dense or Heavy Texture
Problem: Results are thick and heavy instead of light and fluffy Solutions:
- Don’t overmix the batter
- Ensure baking powder is fresh (replace every 6 months)
- Separate eggs and whip whites properly
- Check buttermilk freshness
Sticking to the Iron
Problem: Breakfast treats tear when removing from iron Solutions:
- Let them cook completely before opening
- Use more butter or oil to grease the iron
- Clean your waffle iron thoroughly between uses
- Consider if your iron’s non-stick coating needs replacement
Uneven Browning
Problem: Some areas are darker than others Solutions:
- Ensure batter is spread evenly
- Check if your waffle iron heats uniformly
- Don’t overfill or underfill the iron
- Let the iron preheat completely
Storage and Make-Ahead Tips
Storing Fresh Results
- Room temperature: Store completely cooled items in airtight container for up to 2 days
- Refrigerator: Keep breakfast treats fresh for up to 5 days wrapped in plastic or in sealed container
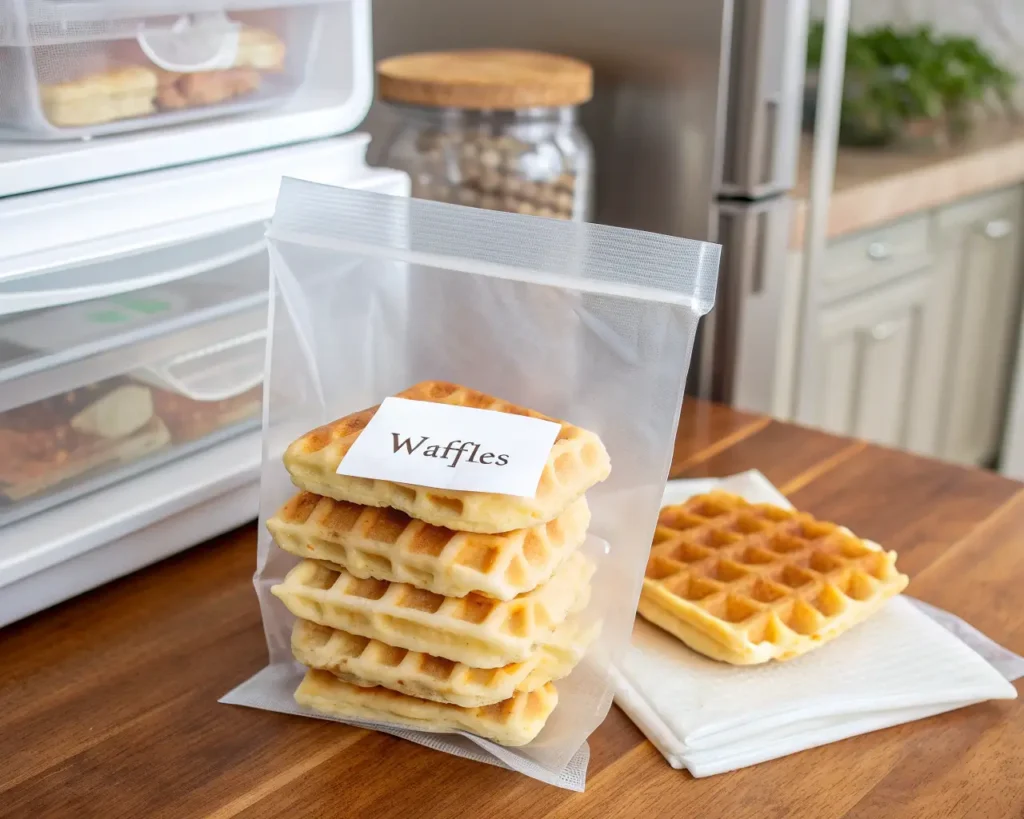
- Freezer: Freeze your creations for up to 3 months in freezer bags with parchment paper between layers
Reheating Methods
- Toaster: Best method for maintaining crispiness (1-2 minutes on medium)
- Oven: Reheat at 350°F for 5-7 minutes on wire rack
- Toaster oven: 3-4 minutes at 350°F
- Avoid microwaving: Creates soggy, chewy texture
Make-Ahead Strategies
- Prep dry ingredients up to 1 week in advance in sealed container
- Mix wet ingredients (except egg whites) the night before
- Whip egg whites fresh for best results
- Freeze cooked waffles for quick weekday breakfasts
Frequently Asked Questions
Can I make batter ahead of time?
While you can prep components separately, this batter is best used immediately. The leavening agents activate when wet and dry ingredients combine, so waiting reduces the fluffy texture. If you must make batter ahead, refrigerate for no more than 2 hours and gently re-fold before cooking.
What’s the difference between this and pancake batter?
This batter contains more fat (butter), more eggs, and often more sugar than pancake batter. This creates the crispy exterior and rich flavor that makes wafles special. The higher fat content also prevents sticking in waffle irons.
Why do my results come out pale?
Pale outcomes usually indicate insufficient heat or cooking time. Increase your waffle iron temperature setting and cook until steam production slows significantly. The natural sugars need time and heat to caramelize and create that golden-brown color.
Can I substitute ingredients in this recipe?
Some substitutions work better than others:
- Buttermilk: Regular milk + vinegar works well
- All-purpose flour: Can use half whole wheat flour
- Sugar: Honey or maple syrup (reduce liquid slightly)
- Butter: Avoid oil substitutions – they won’t create the same crispy texture
How do I clean my waffle iron properly?
Never submerge your waffle iron in water. Instead:
- Unplug and let cool completely
- Remove removable plates if possible and wash separately
- For fixed plates, use a soft brush or cloth with warm, soapy water
- Dry thoroughly before storing
- Season occasionally with a light coating of oil
The Science Behind Perfect Results
Understanding why this recipe works helps you become a better breakfast maker. The combination of buttermilk’s acidity with baking soda creates extra lift, while the separated eggs add airiness without compromising structure. The higher fat content from butter creates steam pockets that become crispy when exposed to the waffle iron’s high heat.
The key ratios in this recipe – approximately 2:1 liquid to flour, and 20% fat content – create the perfect balance of structure, moisture, and crispiness that defines exceptional wafles.
Final Thoughts: Your Journey to Breakfast Mastery
Making perfect wafles isn’t about expensive equipment or secret ingredients – it’s about understanding the techniques that create the textures you crave. This recipe gives you the foundation, but don’t be afraid to experiment with flavors, toppings, and variations that match your taste preferences.
Remember: the best breakfast is the one you actually make. Start with this master recipe, then make it your own by adjusting sweetness levels, trying different add-ins, or creating signature topping combinations that become your family’s favorites.
The journey from good to great results happens one batch at a time. Each time you make these, you’ll notice small details that help you perfect your technique. Soon, you’ll be creating restaurant-quality breakfast treats that have friends and family asking for your secret.
Now grab your waffle iron and get ready to transform your breakfast routine forever. Your perfect wafles adventure starts today!
Recipe Summary Card
Prep Time: 15 minutes
Cook Time: 2 minutes per waffle
Total Time: 25 minutes
Servings: 8 large wafles
Difficulty: Easy
Equipment Needed:
- Waffle iron
- Large mixing bowl
- Medium mixing bowl
- Electric mixer
- Wire cooling rack
- Measuring cups and spoons
Essential Ingredients:
- 2½ cups all-purpose flour
- ⅓ cup granulated sugar
- 2 tablespoons baking powder
- 1 teaspoon salt
- ½ teaspoon baking soda
- 2 cups buttermilk
- ½ cup melted butter
- 3 large eggs, separated
- 2 teaspoons vanilla extract
Success Guarantee: Follow these instructions exactly, and you’ll create the best homemade wafles you’ve ever tasted – or try again with our troubleshooting guide to perfect your technique!
| Pin to Pinterest | Share on Facebook
Follow us On : Facebook and Pinterest