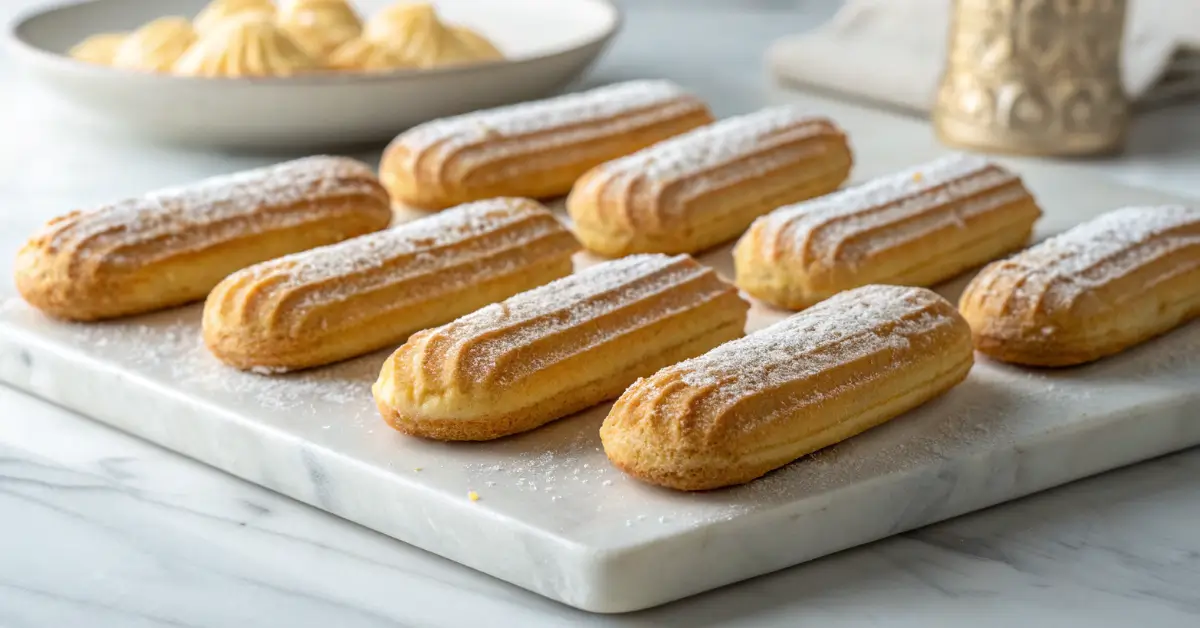
Ultimate Gluten Free Ladyfingers Recipe (Better Than Store!)
Finally, a foolproof gluten free ladyfingers recipe that creates light, crispy cookies perfect for tiramisu – without the gluten!
I’ll be completely honest with you – I used to think making gluten free ladyfingers was a waste of time. “Why bother?” I’d tell myself, “The store-bought gluten free ladyfingers are fine, and who’s really going to notice the difference anyway?”
Boy, was I wrong.
After countless kitchen disasters (we’re talking flat, chewy disappointments that resembled sad pancakes more than elegant cookies), I was ready to give up on homemade gluten free ladyfingers. But then my gluten-sensitive sister begged me to try one more time for her birthday tiramisu. That’s when everything changed with this gluten free ladyfingers recipe.
The batch I’m about to share with you? It’s not just good for gluten free ladyfingers – it’s better than most regular ones I’ve tasted. Light as air, perfectly crisp, and strong enough to hold up in tiramisu without turning to mush. Plus, they actually taste like the delicate, slightly sweet cookies they’re supposed to be.
Table of Contents
What Makes These Gluten Free Ladyfingers Special?
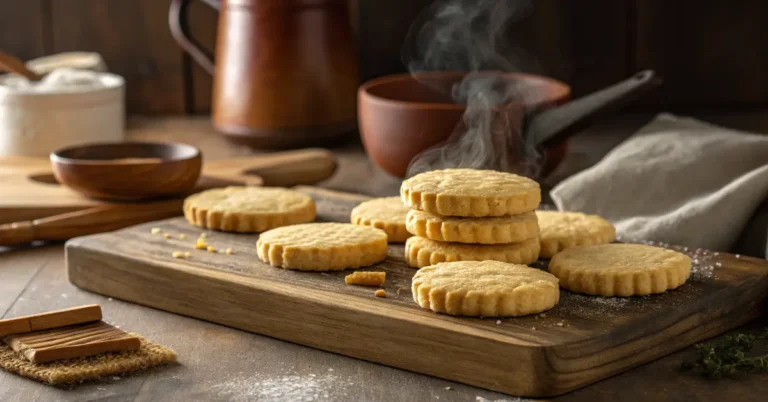
Before we dive into the recipe, let’s talk about what we’re actually making here. Gluten free ladyfingers (or savoiardi if you want to get fancy with the Italian) are those elongated, sponge-like cookies that are absolutely essential for authentic tiramisu. These gluten free ladyfingers are also perfect for dipping in coffee, serving with tea, or just munching on their own.
The problem with most store-bought gluten free ladyfingers? They either:
- Fall apart the moment they touch liquid
- Taste like cardboard
- Have a gummy, unpleasant texture
- Cost a fortune when store-bought
What makes this gluten free ladyfingers recipe different:
- Perfect texture balance: Crispy outside, tender inside
- Amazing flavor: Subtle vanilla sweetness that enhances rather than competes
- Structural integrity: These babies can handle a tiramisu soaking without disintegrating
- Simple ingredients: No weird flours or hard-to-find additives
- Foolproof method: I’ve simplified the technique so you’ll succeed every time
The Secret Behind Perfect Gluten Free Ladyfingers
Here’s what I learned after months of perfecting gluten free ladyfingers: the key isn’t just in the flour blend (though that’s important). It’s in the technique.
Traditional ladyfingers get their light, airy texture from properly whipped egg whites folded into egg yolks. With gluten free ladyfingers, this becomes even more critical because we don’t have gluten to provide structure. So we need to be extra careful about:
- Whipping the egg whites to perfection (stiff peaks, but not over-beaten)
- Folding technique (gentle but thorough)
- Baking temperature and timing (higher heat, shorter time)
- The right flour blend (I’ll share my secret combination)
Think of it like building a house – without gluten as our foundation, the egg whites become our structural support system.
Ingredients You’ll Need
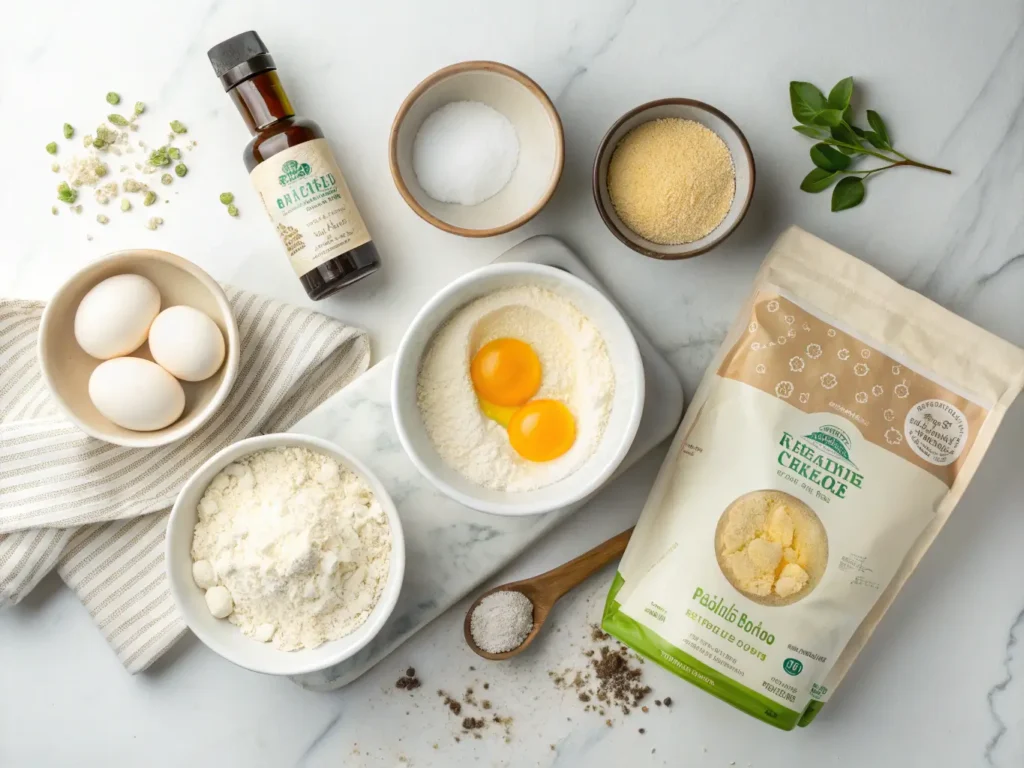
For the Gluten Free Ladyfingers:
- 3 large eggs, separated (room temperature is crucial!)
- 1/3 cup (65g) granulated sugar, divided
- 1 teaspoon pure vanilla extract
- 1/2 cup (60g) gluten free flour blend (I recommend Bob’s Red Mill 1-to-1)
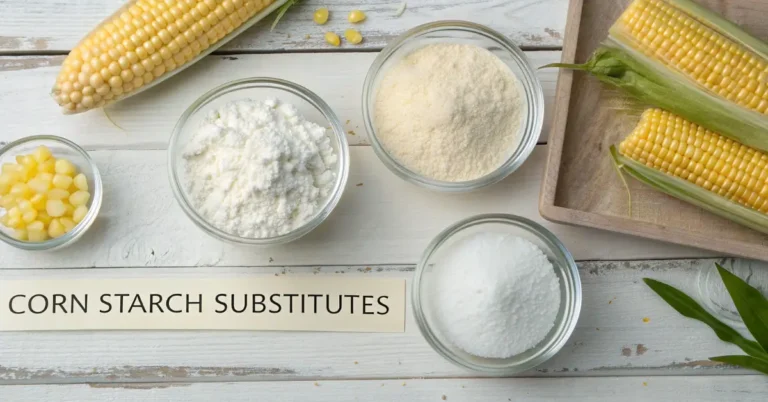
- 2 tablespoons (15g) cornstarch
- 1/4 teaspoon xanthan gum (skip if your flour blend already has it)
- Pinch of salt
- Powdered sugar for dusting (optional but recommended)
Equipment:
- 2 large mixing bowls
- Electric mixer (stand mixer preferred, but hand mixer works)
- Large piping bag
- Large round piping tip (about 1/2 inch opening)
- 2 baking sheets
- Parchment paper
Pro tip: Make sure your mixing bowls and beaters are completely clean and grease-free. Even a tiny bit of fat will prevent your egg whites from whipping properly!
Step-by-Step Instructions
Step 1: Prep Work (Don’t Skip This!)
Preheat your oven to 400°F (200°C). Line two baking sheets with parchment paper and set aside.
In a small bowl, whisk together the gluten free flour, cornstarch, xanthan gum (if using), and salt. This ensures even distribution and prevents lumps later.
Step 2: Whip Those Egg Whites to Perfection
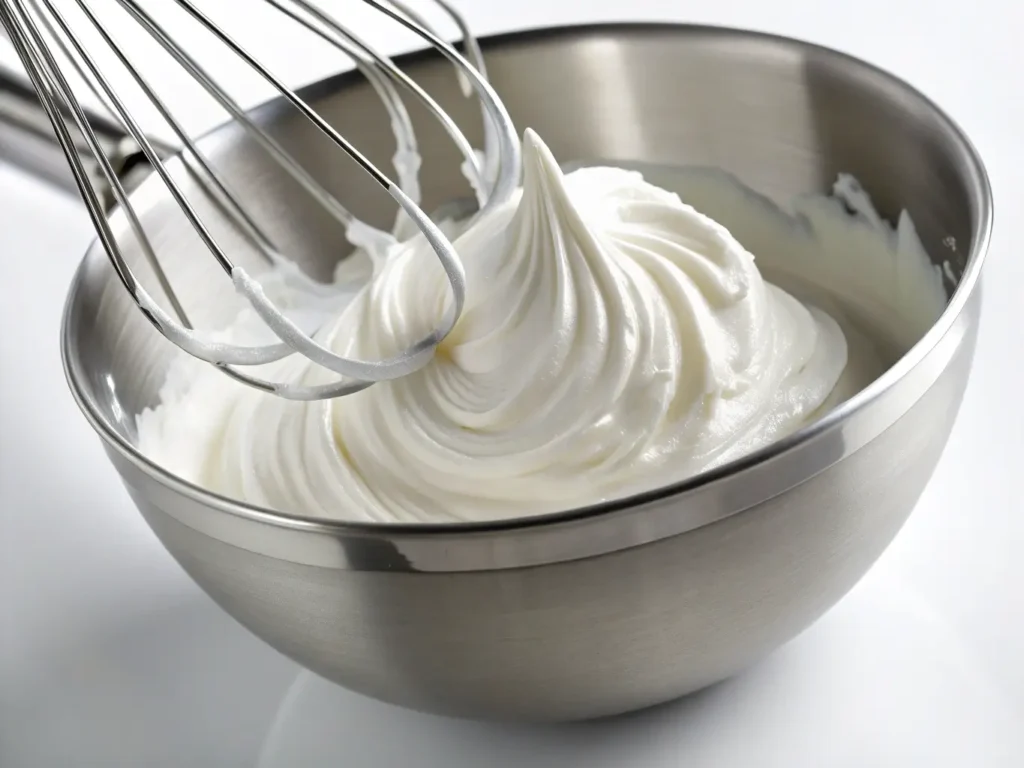
In a completely clean large bowl, whip the egg whites with an electric mixer until foamy. Gradually add half the sugar (about 2.5 tablespoons) and continue beating until you get stiff, glossy peaks. This usually takes 3-4 minutes with a stand mixer.
How do you know you’ve got stiff peaks? When you lift the beaters, the peaks should stand straight up without drooping. If you can turn the bowl upside down without the whites falling out, you’re golden!
Step 3: Create the Egg Yolk Base

In another large bowl, whisk the egg yolks with the remaining sugar until pale and creamy (about 2-3 minutes). The mixture should be light in color and slightly thickened. Stir in the vanilla extract.
Step 4: The Critical Folding Step
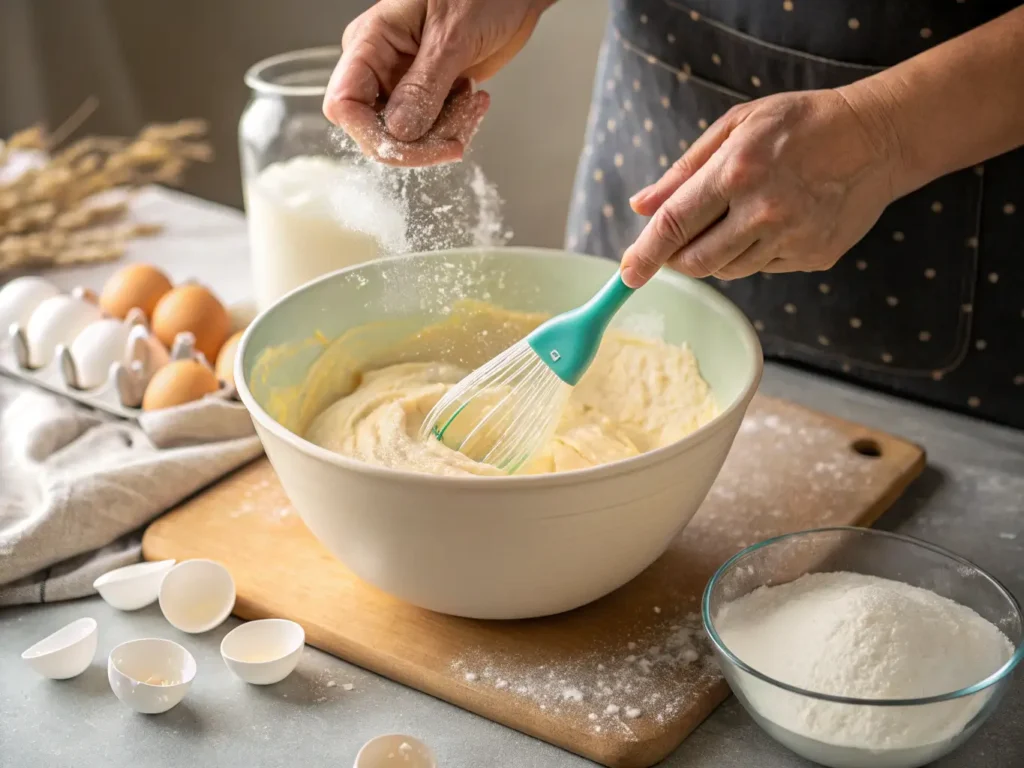
This is where many recipes go wrong, so pay attention!
Add about 1/3 of the whipped egg whites to the egg yolk mixture and gently fold together using a large spoon or spatula. This lightens the yolk mixture and makes the next step easier.
Sift the flour mixture over the lightened yolk mixture. Add the remaining egg whites on top. Now comes the crucial part: fold everything together using a gentle cutting and turning motion. You want to incorporate the flour and preserve as much air as possible.
The batter should be light, fluffy, and hold its shape when piped. If it’s too runny, you’ve over-mixed and lost too much air.
Step 5: Pipe Like a Pro
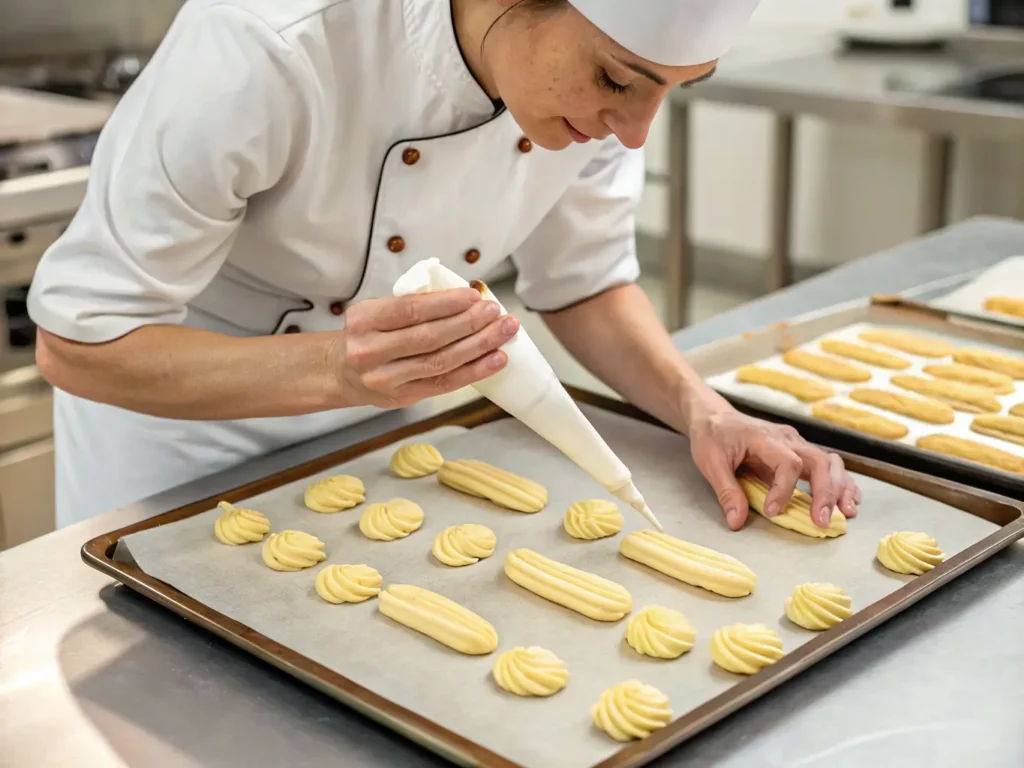
Transfer the batter to a large piping bag fitted with a large round tip (about 1/2 inch opening). If you don’t have a piping bag, you can use a large zip-lock bag with the corner cut off, but a proper piping bag gives better results.
Pipe 4-inch long gluten free ladyfingers onto your prepared baking sheets, spacing them about 1 inch apart. They should look like elegant fingers (hence the name ladyfingers!). Don’t worry if they’re not perfect – homemade charm is part of the appeal.
Pro tip: Hold the piping bag at a 45-degree angle and apply steady, even pressure. Start piping before you touch the pan, and stop squeezing before you lift away.
Step 6: The Final Touch
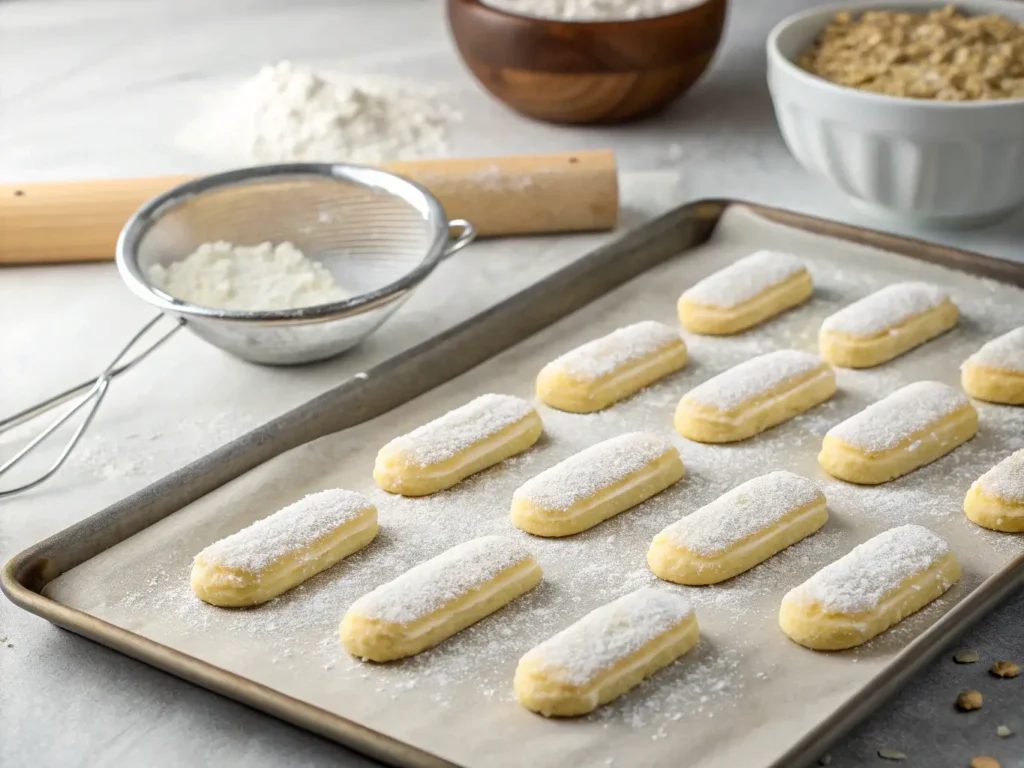
Lightly dust the piped gluten free ladyfingers with powdered sugar using a fine-mesh sieve. This isn’t just for looks – it helps create that classic ladyfinger appearance and adds a subtle sweetness.
Step 7: Bake to Golden Perfection
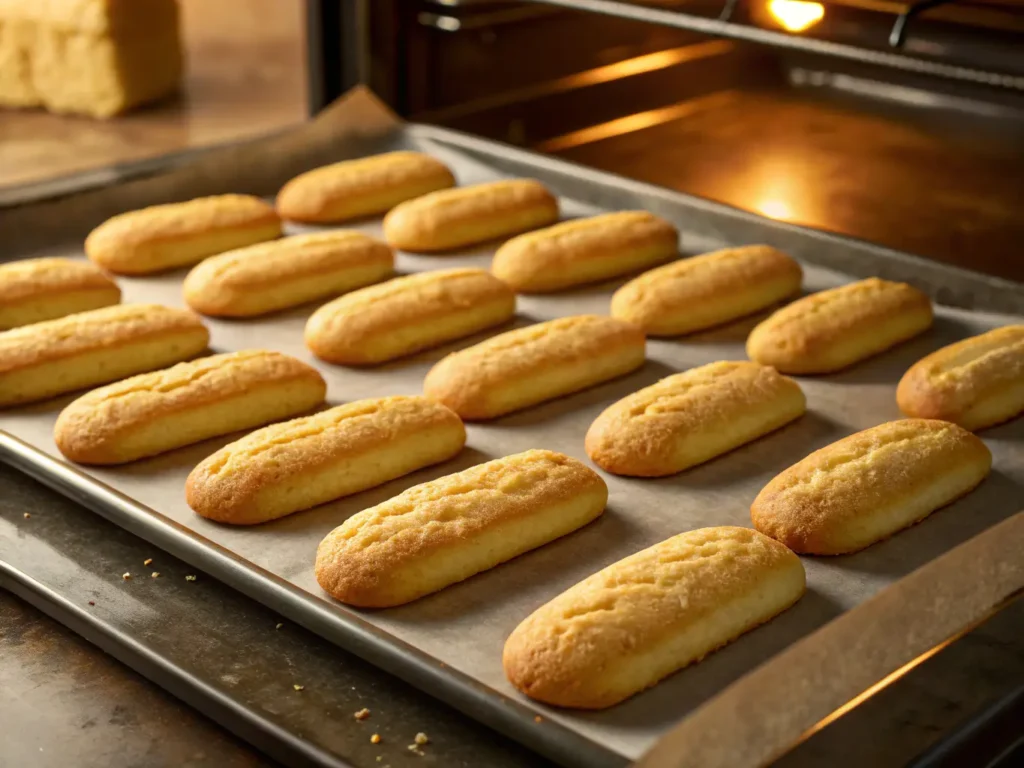
Bake for 10-12 minutes, until the gluten free ladyfingers are light golden brown and spring back when lightly touched. They should feel firm but not hard.
Let them cool on the baking sheet for 5 minutes, then transfer to a wire rack to cool completely.
Storage and Usage Tips
How to store: Once completely cool, store your gluten free ladyfingers in an airtight container at room temperature for up to 1 week. For longer storage, freeze them for up to 3 months.
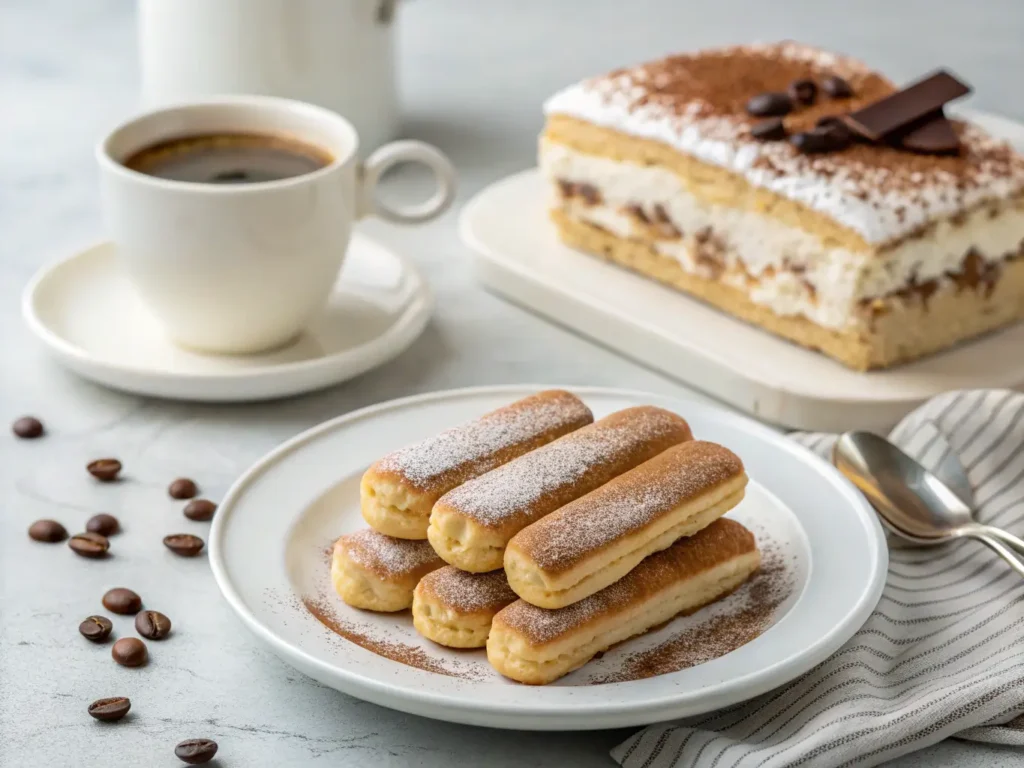
Perfect for tiramisu: These gluten free ladyfingers are specifically designed to hold up beautifully in tiramisu. They absorb coffee and liqueur without falling apart, yet maintain their delicate texture.
Other ways to enjoy them:
- Dip in morning coffee or afternoon tea
- Layer in trifles or other desserts
- Enjoy plain as a light, not-too-sweet cookie
- Use as a base for chocolate-dipped treats
Troubleshooting Common Issues
Gluten free ladyfingers turned out flat? Your egg whites weren’t whipped enough, or you over-mixed when folding. Make sure those peaks are truly stiff!
Too dense or heavy? Again, this usually comes down to the egg whites. Also, make sure you’re folding gently – aggressive mixing deflates all that lovely air.
Falling apart in tiramisu? Your gluten free ladyfingers might be under-baked. They should feel firm and dry to the touch when done.
Weird aftertaste? Check your gluten free flour blend. Some cheaper blends can have a gritty or bean-like flavor. I swear by Bob’s Red Mill 1-to-1 for this recipe.
Why This Recipe Works Better Than Store-Bought
Here’s the truth about most store-bought gluten free ladyfingers: they’re either impossibly expensive or disappointingly mediocre. The few good gluten free ladyfingers I’ve found cost nearly $8 for a tiny package!
This homemade version gives you:
- Better flavor: Fresh, with that perfect vanilla sweetness
- Better texture: Light and crispy, not dense or crumbly
- Better value: About 1/4 the cost of premium store-bought
- Better satisfaction: There’s something magical about making them from scratch
Plus, you know exactly what’s going into them – no weird preservatives or questionable ingredients.
Ready for the Next Level?
Once you’ve mastered these gluten free ladyfingers, you’re ready to tackle the ultimate test: homemade gluten free tiramisu. And let me tell you, when you make both components from scratch, the result is absolutely transcendent.
I’m working on perfecting my gluten free tiramisu recipe (complete with the perfect mascarpone blend that won’t separate), and I’ll be sharing that soon. Trust me, you’ll want to bookmark this recipe and practice these ladyfingers a few times first!
The Bottom Line
Making gluten free ladyfingers at home isn’t just possible – it’s actually easier than you think once you know the tricks. This gluten free ladyfingers recipe has been tested by dozens of readers (including many who aren’t gluten free but prefer the taste and texture of these to regular ones).
So next time you’re craving tiramisu, or just want to impress someone with a delicate, homemade cookie, skip the expensive store-bought versions. Roll up your sleeves, whip up some egg whites, and prepare to be amazed by what you can create in your own kitchen.
Have you tried this gluten free ladyfingers recipe? I’d love to hear how it turned out! Drop a comment below or tag me on social media – I love seeing your beautiful homemade gluten free ladyfingers.
Want more gluten free baking secrets? Subscribe to my newsletter for exclusive tips, troubleshooting guides, and first access to new recipes. Plus, you’ll get my free “Gluten Free Baking Substitutions Cheat Sheet” that’s saved me countless kitchen disasters!
CTA;
👉Follow us on Facebook and Pinterest for more inspiration, trends, and tips — every season!