Homemade Gluten Free Phyllo Dough Recipe | Easy Guide
Creating gluten free phyllo dough at home might seem challenging, but with the right technique and ingredients, you can achieve those delicate, paper-thin layers that make Mediterranean and Middle Eastern dishes so special. This comprehensive guide will walk you through every step of making authentic gluten free phyllo pastry that’s just as flaky and delicious as the traditional version.
Table of Contents
What is Gluten Free Phyllo Dough?
Gluten free phyllo dough is a thin, unleavened pastry made without wheat flour, creating delicate sheets perfect for baklava, spanakopita, and countless other Mediterranean delicacies. Unlike traditional phyllo that relies on gluten for elasticity, gluten free versions use alternative flours and binding agents to achieve that signature stretch and thinness.
The key to successful gluten free phyllo lies in understanding how different flours behave and finding the right combination that mimics gluten’s binding properties without compromising taste or texture.
Essential Ingredients for Perfect Gluten Free Phyllo Dough
Flour Blend
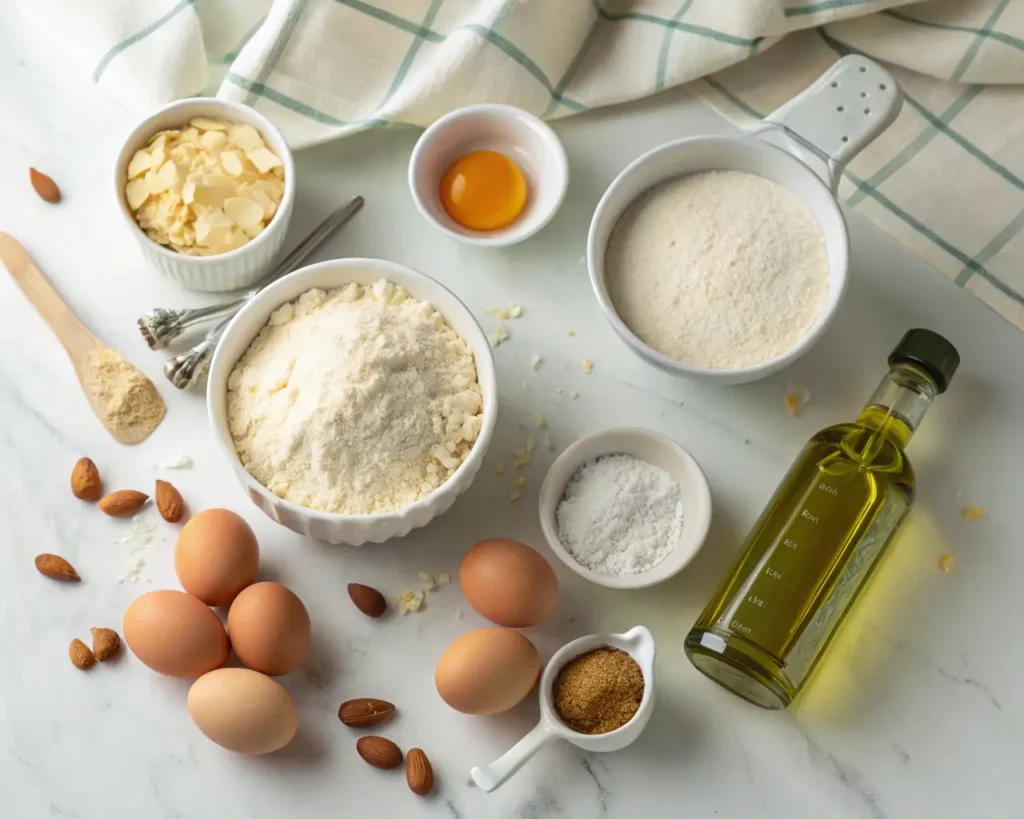
The foundation of exceptional gluten free phyllo dough starts with the right flour combination:
- Rice flour (40%): Provides structure and neutral flavor
- Potato starch (25%): Adds elasticity and helps with stretching
- Tapioca flour (20%): Creates chewiness and flexibility
- Almond flour (15%): Contributes richness and helps with browning
Binding Agents
- Xanthan gum: Essential for elasticity and stretch
- Psyllium husk powder: Improves texture and workability
- Eggs: Natural binding and adds richness
Additional Ingredients
- Olive oil: For flavor and pliability
- Apple cider vinegar: Helps with dough elasticity
- Salt: Enhances flavor
- Warm water: Activates binding agents
Step-by-Step Recipe for Homemade Gluten Free Phyllo Dough
Ingredients (Makes 12-15 sheets)
- 2 cups gluten free flour blend (recipe above)
- 1 teaspoon xanthan gum (if not in flour blend)
- 1/2 teaspoon psyllium husk powder
- 1 teaspoon salt
- 2 large eggs
- 3 tablespoons olive oil
- 1 tablespoon apple cider vinegar
- 1/2 cup warm water (approximately)
Instructions
Step 1: Prepare the Dry Ingredients Whisk together your gluten free flour blend, xanthan gum, psyllium husk powder, and salt in a large mixing bowl. This ensures even distribution of binding agents throughout your gluten free phyllo dough.
Step 2: Combine Wet Ingredients In a separate bowl, beat eggs thoroughly, then add olive oil, apple cider vinegar, and warm water. The warmth helps activate the binding properties essential for stretchy gluten free phyllo.
Step 3: Create the Dough Gradually add the wet ingredients to the flour mixture, stirring constantly. The dough should come together but not be too sticky. Add water one tablespoon at a time if needed, or additional flour if too wet.
Step 4: Knead and Rest Knead the gluten free phyllo dough for 8-10 minutes until smooth and elastic. This step is crucial for developing the structure that replaces gluten. Wrap in plastic and rest for 30 minutes at room temperature.
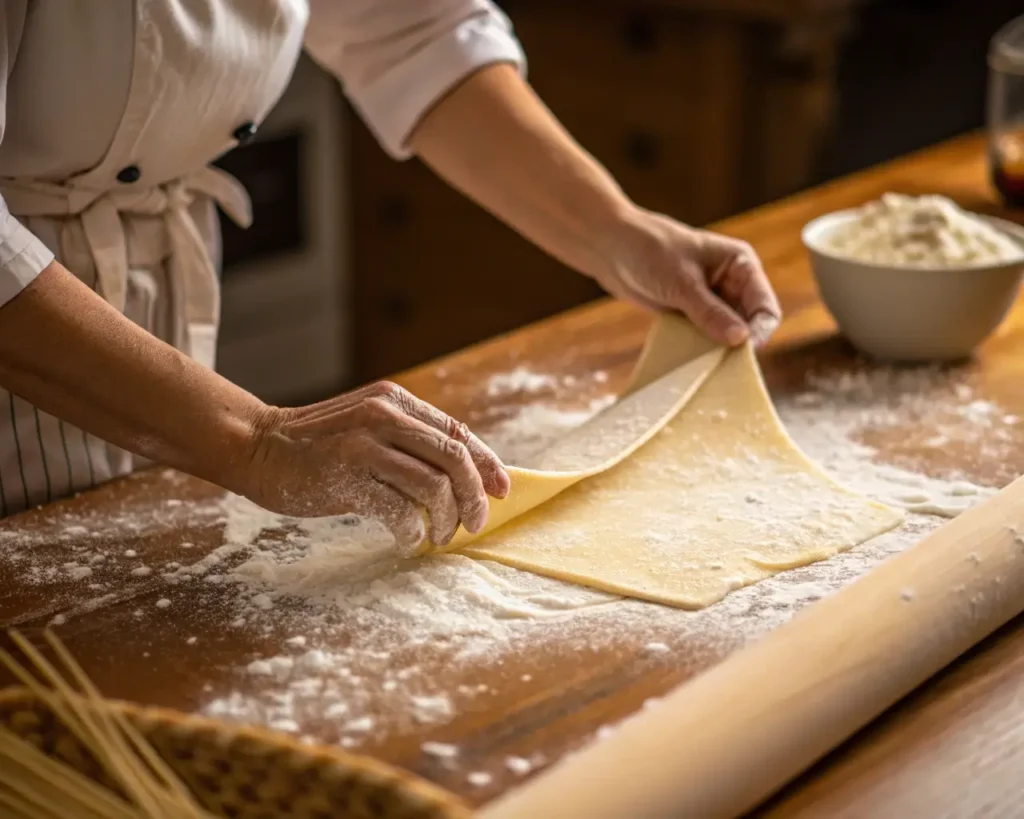
Step 5: Divide and Roll Divide the dough into 12-15 equal portions. Working with one piece at a time (keeping others covered), roll each portion as thin as possible using a rolling pin on a floured surface.
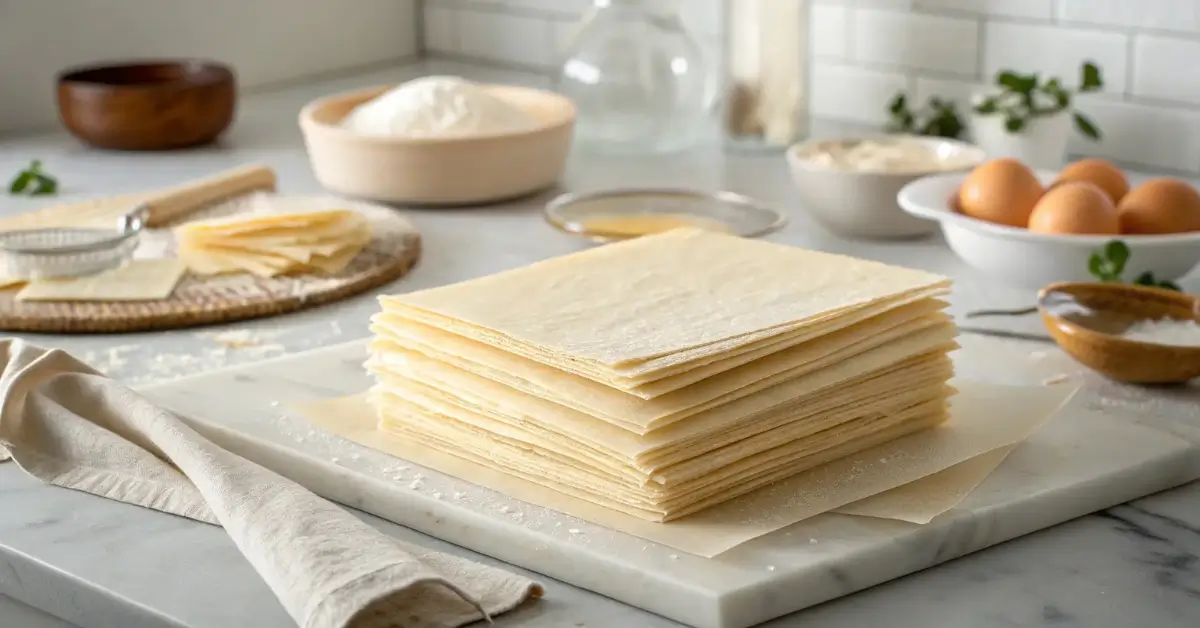
Step 6: Final Stretching For authentically thin sheets, gently stretch each rolled piece by hand, working from the center outward. The dough should be translucent enough to read through.
Pro Tips for Perfect Gluten Free Phyllo Dough
Temperature Control
Keep your gluten free phyllo dough at room temperature while working. Cold dough becomes brittle and tears easily, while overly warm dough becomes sticky and difficult to handle.
Moisture Management
Cover unused dough portions with a damp towel to prevent drying. Once rolled, keep phyllo sheets between parchment paper with a slightly damp towel on top.
Rolling Technique
Roll from the center outward in all directions, rotating the dough frequently. This ensures even thickness and prevents tearing.
Patience is Key
Allow adequate resting time between steps. This helps the binding agents fully hydrate and makes the dough more pliable.
Common Mistakes to Avoid
Over-flouring
Too much flour makes gluten free phyllo dough tough and difficult to stretch. Use just enough to prevent sticking.
Rushing the Process
Gluten free doughs need time to hydrate properly. Skipping rest periods results in brittle, unworkable pastry.
Inconsistent Thickness
Uneven rolling creates weak spots that tear during stretching. Take time to achieve uniform thickness.
Inadequate Moisture Protection
Exposed gluten free phyllo dries quickly and becomes unusable. Always keep covered when not actively working.
Storage and Freezing Instructions
Short-term Storage
Fresh gluten free phyllo dough can be refrigerated for up to 3 days. Wrap tightly in plastic wrap, then place in an airtight container.
Freezing Fresh Dough
Wrap individual dough balls in plastic wrap, place in freezer bags, and freeze for up to 3 months. Thaw overnight in refrigerator before use.
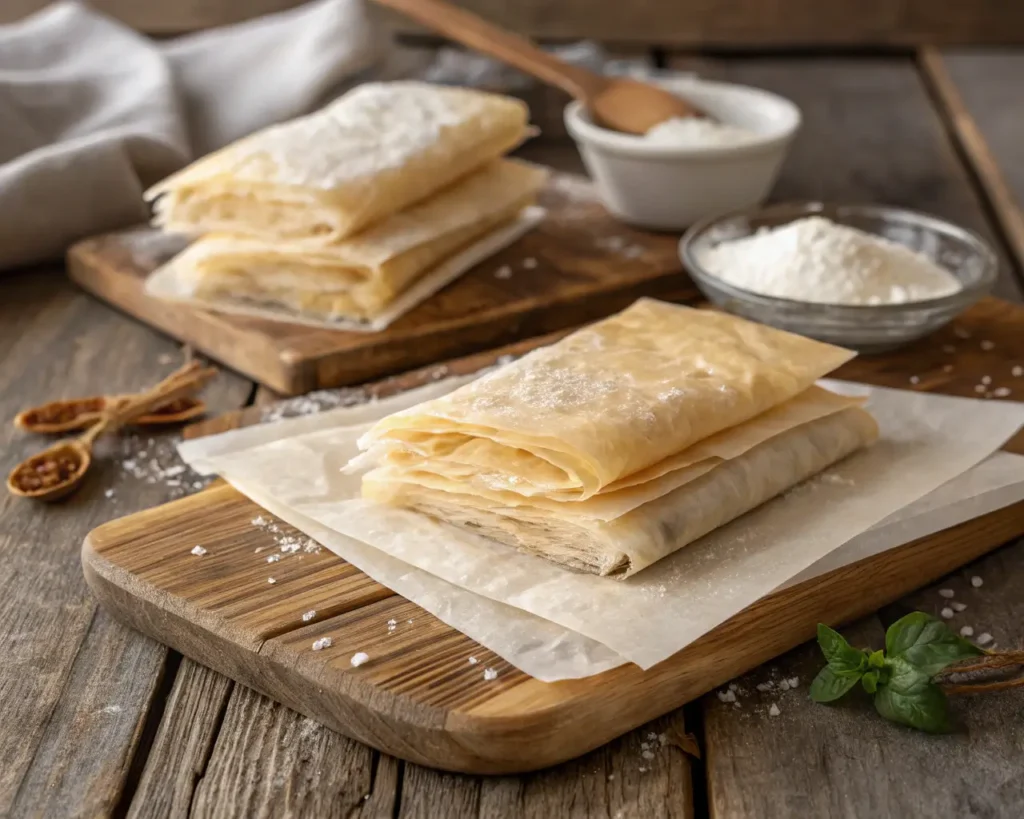
Storing Rolled Sheets
Layer rolled phyllo sheets between parchment paper, wrap the stack in plastic wrap, and refrigerate for up to 2 days or freeze for up to 1 month.
Delicious Recipes Using Gluten Free Phyllo Dough
Sweet Applications
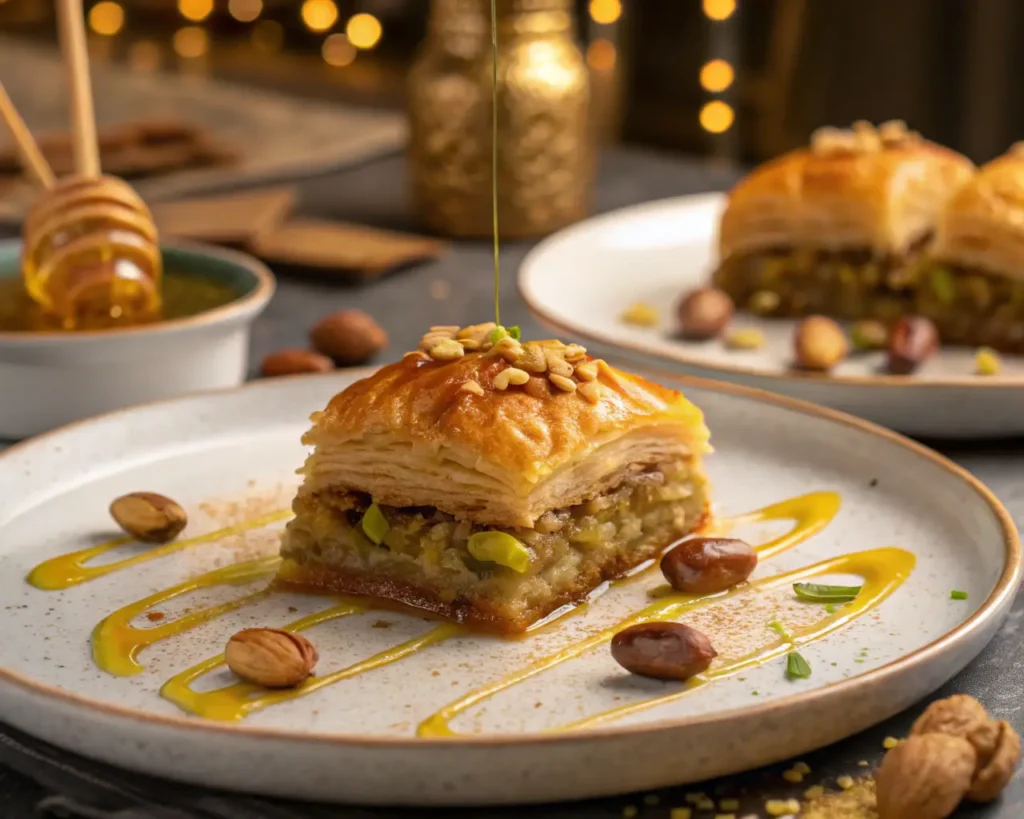
- Baklava: Layer with nuts and honey syrup
- Apple strudel: Filled with spiced apples and raisins
- Galaktoboureko: Greek custard dessert
Savory Dishes
- Spanakopita: Spinach and feta pie
- Tyropita: Cheese-filled triangles
- Chicken and vegetable parcels
Troubleshooting Common Issues
Dough Tears Easily
- Add more moisture (water or oil)
- Ensure adequate resting time
- Check that binding agents are properly incorporated
Dough Too Sticky
- Add small amounts of flour gradually
- Reduce liquid slightly in next batch
- Ensure proper flour blend ratios
Sheets Not Thin Enough
- Continue rolling and stretching patiently
- Ensure dough is at proper room temperature
- Practice the hand-stretching technique
Nutritional Benefits of Gluten Free Phyllo Dough
Making your own gluten free phyllo dough allows you to control ingredients and nutritional content. Rice flour provides B vitamins and minerals, while almond flour adds protein and healthy fats. This homemade version typically contains less sodium than commercial alternatives and no preservatives.
Why Make Gluten Free Phyllo Dough at Home?
Commercial gluten free phyllo can be expensive and difficult to find. Making your own ensures freshness, allows ingredient control, and provides the satisfaction of creating an authentic product. Plus, homemade gluten free phyllo dough often tastes better than store-bought versions.
The process, while requiring patience, becomes easier with practice. Once you master the technique, you’ll have the skill to create impressive Mediterranean and Middle Eastern dishes that accommodate gluten-free dietary needs without sacrificing flavor or authenticity.
Conclusion
Creating perfect gluten free phyllo dough at home is an achievable goal with the right ingredients, technique, and patience. This comprehensive guide provides everything needed to master this essential pastry, opening up a world of delicious gluten-free Mediterranean and Middle Eastern cooking possibilities.
Remember that practice makes perfect, and each batch will improve your skills. Start with simpler applications like hand pies or turnovers before attempting more complex layered desserts like baklava. With time and experience, your homemade gluten free phyllo will rival any commercial product.
Whether you’re accommodating dietary restrictions or simply enjoy the satisfaction of homemade pastry, this gluten free phyllo dough recipe will become an invaluable addition to your culinary repertoire.
Meta Description: Learn to make perfect homemade gluten free phyllo dough with our comprehensive guide. Step-by-step instructions, pro tips, and troubleshooting for delicate, paper-thin pastry sheets.
Keywords: gluten free phyllo dough, homemade phyllo pastry, gluten free filo pastry, phyllo dough recipe, gluten free baking, Mediterranean pastry, gluten free desserts
CTA;
👉Follow us on Facebook and Pinterest for more inspiration, trends, and tips — every season!