Viral Handle the Heat Brown Butter Toffee Recipe (Millions Love)
Why These Browned Butter Toffee Cookies Are Taking Over Social Media
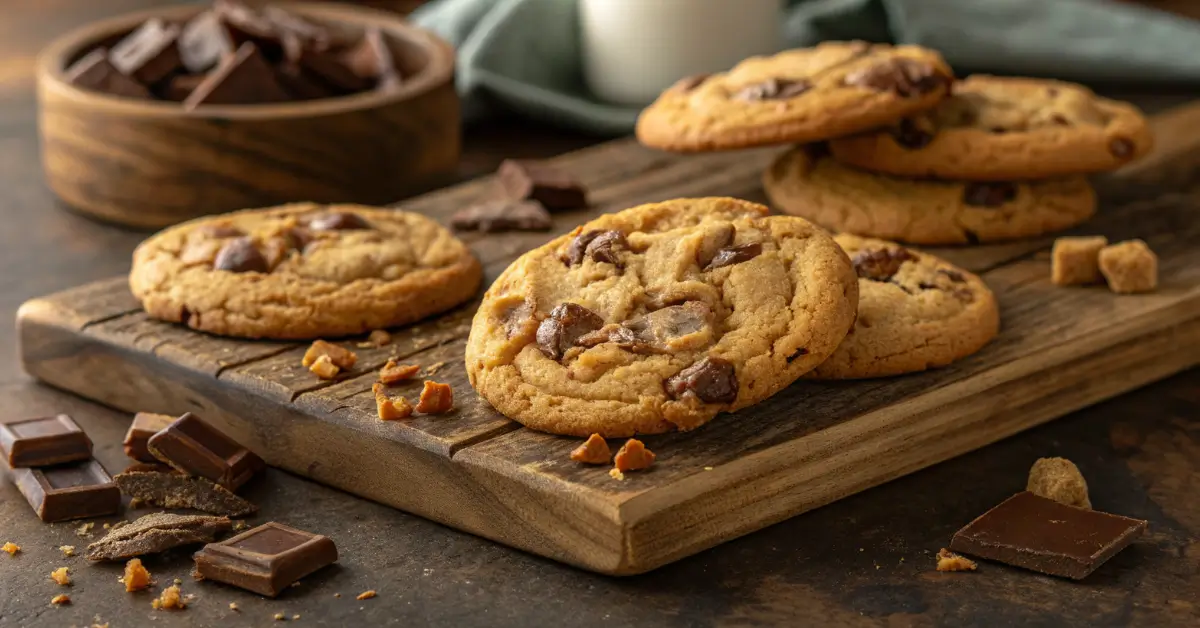
If you’ve been scrolling through TikTok or Instagram lately, you’ve probably seen the viral handle the heat brown butter toffee cookies that have bakers worldwide obsessed. These aren’t your ordinary chocolate chip cookies – they’re the kind that make people fight over the last one in the jar.
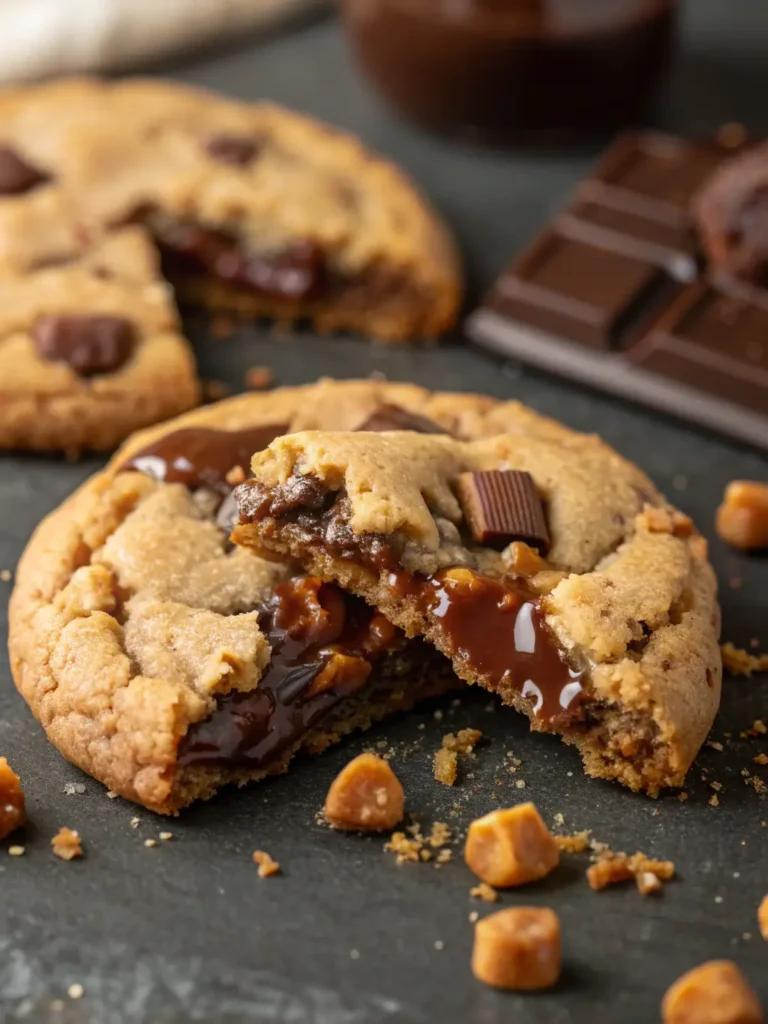
What makes these cookies special? The secret lies in browning the butter, which creates a nutty, caramel-like flavor that pairs perfectly with rich toffee bits and dark chocolate chunks. The result? Cookies that are crispy on the edges, chewy in the middle, and absolutely irresistible.
What You’ll Learn in This Complete Guide
- The science behind browning butter for maximum flavor
- Step-by-step instructions with pro tips
- Common mistakes and how to avoid them
- Storage and freezing techniques
- Customization options for dietary needs
The Secret Behind Handle the Heat’s Brown Butter Toffee Magic
Why Brown Butter Changes Everything
When you heat butter past its melting point, the milk solids begin to caramelize, creating compounds called lactones that give browned butter its signature nutty aroma. This process, known as the Maillard reaction, is what transforms ordinary cookies into something extraordinary.
The flavor profile includes:
- Deep, nutty undertones
- Rich caramel notes
- Enhanced sweetness perception
- Complex aromatic compounds
The Perfect Toffee Addition
Toffee bits add more than just sweetness. They provide:
- Buttery crunch texture
- Caramelized sugar notes
- Visual appeal with golden specks
- Complementary flavors to brown butter
Essential Ingredients for Perfect Results
The Brown Butter Base
- 2 sticks unsalted butter – Use high-quality butter for best flavor
- Stainless steel pan – Essential for visual cues during browning
The Sugar Blend
- 1/2 cup granulated sugar – Provides structure and crispiness
- 1 cup dark brown sugar – Adds moisture and deep molasses flavor
The Flour Foundation
- 1½ cups all-purpose flour – The base structure
- 1 cup bread flour – Creates chewier texture (substitution tips below)
Flavor Enhancers
- 1 tsp instant espresso powder – Amplifies chocolate flavor (optional)
- 2 large eggs + 1 egg yolk – Extra richness and binding
- 2 tsp vanilla extract – Classic cookie flavor
The Star Add-ins
- 10 oz semisweet chocolate, chopped – Better than chips for marbled effect
- 1 cup toffee bits – Store-bought or homemade
- Flaky sea salt – For finishing touch
Step-by-Step Guide to Cookie Perfection
Phase 1: Mastering the Brown Butter (10 minutes)
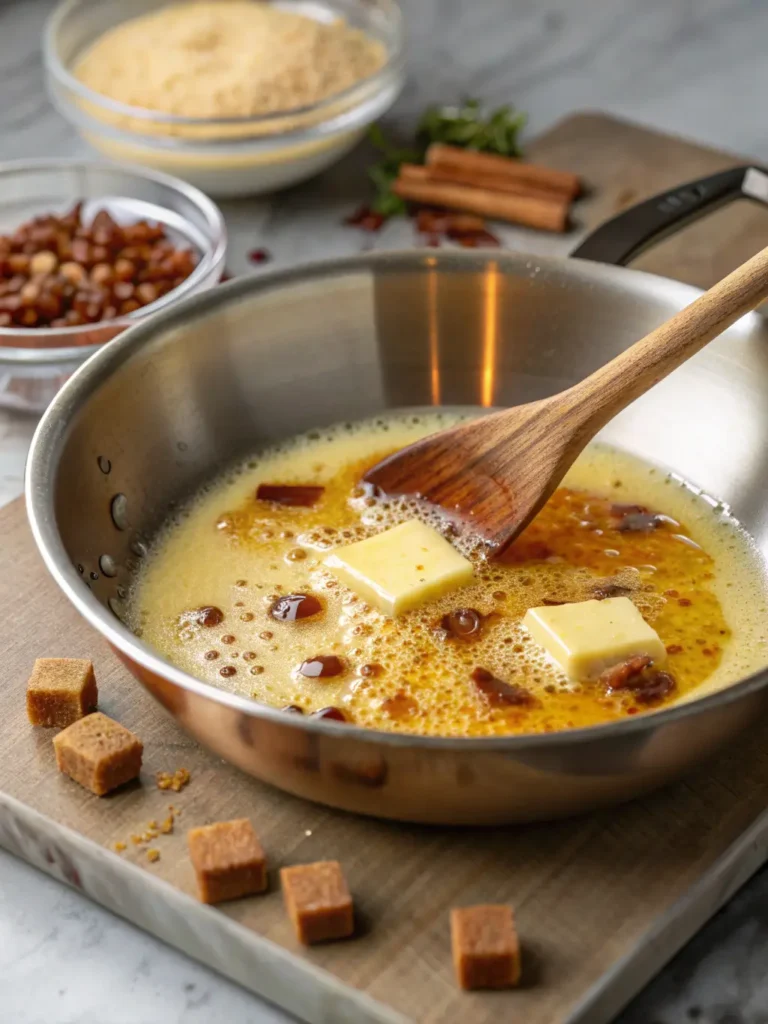
- Choose the right pan: Use a light-colored stainless steel sauté pan. Avoid non-stick or dark pans that hide visual cues.
- Melt and watch: Place butter over medium heat. It will melt, foam, and start crackling.
- Listen for the change: When crackling quiets down, start swirling constantly.
- Look for amber color: The butter should turn golden-amber with brown bits at the bottom.
- Smell test: You’ll notice a distinctly nutty aroma when it’s ready.
- Transfer immediately: Pour everything (including brown bits) into your mixing bowl.
Pro Tip: The brown bits contain the most flavor – don’t leave them behind!
Phase 2: Building the Dough (15 minutes)
- Cool the butter mixture: Add both sugars to hot browned butter and stir. Let cool to room temperature (about 20 minutes).
- Prepare dry ingredients: Whisk together flours, baking soda, baking powder, salt, and espresso powder in a separate bowl.
- Combine wet ingredients: Add eggs, egg yolk, and vanilla to cooled butter mixture. Whisk until smooth.
- Gradual mixing: Fold in flour mixture with a rubber spatula until just combined.
- Add the good stuff: Gently fold in chopped chocolate and toffee bits.
Phase 3: The Crucial Chill (24-72 hours)
Why chilling is non-negotiable:
- Allows flavors to meld and develop
- Prevents excessive spreading
- Creates better texture contrast
- Firms up the dough for easier handling
Chilling process:
- Wrap dough tightly in plastic wrap
- Refrigerate for minimum 24 hours
- For best results, wait 48-72 hours
- Let sit at room temp for 1 hour before scooping
Phase 4: Baking to Perfection (12-14 minutes)
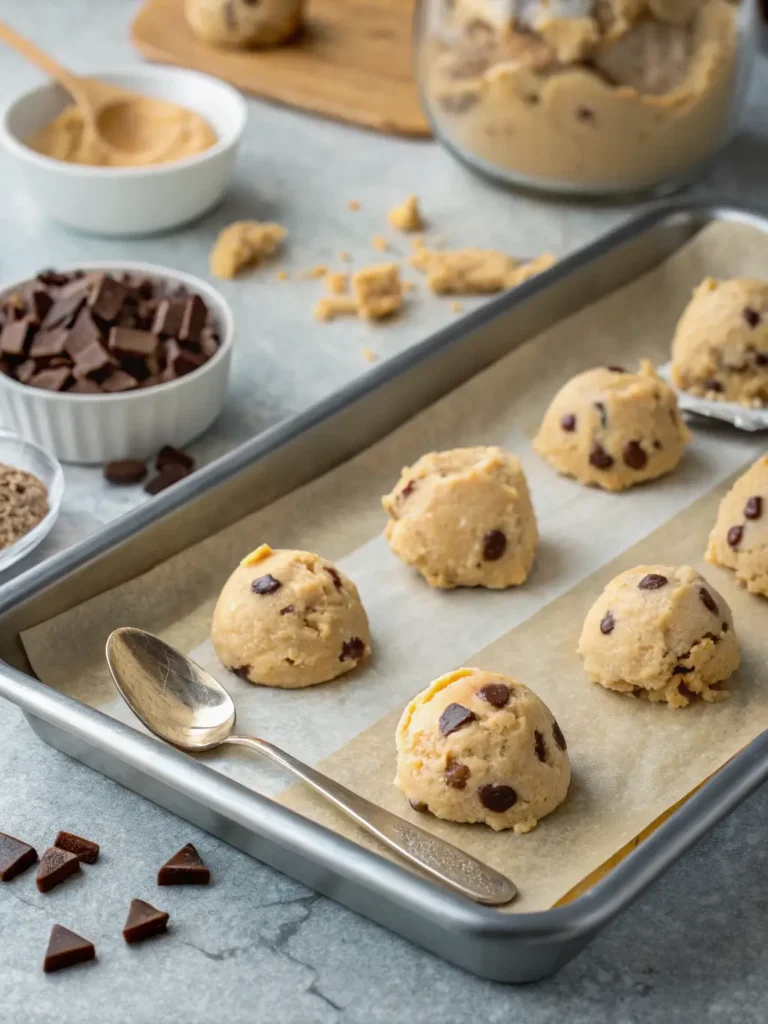
- Preheat: Set oven to 350°F (175°C)
- Portion: Use a 3-tablespoon cookie scoop for bakery-style size
- Space properly: Leave 2 inches between cookies
- Bake timing: 12-14 minutes until edges are golden brown
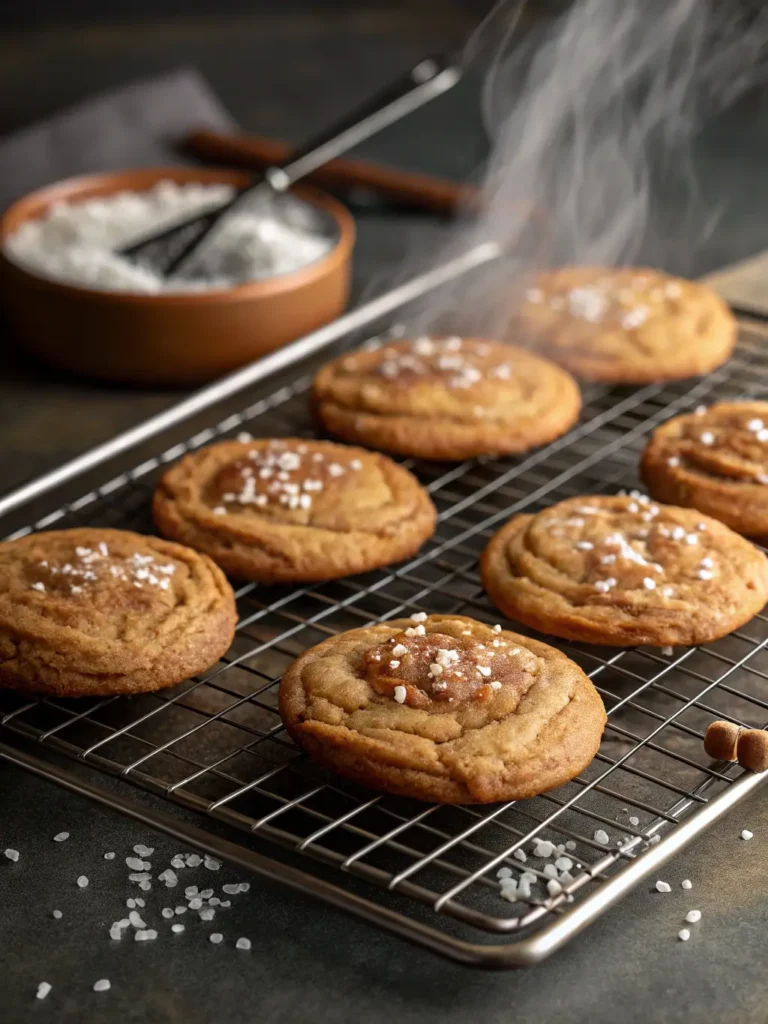
- Finish touch: Sprinkle with flaky sea salt immediately after baking
- Cool correctly: Let rest 2 minutes on pan, then transfer to wire rack
Pro Tips for Handle the Heat Brown Butter Toffee Success
Texture Troubleshooting
For chewier cookies:
- Use more bread flour
- Slightly underbake by 1-2 minutes
- Add an extra egg yolk
For crispier edges:
- Increase granulated sugar slightly
- Bake 1-2 minutes longer
- Use darker baking pans
Ingredient Substitutions
No bread flour? Use 2½ cups all-purpose flour total, but expect slightly less chewiness.
No toffee bits? Try butterscotch chips, chopped caramel candies, or mini cinnamon chips.
No espresso powder? Simply omit – the cookies will still be delicious.
Storage and Freezing Strategies
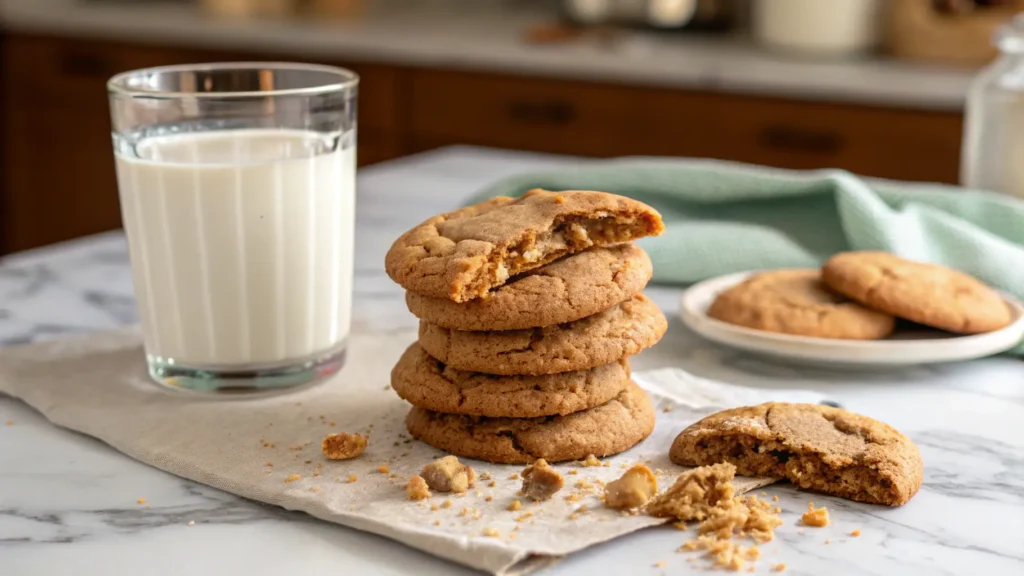
Short-term storage:
- Airtight container at room temperature
- Good for 5-7 days
- Place parchment between layers
Long-term freezing:
- Freeze portioned dough balls after 24-hour chill
- Store in freezer bags up to 3 months
- Bake directly from frozen (add 1-2 extra minutes)
Customization Ideas for Your Brown Butter Cookies
Flavor Variations
- Salted Caramel: Add caramel pieces and extra sea salt
- Espresso Lover: Double the espresso powder and add chocolate-covered coffee beans
- Nutty Delight: Add chopped toasted pecans or walnuts
- Seasonal Spice: Add cinnamon, nutmeg, and cardamom for fall flavors
Dietary Modifications
- Gluten-free: Use 1:1 gluten-free flour blend (may affect texture)
- Dairy-free: Use plant-based butter for browning (coconut oil works too)
- Egg-free: Try aquafaba or commercial egg replacer (texture will vary)
Common Mistakes and How to Avoid Them
The Burnt Butter Disaster
Problem: Butter turns black and tastes bitter Solution: Watch carefully after foaming stops; practice makes perfect
The Spreading Epidemic
Problem: Cookies spread too thin and merge together Solution: Ensure dough is properly chilled; don’t skip the 24-hour minimum
The Dense Cookie Catastrophe
Problem: Cookies turn out thick and cake-like Solution: Don’t overmix once flour is added; measure flour by weight if possible
The Dry Cookie Drama
Problem: Cookies crumble and lack chewiness Solution: Don’t overbake; they should look slightly underdone when removing from oven
The Science Behind the Perfect Cookie
Understanding the handle the heat brown butter toffee formula helps you achieve consistent results:
Butter browning creates over 100 different flavor compounds, including pyrazines and furans that give the nutty taste.
Sugar ratio (brown vs. white) affects both flavor and texture. Brown sugar’s molasses content adds moisture and chewiness.
Flour types contribute different proteins. Bread flour’s higher protein content creates more gluten, resulting in chewier texture.
Chilling time allows flour to fully hydrate and flavors to develop through enzymatic reactions.
Frequently Asked Questions
Q: Can I use salted butter instead of unsalted? A: Yes, but reduce added salt by half to avoid oversalting.
Q: Why do my handle the heat brown butter toffee cookies look different from the photos? A: Oven temperature variations are common. Use an oven thermometer to verify accuracy when baking your handle the heat brown butter toffee cookies.
Q: Can I make smaller cookies? A: Absolutely! Use 1½ tablespoon portions and reduce baking time to 10-12 minutes. The handle the heat brown butter toffee flavor remains just as delicious in smaller portions.
Q: What’s the best chocolate to use? A: High-quality semisweet chocolate bars chopped into chunks work better than chips for melting and flavor distribution in your handle the heat brown butter toffee cookies.
Final Thoughts: Why This Recipe Works
The handle the heat brown butter toffee combination creates a perfect storm of flavors and textures. The nutty browned butter provides depth, the toffee adds sweet crunch, and the technique ensures bakery-quality results at home.
These cookies represent more than just a treat – they’re a masterclass in understanding how ingredients interact. Once you master the brown butter technique, you’ll find yourself using it in countless other recipes.
Ready to start baking? Gather your ingredients, set aside that crucial chill time, and prepare to make the handle the heat brown butter toffee cookies that everyone will be asking for the recipe to. Your kitchen is about to smell absolutely incredible with the aroma of this famous handle the heat brown butter toffee creation.
Have you tried making these viral handle the heat brown butter toffee cookies? Share your results and tag us on social media! We love seeing your handle the heat brown butter toffee baking successes.
Related Articles:
- How to Brown Butter Like a Pro: Complete Guide
- The Science of Cookie Textures: Chewy vs. Crispy
- Best Toffee Brands for Baking: Taste Test Results
| Pin to Pinterest | Share on Facebook
Follow us On : Facebook and Pinterest