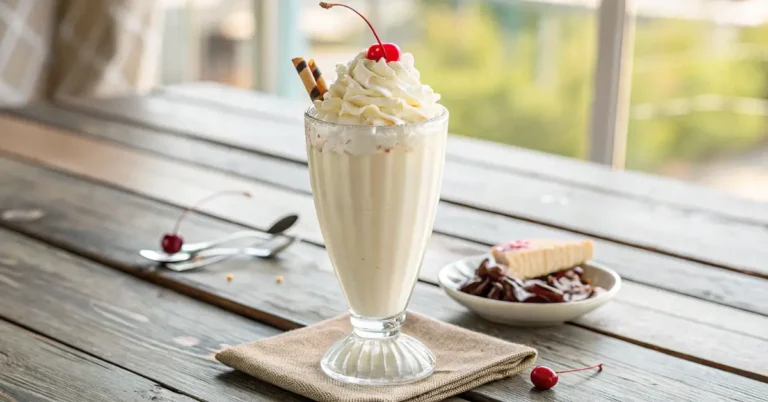
How to Make Ice Cream: 7 Easy Methods That Actually Work (2025 Guide)
Your Ice Cream Success Summary
Taste: Creamy, rich, and better than store-bought every single time
Time: As quick as 5 minutes with some methods, or 30 minutes for traditional recipes
Difficulty: Beginner-friendly – no special skills needed!
Equipment: Multiple options from no-machine methods to modern ice cream makers
Why This Works: Tested methods that guarantee perfect texture and flavor every time
Making homemade ice cream is easier than you think, and the results are absolutely incredible.
Whether you’re craving classic vanilla on a Sunday afternoon or want to impress guests with gourmet flavors, this complete guide will show you exactly how to make ice cream using 7 different methods – including popular ninja creami recipes and some that require no special equipment at all.
I’ve spent years perfecting these ice cream recipes and testing every method possible. From traditional churned ice cream to modern ninja creami recipes, I’ll share the techniques that actually work and help you avoid common mistakes that lead to icy, hard desserts. These ninja creami recipes have become increasingly popular among home cooks who want professional results without the hassle.
Table of Contents
🆓 Free Ice Cream Recipe Calculator
Get perfect ratios every time! Download my printable guide with ingredient ratios, troubleshooting tips, and flavor combinations that never fail. Includes exclusive ninja creami recipes not available anywhere else!
Let’s dive into the world of homemade ice cream and discover which method works best for your kitchen and lifestyle. We’ll cover everything from traditional methods to the latest ninja creami recipes that are taking social media by storm.
Method 1: The 2-Ingredient No-Churn Method (Easiest!)
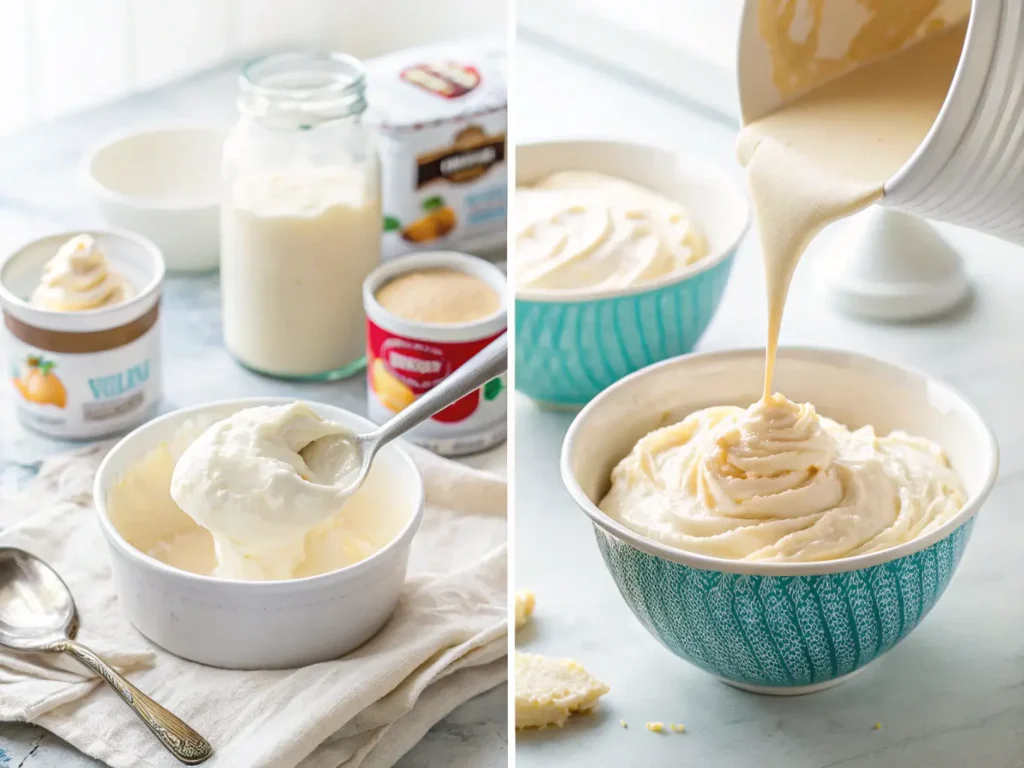
This is hands-down the easiest way to make ice cream at home. You only need heavy whipping cream and sweetened condensed milk, and you don’t need an ice cream maker!
What You Need:
- 2 cups heavy whipping cream (cold)
- 1 can (14 oz) sweetened condensed milk (chilled)
- 1 tsp vanilla extract
- Pinch of salt
Step-by-Step Instructions:
Step 1: Prep Your Equipment Chill your mixing bowl and beaters in the refrigerator for 12 to 24 hours. This ensures better whipping results.
Step 2: Whip the Cream Whip 2 cups of heavy cream by hand or with an electric mixer until stiff peaks form. This usually takes 3-5 minutes with an electric mixer.
Step 3: Fold in Condensed Milk Slowly drizzle in the chilled can of sweetened condensed milk while gently folding with a spatula. Add vanilla and salt.
Step 4: Freeze Transfer to a freezer-safe container and freeze for at least 6 hours or overnight.
Why This Works: The fat in heavy cream creates richness while sweetened condensed milk provides sweetness and prevents ice crystals from forming.
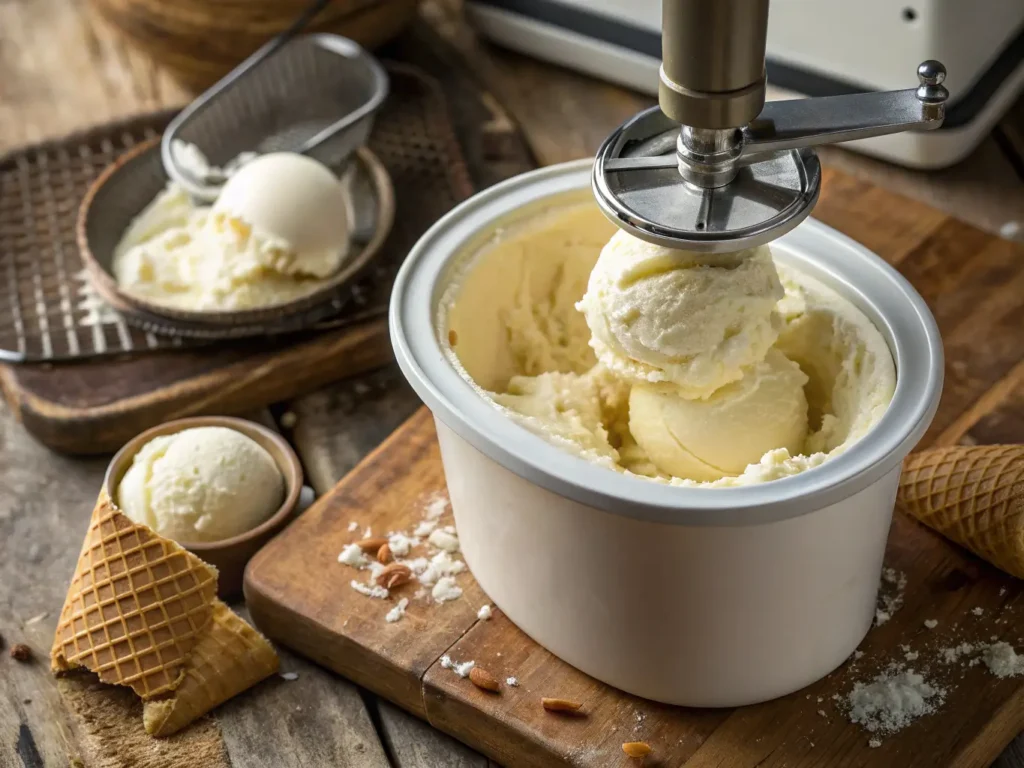
Method 2: Traditional Ice Cream Maker Method
This classic approach gives you the most control over texture and flavor. Combine cream, milk, sugar, vanilla, and salt in a medium saucepan over medium-low heat. Warm for 5 minutes, whisking often, until the sugar is fully dissolved.
What You Need:
- 2 cups heavy cream
- 1 cup whole milk
- 3/4 cup granulated sugar
- 1 tsp vanilla extract
- 1/4 tsp salt
- Ice cream maker
The Process:
Step 1: Make the Base Heat milk, cream, and half the sugar until steaming. Stir everything together in a saucepan, simmer, stir, chill, and churn; less than 10 minutes of actual prep time.
Step 2: Chill Completely If you do it less than 2 hours ahead, the ice cream won’t thicken as nicely when you churn it. Refrigerate for at least 4 hours or overnight.
Step 3: Churn Freeze according to the manufacturer’s instructions, about 20 minutes.
Step 4: Final Freeze Transfer to an airtight container and freeze until firm, about 4 hours.
Pro tip: This base recipe works great as a foundation for ninja creami recipes too – just freeze in your Ninja Creami container instead!
Method 3: Ninja Creami Recipes (Modern & Convenient)
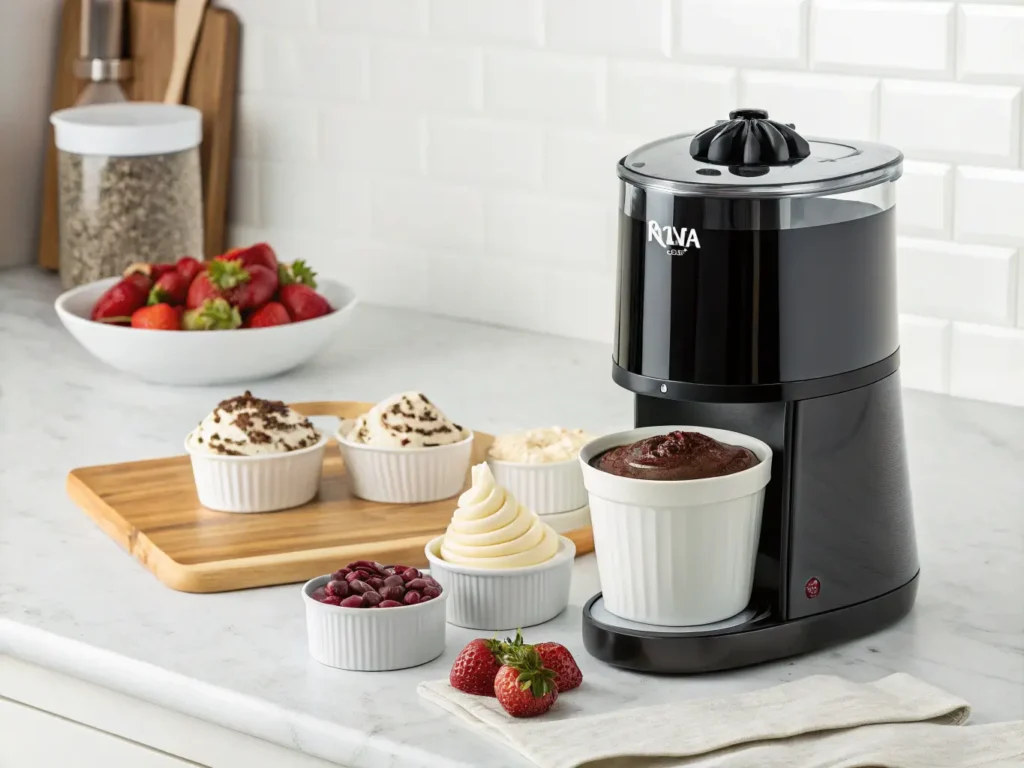
The Ninja Creami has revolutionized home ice cream making. It’s perfect for creating custom flavors and healthier alternatives. These ninja creami recipes are designed specifically for optimal results with this innovative machine.
Basic Ninja Creami Vanilla Recipe:
- 1 cup whole milk
- 1/2 cup heavy cream
- 1/3 cup sugar
- 1 tsp vanilla extract
- Pinch of salt
Ninja Creami Process:
Step 1: Mix Ingredients Combine all ingredients in the Ninja Creami container. Stir until sugar dissolves completely.
Step 2: Freeze Solid Freeze for 24 hours minimum. The mixture must be completely solid.
Step 3: Process Install in machine and run “Ice Cream” cycle. Check texture and re-spin if needed.
Step 4: Add Mix-ins Use “Mix-in” cycle for chocolate chips, cookies, or fruit during final 30 seconds.
Popular Ninja Creami Recipe Variations:
These ninja creami recipes have been tested extensively and deliver consistent results every time:
Protein Ice Cream:
- 1 cup unsweetened almond milk
- 1 scoop vanilla protein powder
- 2 tbsp cream cheese
- 2 tbsp honey
Chocolate Peanut Butter:
- 1 cup whole milk
- 1/4 cup cocoa powder
- 3 tbsp peanut butter
- 1/3 cup maple syrup
Berry Cheesecake:
- 1 cup milk
- 4 oz cream cheese (softened)
- 1/3 cup sugar
- 1/2 cup mixed berries
All of these ninja creami recipes follow the same basic process but deliver completely different flavors and nutritional profiles.
The Ninja Creami is fantastic for portion control and experimenting with healthier ingredients without sacrificing taste. Many of my most popular ninja creami recipes focus on high-protein, low-sugar alternatives that still deliver incredible flavor and texture.
Method 4: Ice Cream in a Bag (Fun for Kids!)
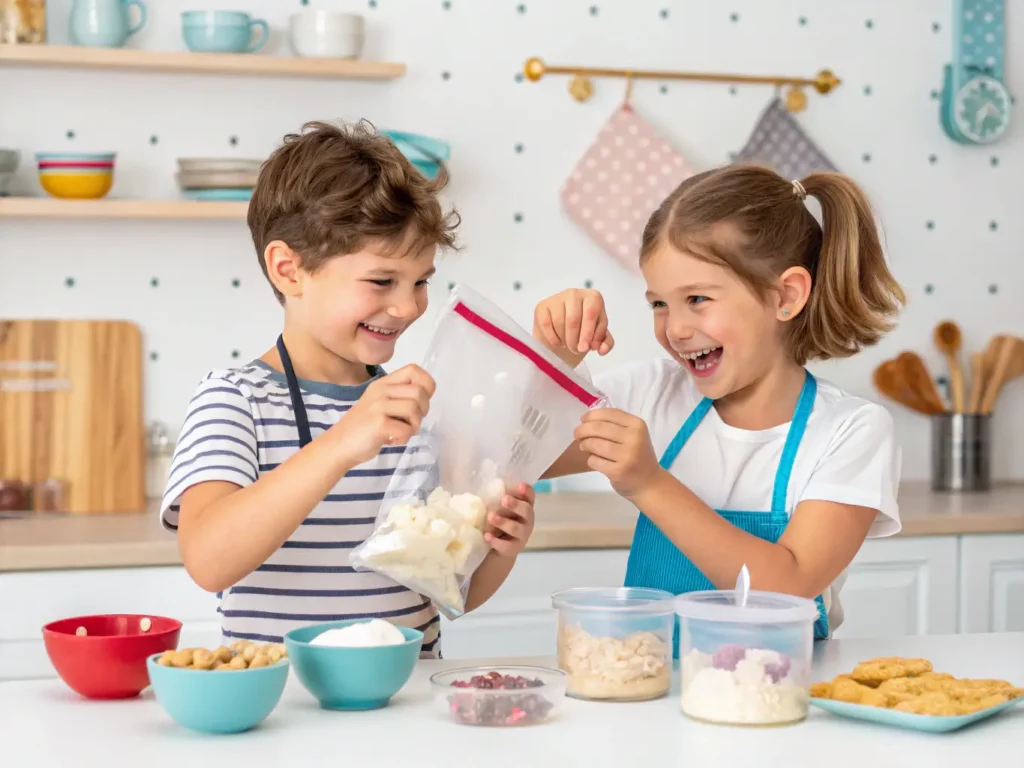
This method is perfect for teaching kids about science while making a tasty treat. All you need is a bag and 5 ingredients! While not as sophisticated as ninja creami recipes, it’s incredibly fun and educational.
What You Need:
- 1 cup heavy cream
- 1/2 cup sugar
- 1/2 tsp vanilla
- Ice cubes
- 1/2 cup salt
- 2 quart-size ziplock bags
- 1 gallon-size ziplock bag
- Towels
The Fun Process:
Step 1: Make Ice Cream Base Mix cream, sugar, and vanilla in one quart-size bag. Seal tightly.
Step 2: Create Ice Bath Fill gallon bag with ice and salt. The salt lowers the freezing point.
Step 3: Shake and Freeze Place sealed cream mixture inside ice bag. Wrap in towels and shake vigorously for 15-20 minutes.
Step 4: Enjoy Remove inner bag, rinse off salt water, and enjoy your fresh ice cream!
Method 5: Food Processor Method
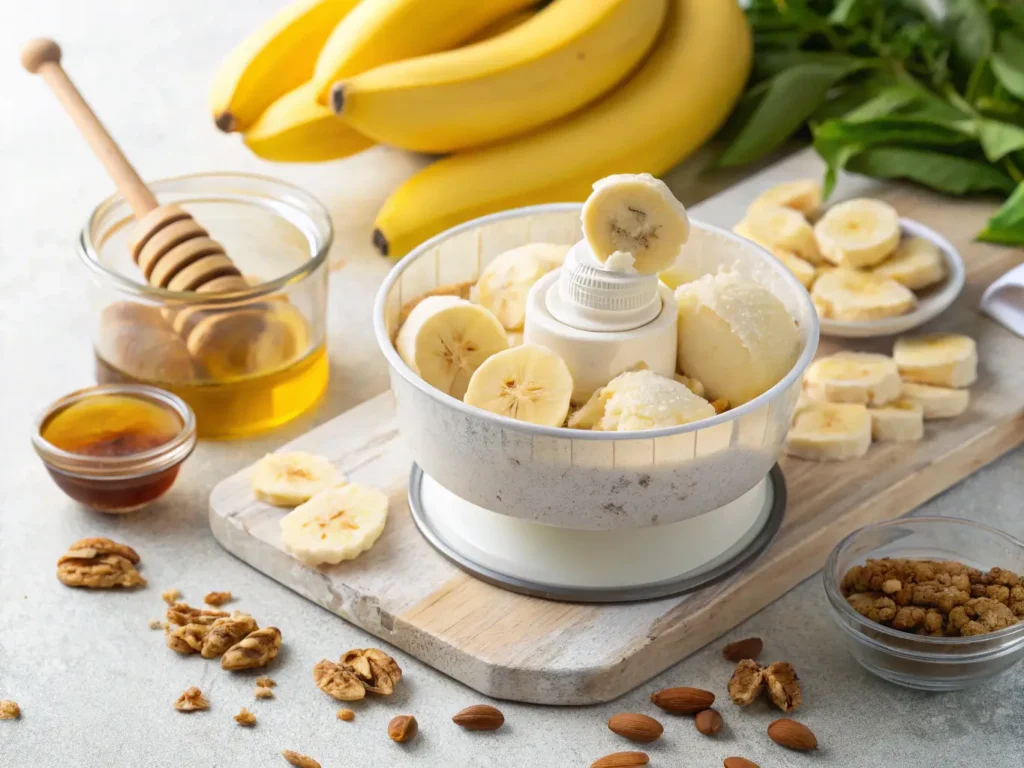
Great for fruit-based ice creams and when you want texture control.
Frozen Banana Ice Cream:
- 3 frozen bananas (sliced)
- 1/4 cup milk or cream
- 2 tbsp honey
- 1 tsp vanilla
Simply process frozen fruit until smooth, add liquid gradually, and freeze for 2 hours for firmer texture.
Method 6: Hand-Whisking Method (No Equipment)
Mix cream, milk, sugar and vanilla in a bowl and stir until sugar dissolves. Then manually whisk every 30 minutes during freezing to break up ice crystals.
The Technique:
- Mix base ingredients
- Place in freezer
- Whisk vigorously every 30 minutes for 3-4 hours
- Freeze overnight
Method 7: Mason Jar Method
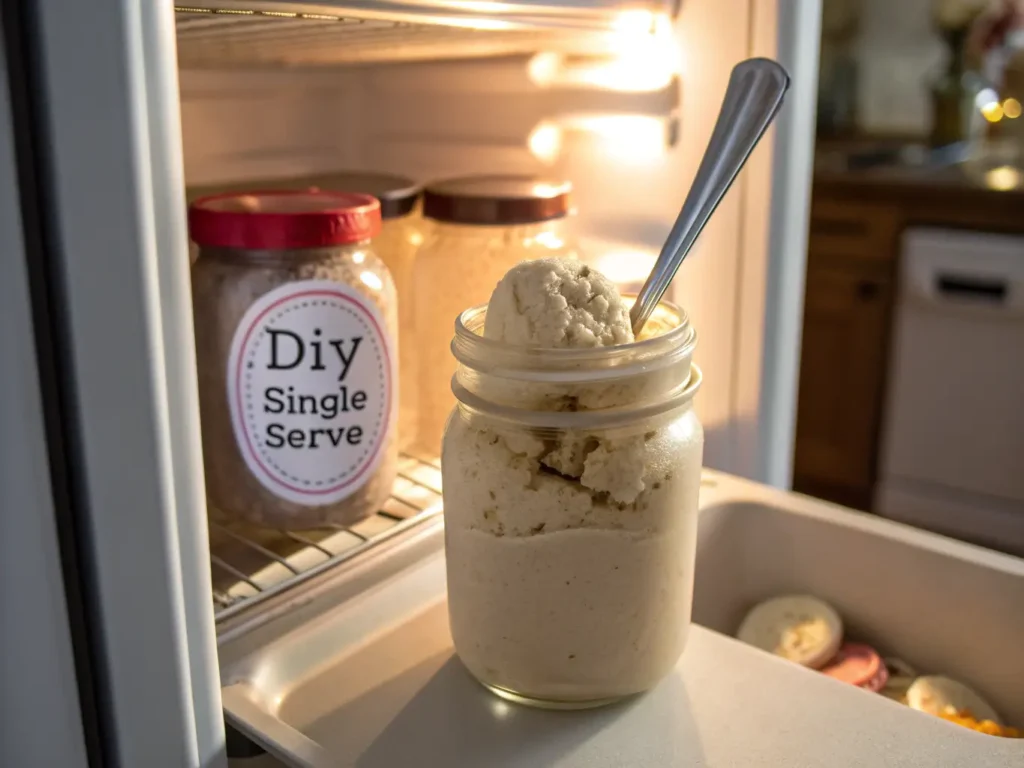
Perfect for single servings:
- Fill mason jar 2/3 with cream mixture
- Seal tightly
- Shake vigorously for 5 minutes
- Freeze for 3 hours
- Shake again, then freeze overnight
The Science Behind Perfect Ice Cream
Understanding why ice cream works helps you troubleshoot problems and create better results.
Key Factors for Success:
Fat Content: Use the right amount of fat – typically 10-16% for optimal creaminess.
Sugar Balance: Sugar doesn’t just sweeten; it prevents ice crystals and affects texture.
Temperature Control: Proper freezing temperature and timing are crucial for smooth texture.
Air Incorporation: Churning adds air, creating light, scoopable texture.
Common Problems and Solutions:
Icy Texture: Usually caused by too little fat or sugar. Add more cream or sweetener.
Too Hard: Often from over-freezing or insufficient sugar. Let soften before serving.
Won’t Freeze: Check your freezer temperature and ensure proper ratios.
Grainy Texture: Sugar didn’t dissolve properly. Always dissolve sugar completely in warm liquid.
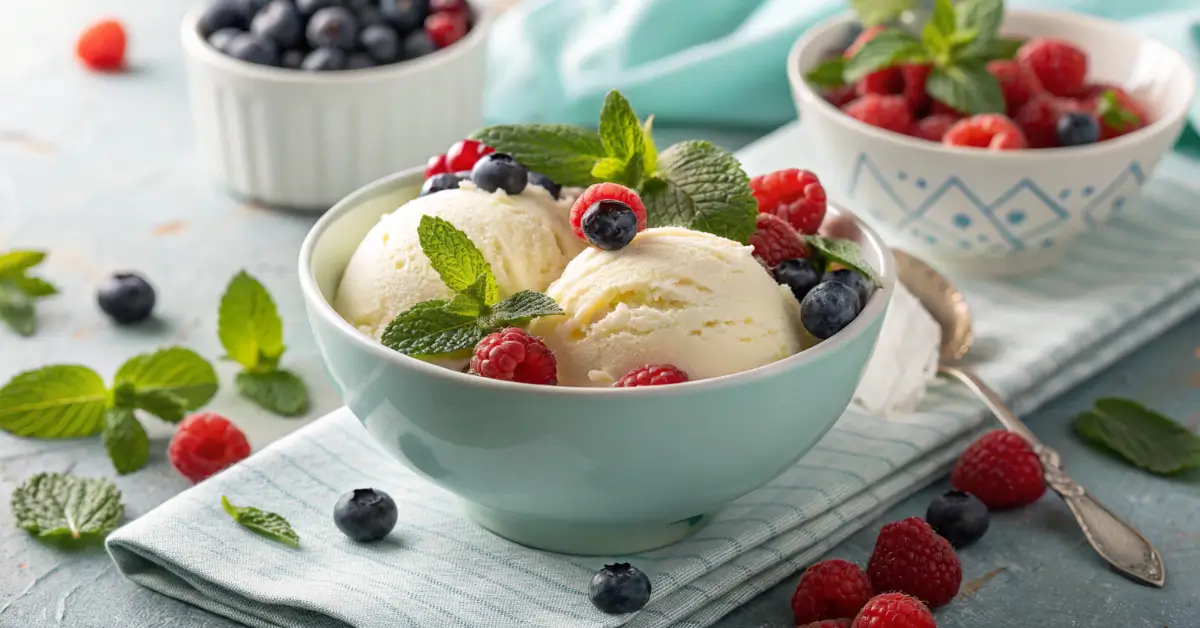
Flavor Ideas and Combinations

Once you master the basic techniques, try these popular variations:
Classic Flavors:
- Vanilla Bean: Add scraped vanilla bean seeds
- Chocolate: Mix in cocoa powder or melted chocolate
- Strawberry: Fold in fresh strawberry puree
Gourmet Options:
- Salted Caramel: Swirl in homemade caramel with sea salt (perfect for ninja creami recipes)
- Mint Chocolate Chip: Add peppermint extract and chocolate chips
- Coffee: Incorporate strong espresso or coffee extract
Healthy Alternatives:
- Avocado Chocolate: Blend ripe avocado with cocoa (popular in ninja creami recipes)
- Coconut: Use coconut milk and cream
- Greek Yogurt: Replace some cream with thick Greek yogurt
Storage and Serving Tips
Proper Storage:
- Use airtight containers
- Press plastic wrap directly onto surface
- Store in coldest part of freezer
- Consume within 1-2 weeks for best quality
Serving Guidelines:
- Let hard ice cream soften 5-10 minutes before scooping
- Use warm ice cream scoop for easier serving
- Store scoops in freezer between uses
Equipment Recommendations
Essential Tools:
- Ice Cream Maker: Cuisinart ICE-21 for beginners
- Ninja Creami: Best for custom flavors and health-conscious options (see our ninja creami recipes above)
- Digital Thermometer: Ensures proper temperatures
- Fine-Mesh Strainer: For smooth custard bases
Nice-to-Have:
- Kitchen Scale: For precise measurements
- Ice Cream Scoop: Quality scoops make serving easier
- Storage Containers: Designed specifically for ice cream
Troubleshooting Guide
Texture Issues:
Problem: Ice cream is too soft Solution: Increase fat content or reduce sugar slightly
Problem: Ice cream is too hard Solution: Add more sugar or a tablespoon of alcohol
Problem: Icy crystals forming Solution: Ensure proper fat content and avoid temperature fluctuations
Flavor Problems:
Problem: Not sweet enough Solution: Remember frozen desserts taste less sweet than room temperature
Problem: Too sweet Solution: Add a pinch of salt to balance flavors
Problem: Bland flavor Solution: Increase extracts by 25% – flavors mute when frozen
Frequently Asked Questions
Q: Can I make ice cream without an ice cream maker? A: Absolutely! The no-churn method with heavy cream and condensed milk works perfectly.
Q: How long does homemade ice cream last? A: Properly stored homemade ice cream lasts 1-2 weeks in the freezer.
Q: Why is my ice cream not freezing? A: Check your freezer temperature (should be 0°F) and ingredient ratios.
Q: What’s the difference between traditional ice cream and ninja creami recipes? A: Ninja creami recipes are designed for the unique processing method of the Ninja Creami machine, which creates incredibly smooth textures from completely frozen bases.
Q: Can I convert regular recipes to ninja creami recipes? A: Yes! Most ninja creami recipes follow similar ratios but are optimized for the machine’s processing method.
Q: What’s the best way to add mix-ins? A: Fold in during the last few minutes of churning or after initial freezing for no-churn methods.

Final Tips for Ice Cream Success
- Always chill your base completely before churning or freezing
- Taste your mixture before freezing – it should be slightly sweeter than desired
- Don’t overfill containers – ice cream expands as it freezes
- Experiment with ratios to find your perfect texture preference
- Keep detailed notes of what works for your favorite recipes
Making ice cream at home is one of life’s simple pleasures. Whether you choose the quick no-churn method, invest in a traditional ice cream maker, or try the modern ninja creami recipes, you’ll be amazed at how much better homemade ice cream tastes compared to store-bought versions. The ninja creami recipes I’ve shared are particularly popular because they offer endless customization possibilities.
The key is finding the method that works best for your lifestyle and preferences. Start with the easiest no-churn method, then explore other techniques as you gain confidence. Many people find that ninja creami recipes offer the perfect balance of convenience and quality results.
Remember, the best ice cream is the one you actually make and enjoy. Don’t be afraid to experiment with flavors and find combinations that make your family smile.
Have you tried making ice cream at home? Share your favorite method or flavor combination in the comments below!
| Pin to Pinterest | Share on Facebook
Follow us On : Facebook and Pinterest