Perfect Homemade Timbits Recipe – Easy Canadian Donut Holes
Bite-sized bliss that brings Tim Hortons magic to your kitchen – tested, perfected, and ready to wow!
What Are Timbits? Your Introduction to Canada’s Sweetest Obsession
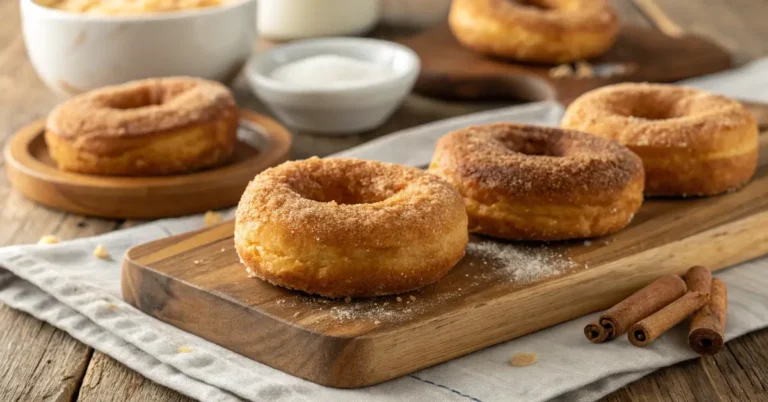
Picture this: you’re craving something sweet, but a full donut feels like too much. Enter Timbits – those irresistible, pop-in-your-mouth Canadian treasures that have been stealing hearts since 1976.
Timbits are essentially bite-sized donut holes, but calling them just “donut holes” feels like calling a maple leaf just another leaf. These golden, pillowy spheres of joy are Tim Hortons’ signature creation, and now you can make them at home with results that’ll have your family begging for more.
Why This Recipe Works:
- Perfectly balanced sweetness that’s not overwhelming
- Light, airy texture that melts in your mouth
- Simple ingredients you already have in your pantry
- Foolproof method tested multiple times for consistent results
The Science Behind Perfect Timbits (Yes, There’s Science!)
Here’s what makes homemade Timbits superior to store-bought:
Temperature is Everything: The oil needs to be exactly 375°F. Too hot? Burnt outside, raw inside. Too cool? Greasy, heavy results that nobody wants.
The Dough Secret: We’re using a slightly enriched dough with just enough sugar to create that signature tender crumb without being cake-like. The magic happens when the proteins in flour create just enough structure to hold the shape while staying incredibly soft.
Size Matters: Keep them small – about 1-inch diameter. This ensures even cooking and that perfect bite-size experience that makes Timbits so addictive.
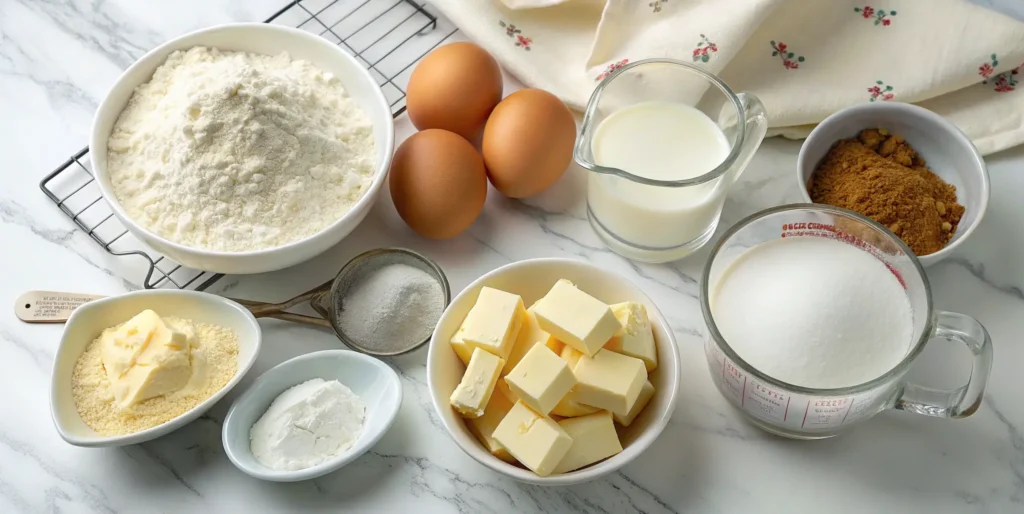
Ingredients You’ll Need
For the Timbits Dough:
- 2 cups all-purpose flour (the foundation of our texture)
- 1/3 cup granulated sugar (just enough sweetness)
- 2 teaspoons baking powder (for that perfect lift)
- 1/2 teaspoon salt (enhances all the flavors)
- 3 tablespoons butter, melted (richness without heaviness)
- 3/4 cup whole milk (creates tender crumb)
- 1 large egg (binds everything together)
- 1 teaspoon vanilla extract (that subtle background note)
For Frying:
- Vegetable oil for deep frying (about 6 cups)
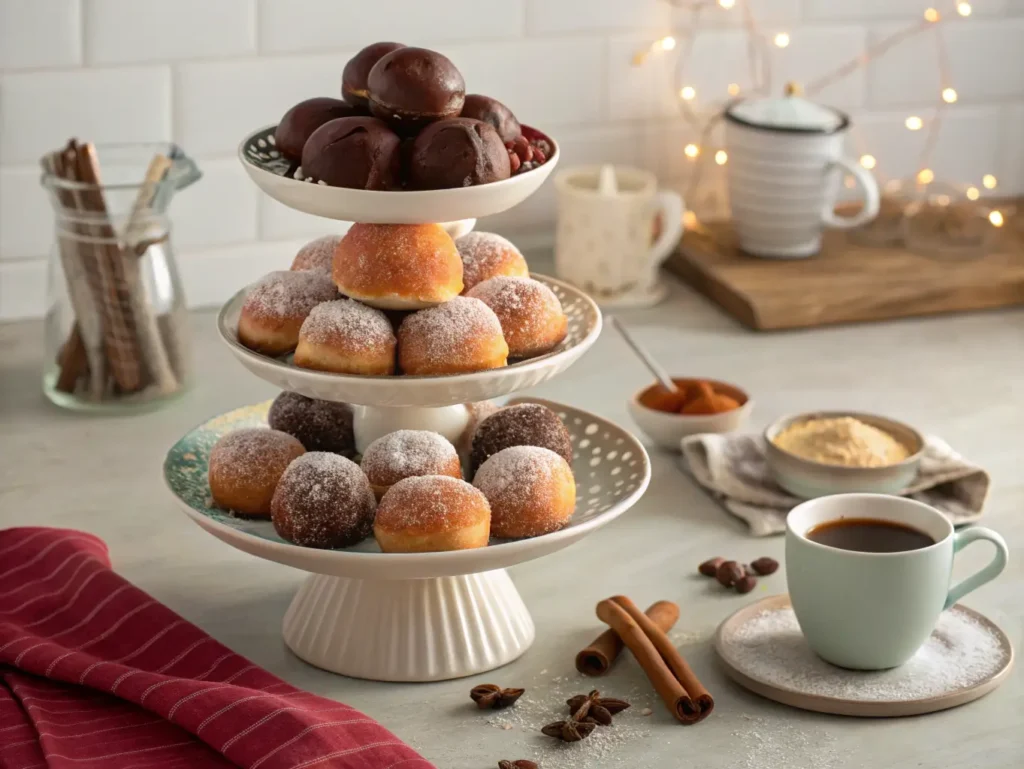
For Finishing:
- Powdered sugar (classic Canadian style)
- Cinnamon sugar (1/4 cup sugar + 1 tsp cinnamon)
- Chocolate glaze (optional but amazing)
Step-by-Step Instructions: Your Path to Timbit Perfection
Step 1: Prepare Your Workspace
Set up your deep fryer or heavy pot with oil. Heat to exactly 375°F – use a thermometer for best results. Trust me, guessing temperatures is how good Timbits turn into disappointments.
Step 2: Mix the Dry Ingredients
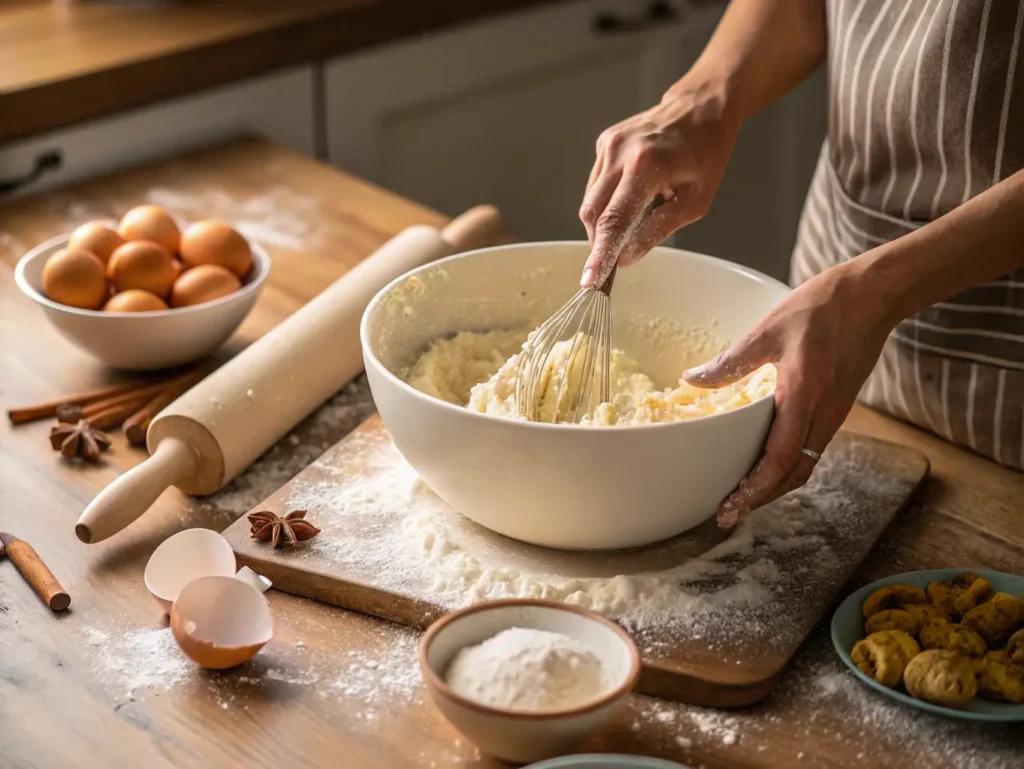
In a large bowl, whisk together flour, sugar, baking powder, and salt. This ensures even distribution – no surprise pockets of salt or baking powder.
Step 3: Combine the Wet Ingredients
In a separate bowl, whisk together melted butter, milk, egg, and vanilla until smooth. The key here is making sure your butter isn’t too hot – you don’t want to cook the egg!
Step 4: Create the Magic
Pour the wet ingredients into the dry ingredients. Mix JUST until combined – overmixing leads to tough Timbits, and nobody wants that. The dough should be slightly sticky but manageable.
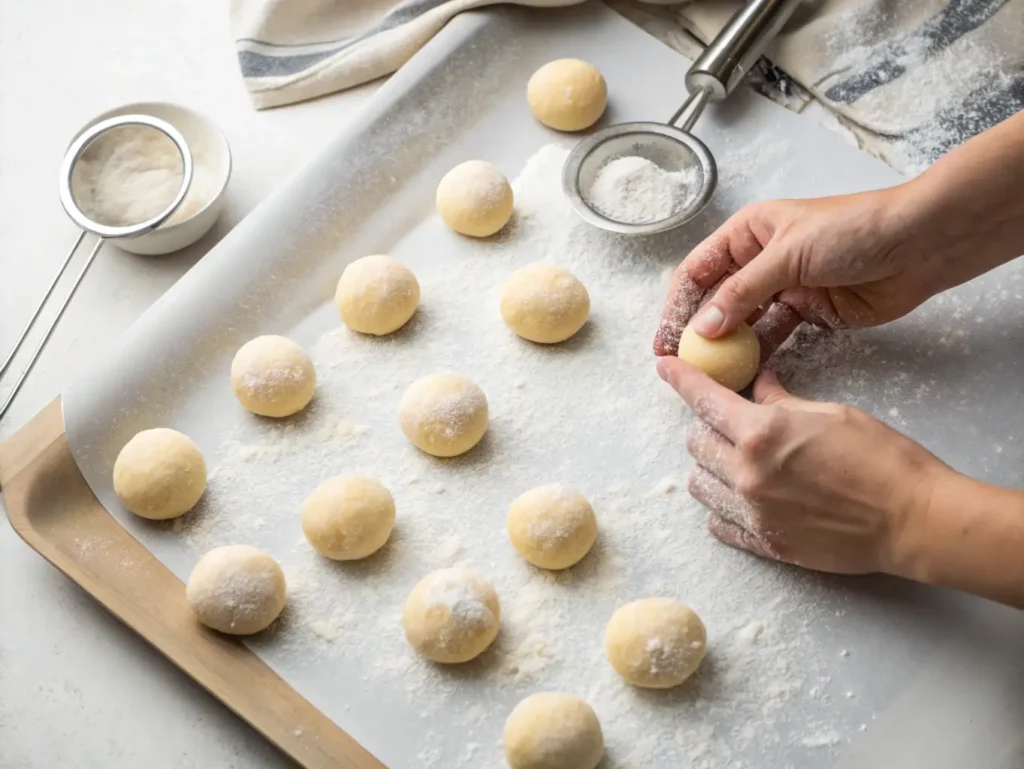
Step 5: Shape Your Timbits
Using a small cookie scoop or your hands, form 1-inch balls. Work quickly but don’t stress about perfection – slightly irregular shapes actually look more authentic.
Step 6: The Frying Process
Carefully drop 6-8 Timbits into the hot oil at a time. Don’t overcrowd – they need room to float freely. Fry for 2-3 minutes, turning once, until golden brown all over.
Step 7: Drain and Finish
Remove with a slotted spoon and drain on paper towels for 30 seconds. While still warm, roll in powdered sugar or cinnamon sugar.
Pro Tips for Timbit Success
Temperature Control is Key: Use a deep-fry thermometer and adjust heat as needed to maintain 375°F throughout cooking.
The Float Test: Your Timbits are ready to flip when they float to the surface and the bottom is golden brown.
Glaze While Warm: If using chocolate glaze, dip them while still slightly warm for the best coating.
Fresh is Best: Timbits are absolutely incredible fresh from the oil. Serve immediately for that authentic experience.
Flavor Variations to Try
Classic Cinnamon Sugar
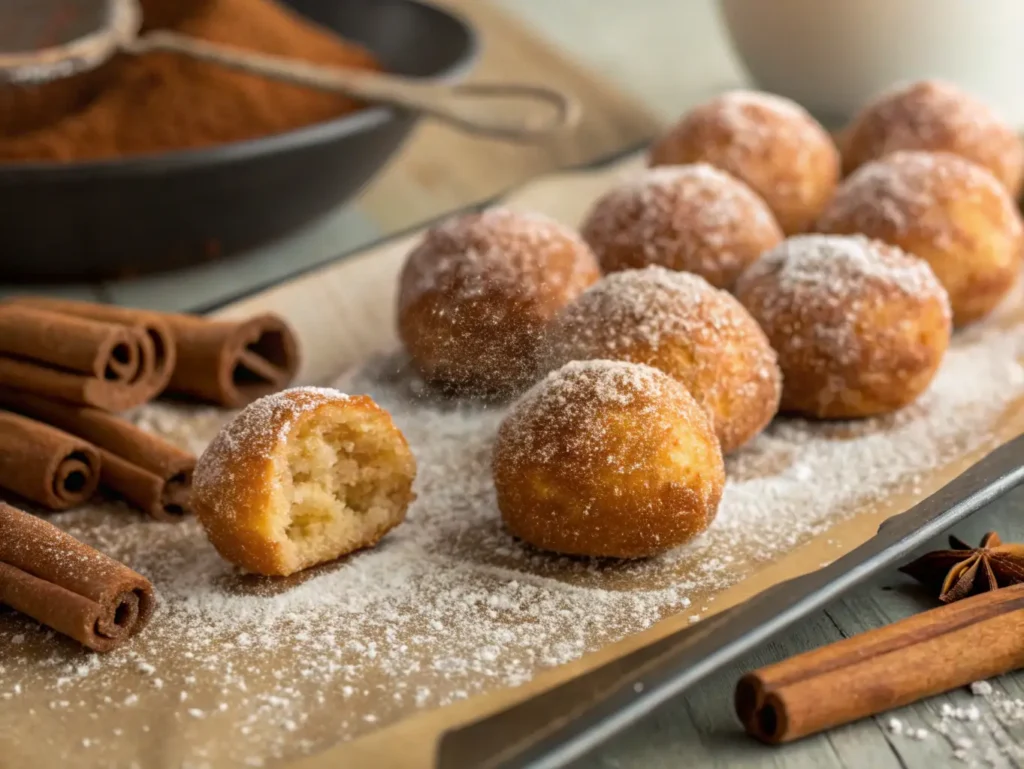
The gold standard – mix 1/4 cup sugar with 1 teaspoon cinnamon and roll while warm.
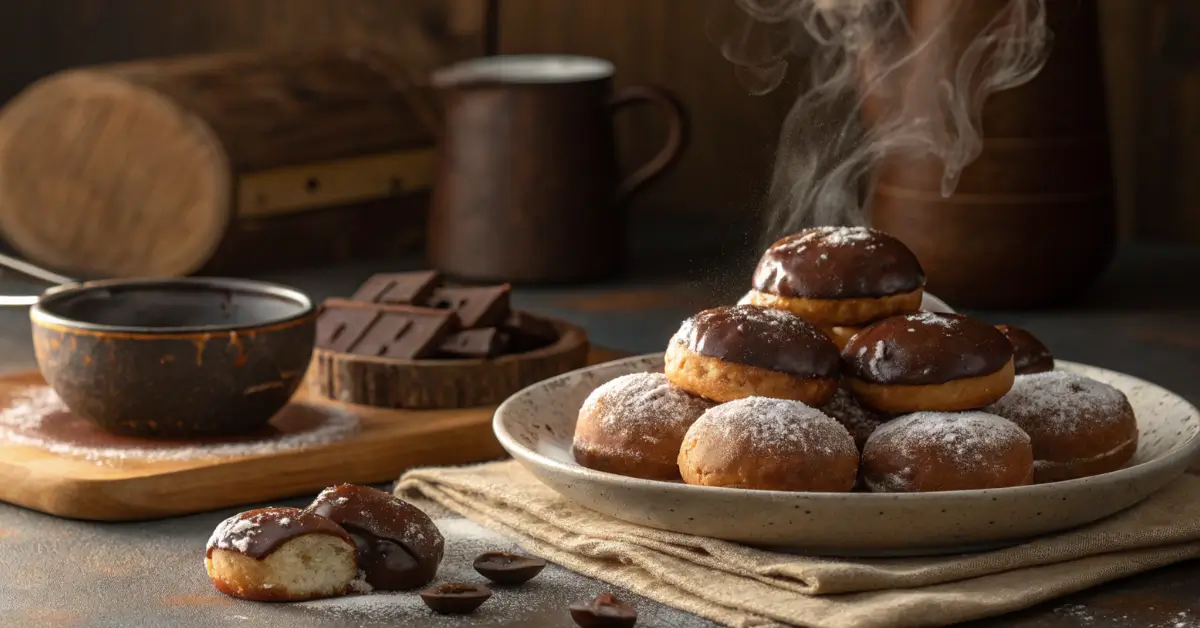
Chocolate Glazed
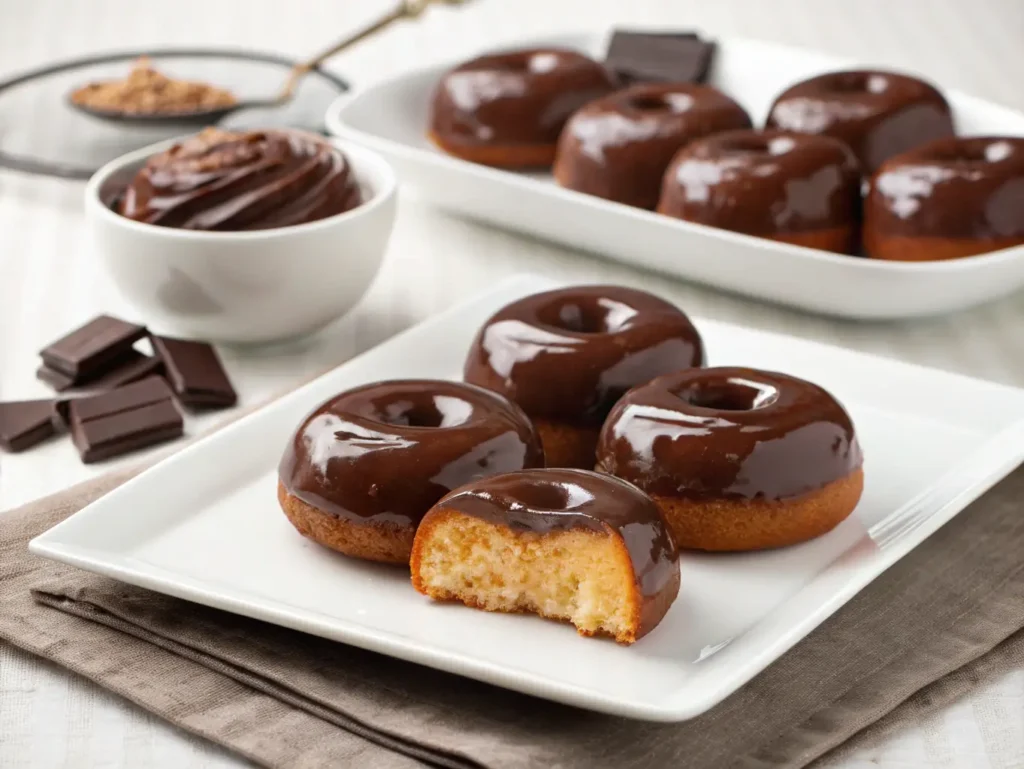
Dip warm Timbits in melted chocolate mixed with a tablespoon of butter for that glossy Tim Hortons look.
Powdered Sugar Bliss
Simply dust with powdered sugar – sometimes simple is perfect.
Maple Glazed (True Canadian Style)
Mix powdered sugar with maple syrup and a splash of milk for an authentic Canadian experience.
Why Homemade Timbits Beat Store-Bought Every Time
Freshness Factor: Nothing beats Timbits straight from your own oil – warm, tender, and perfect.
Control Your Ingredients: Know exactly what goes into your treats, with no preservatives or mystery ingredients.
Customization: Make them exactly how you like – sweeter, less sweet, different flavors – it’s all up to you.
The Experience: There’s something magical about making these Canadian classics in your own kitchen.
Troubleshooting Your Timbits
Problem: Timbits are greasy Solution: Oil temperature too low – increase heat and wait for proper temperature
Problem: Burnt outside, raw inside
Solution: Oil too hot – reduce temperature and cook more gently
Problem: Dense, heavy texture Solution: Likely overmixed the dough – mix just until ingredients are combined next time
Storing Your Homemade Timbits
Best Eaten: Fresh and warm from the oil Short-term: Store covered at room temperature for up to 2 days Longer Storage: Freeze in airtight containers for up to 1 month
Pro tip: Reheat frozen Timbits in a 350°F oven for 3-4 minutes to restore that just-made texture
The Bottom Line: Your New Favorite Treat
Making Timbits at home isn’t just about recreating a Tim Hortons favorite – it’s about bringing that special Canadian comfort food magic into your own kitchen. These bite-sized beauties are perfect for family gatherings, weekend treats, or any time you want something sweet that’s guaranteed to make people smile.
The best part? Once you master this basic recipe, you can experiment with flavors, glazes, and coatings to make them uniquely yours.
Ready to become the Timbit hero of your household? Grab your ingredients and let’s make some magic happen!
Have you tried making Timbits at home? Share your favorite flavor combinations and let us know how your batch turned out!
| Pin to Pinterest | Share on Facebook
Follow us On : Facebook and Pinterest
Ultimate Strawberry Cheesecake Ice Cream Recipe (Easy!)