Ultimate Zebra Cake Recipe: Perfect Stripes Every Time
Master the art of this show-stopping dessert with foolproof techniques that guarantee perfect zebra stripes in every single layer
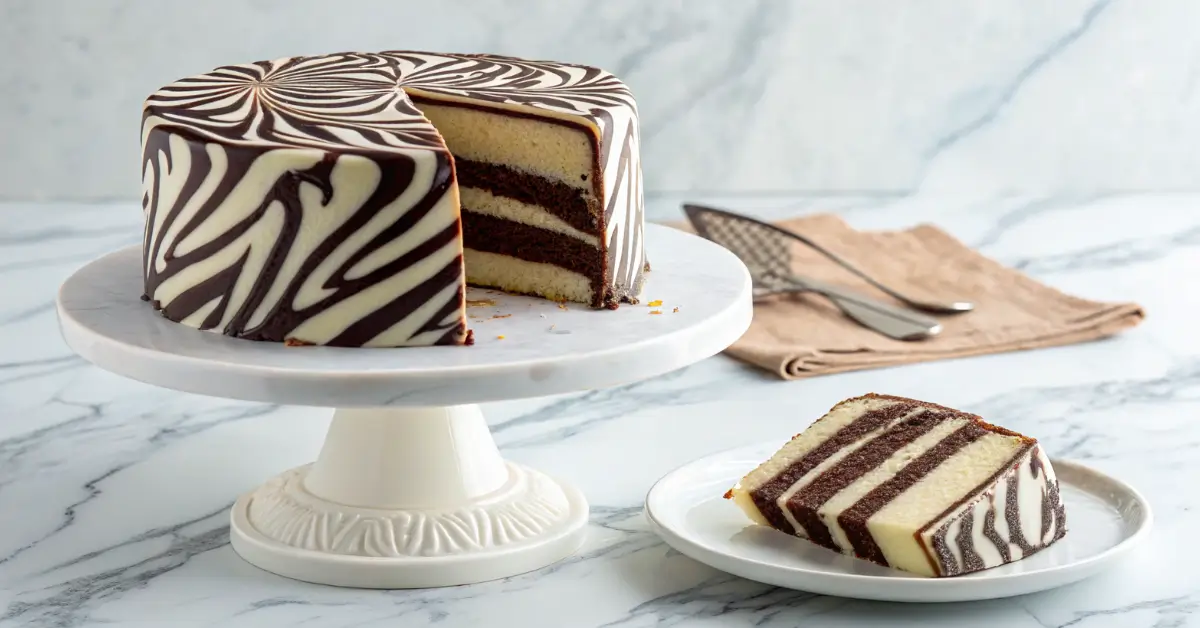
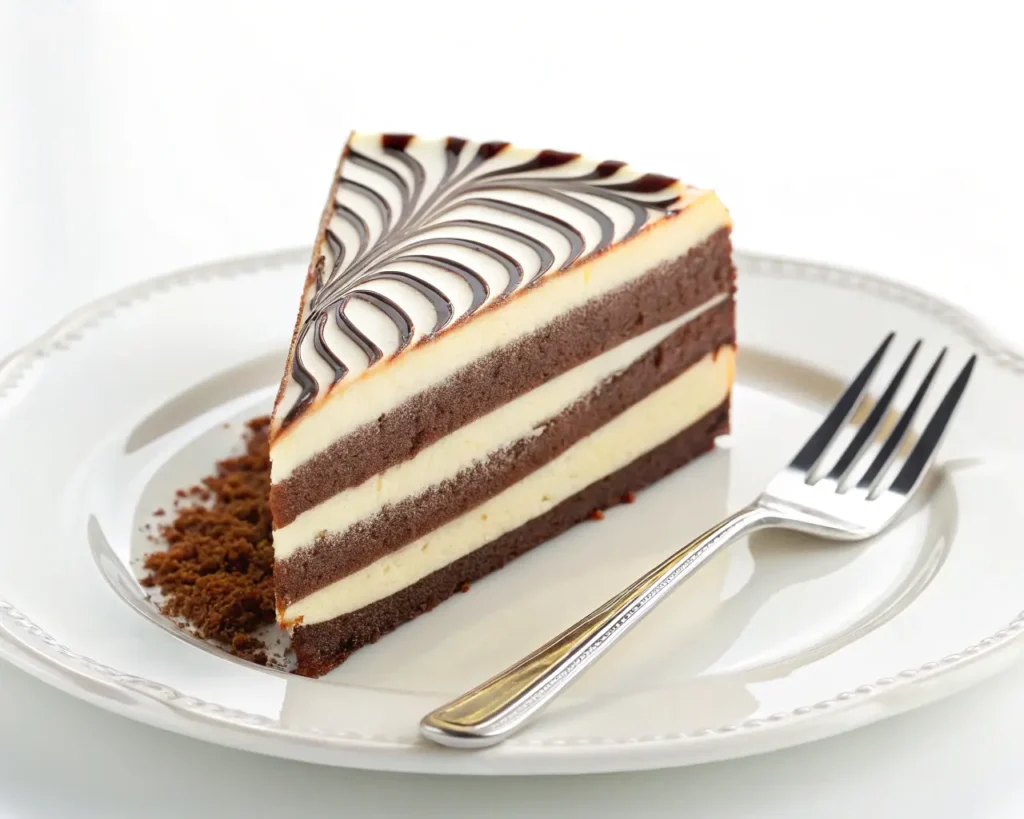
![Professional zebra cake with perfect black and white stripes]
There’s something almost magical about slicing into a zebra cake and revealing those perfect, mesmerizing stripes. This isn’t just another marble cake – it’s a masterpiece that transforms a simple vanilla-chocolate combination into an Instagram-worthy showstopper that’ll have your guests asking “How did you DO that?”
“I’ve made this cake six times now, and every single time people are absolutely stunned when I cut into it. The stripes are so clean and perfect – it looks like something from a high-end bakery!” – Sarah M., Home Baker
Table of Contents
What Makes This Zebra Cake Recipe Superior
Unlike traditional marble cakes that rely on swirling techniques that can be unpredictable, this zebra cake uses a precise layering method that guarantees consistent, dramatic stripes every time. The secret lies in creating two perfectly balanced batters with identical consistency – something most recipes get wrong.
The Science Behind Perfect Zebra Stripes
The key to flawless zebra stripes isn’t just technique – it’s understanding batter physics. Most zebra cake failures happen because one batter is thicker than the other, causing uneven spreading and muddled stripes. Our formula ensures both batters have identical viscosity, creating those razor-sharp lines you see in professional bakeries.
Essential Ingredients for Zebra Cake Success
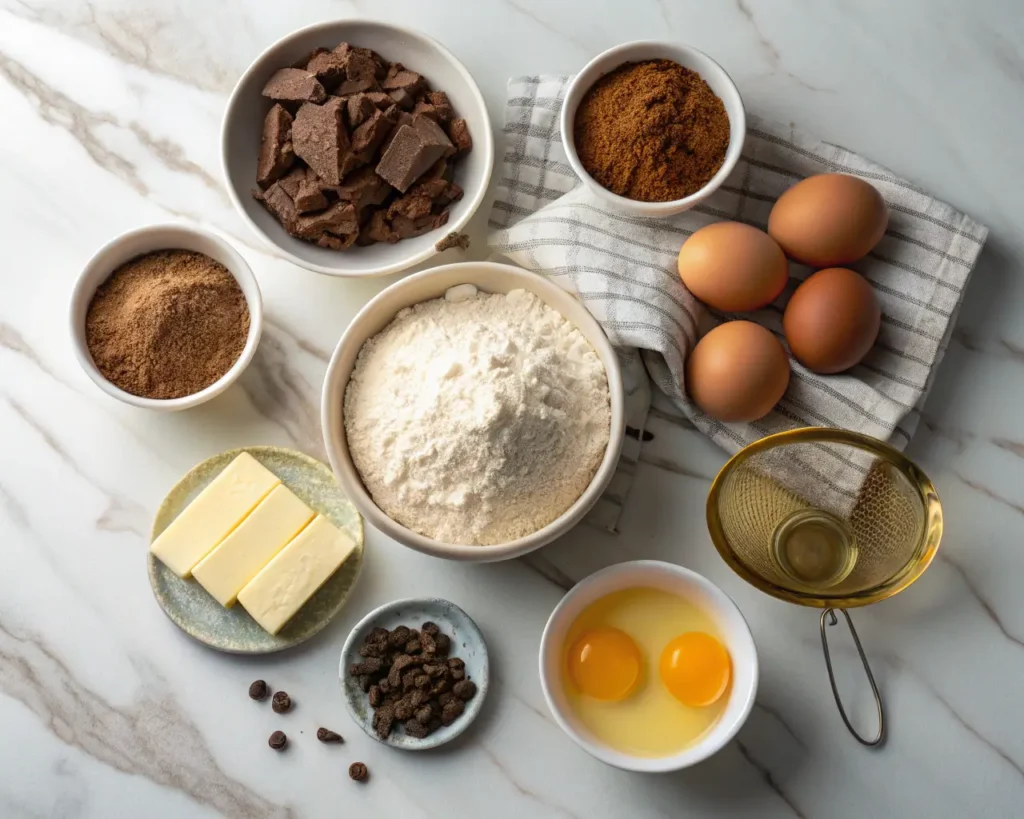
For the Base Vanilla Batter:
- 3½ cups (420g) cake flour, sifted twice – Critical: Cake flour creates the tender crumb needed for clean stripes
- 2¼ teaspoons baking powder – Precisely measured for optimal rise
- ¾ teaspoon fine sea salt – Enhances flavor complexity
- 1 cup (226g) unsalted butter, room temperature – Must be 68-72°F for proper creaming
- 1¾ cups (350g) superfine sugar – Dissolves better than granulated
- 4 large eggs plus 2 egg yolks, room temperature – Extra yolks create richness
- 2 teaspoons pure vanilla extract – Premium extract makes a difference
- 1¼ cups (295ml) whole milk, room temperature – Whole milk is non-negotiable
- ½ cup (120g) sour cream – Secret to moisture and tang
For the Chocolate Transformation:
- ⅓ cup (30g) premium Dutch-process cocoa powder – Dutch-process prevents bitterness
- 3 tablespoons hot coffee – Intensifies chocolate flavor
- 2 tablespoons superfine sugar – Balances cocoa’s bitterness
- 1 tablespoon melted butter – Maintains batter consistency
For the Signature Cream Cheese Frosting:
- 12 oz (340g) full-fat cream cheese, room temperature
- ¾ cup (170g) unsalted butter, room temperature
- 4 cups (480g) powdered sugar, sifted
- ¼ cup (25g) cocoa powder
- 2 teaspoons vanilla extract
- 2-3 tablespoons heavy cream
- Pinch of sea salt
Pro Tip: Room temperature ingredients are crucial – cold ingredients create lumpy batter that won’t layer properly. Plan ahead and remove everything from the fridge 2-3 hours before baking.
The Game-Changing Technique: Layering Like a Pro
Step 1: Creating the Perfect Base Batter
- Sift your cake flour twice – This isn’t optional. Double-sifting creates an ultra-fine texture that’s essential for smooth stripes.
- Cream butter and sugar for exactly 5 minutes – Set a timer. This extended creaming creates the light, airy base that makes stripes possible.
- Add eggs one at a time, beating for 30 seconds between each – This prevents curdling and ensures even mixing.
- Alternate dry and wet ingredients in three additions – Start and end with flour. Mix just until combined – overmixing creates tough cake.
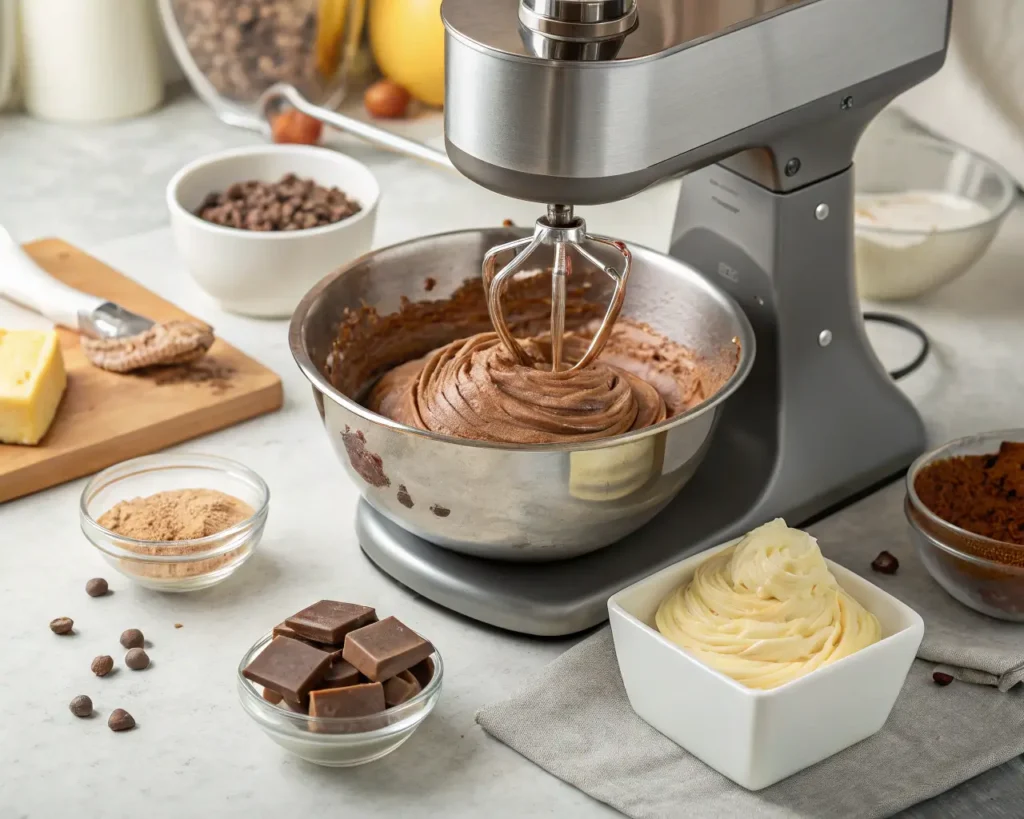
Step 2: The Chocolate Batter Secret
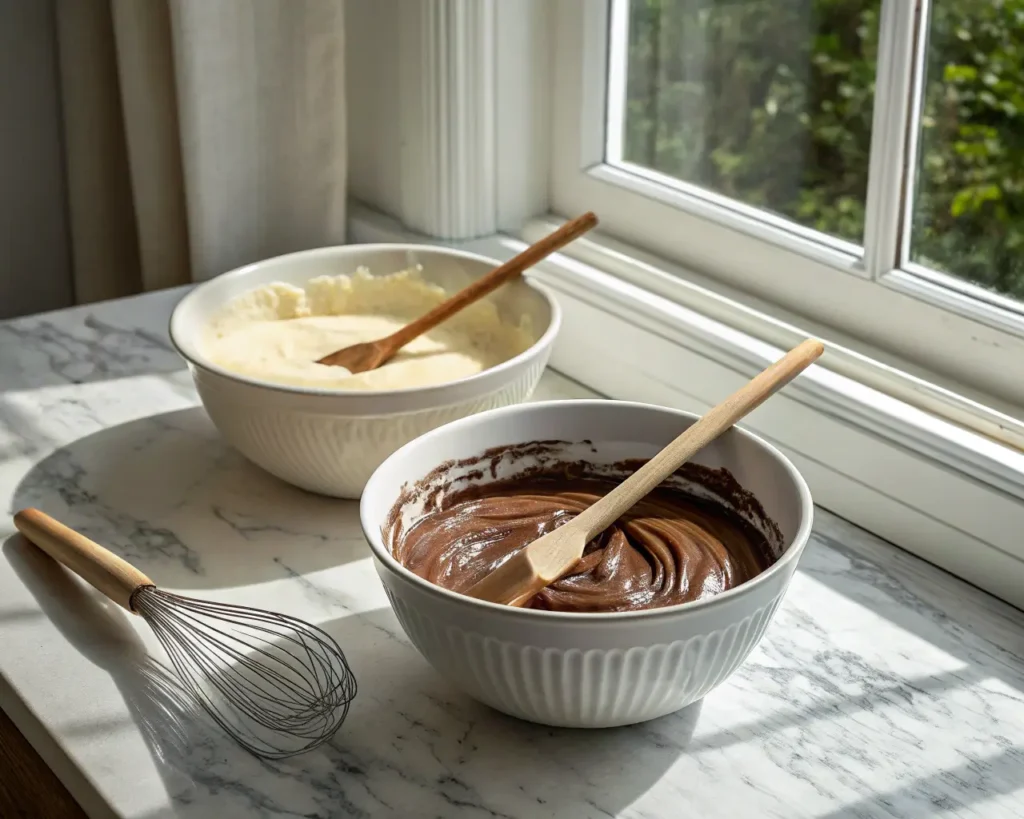
Most recipes mess this up by simply adding cocoa powder to half the batter. That creates uneven consistency and muddy stripes. Here’s the professional method:
- Bloom the cocoa powder in hot coffee – This removes any raw cocoa taste and creates smooth chocolate flavor.
- Add extra sugar and melted butter – This compensates for cocoa’s drying effect and maintains identical batter consistency.
- Mix until just combined – Overmixing chocolate batter creates dense layers.
Step 3: The Zebra Layering Technique
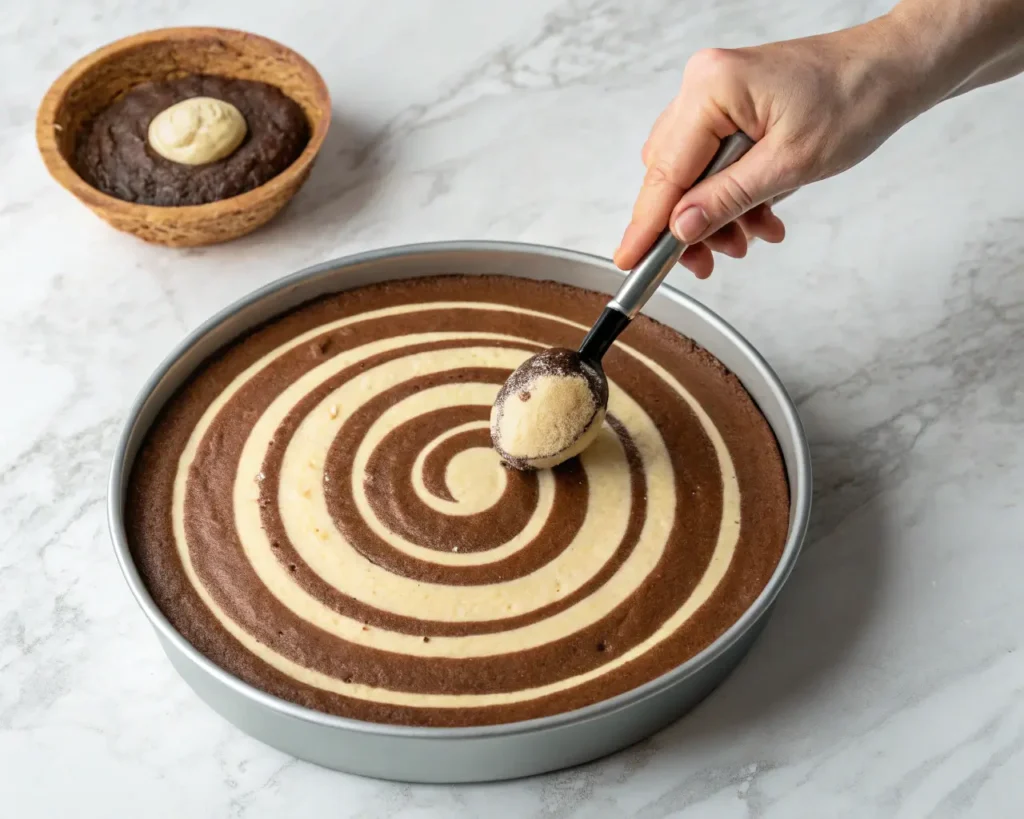
This is where the magic happens. Forget random spoonfuls – precision creates perfection:
- Use a 2-ounce cookie scoop – Consistent portions create consistent stripes.
- Start with vanilla in the center – Drop one scoop directly in the middle of your prepared pan.
- Add chocolate batter on top of vanilla – Don’t spread, just drop and let gravity work.
- Continue alternating, working from center outward – Each new layer pushes the previous ones toward the edges.
- Tap the pan gently every 3-4 layers – This helps batter settle evenly without disturbing the pattern.
Pro Secret: Count your scoops to ensure even distribution. You should have approximately 12-14 scoops total per 9-inch pan.
Advanced Zebra Cake Variations
Rainbow Zebra Cake
Replace chocolate with gel food coloring for stunning rainbow stripes. Use 3-4 colors for maximum impact.
Strawberry-Vanilla Zebra
Substitute chocolate with strawberry puree and pink food coloring. Add freeze-dried strawberry powder for intense flavor.
Lemon-Vanilla Zebra
Create bright yellow stripes with lemon extract and yellow coloring. Add lemon zest to the yellow batter for extra zing.
Espresso Zebra
Enhance the chocolate batter with instant espresso powder for a sophisticated coffee-chocolate combination.
Troubleshooting Common Zebra Cake Problems
Problem: Stripes are wavy or uneven
Solution: Your batters have different consistencies. Ensure both batters fall from a spoon at the same rate.
Problem: Stripes blend together
Solution: Batter is too thin. Add 2-3 tablespoons flour to each batter to thicken.
Problem: Dense, heavy cake
Solution: Overmixed batter. Mix just until ingredients are combined – streaks of flour are okay.
Problem: Cake domes too much
Solution: Oven temperature too high. Reduce by 25°F and bake longer.
The Perfect Zebra Cake Frosting
Our signature chocolate cream cheese frosting strikes the perfect balance – rich enough to complement the cake but not so sweet it overwhelms.
Professional Frosting Technique:
- Beat cream cheese until completely smooth – No lumps allowed
- Add butter gradually – This prevents separation
- Sift powdered sugar and cocoa together – Prevents lumps in finished frosting
- Beat on high for 3 minutes – Creates silky, pipeable consistency
Baking Timeline for Success
Day Before:
- Bring all ingredients to room temperature
- Sift flour and powdered sugar
- Prepare pans with parchment rounds
Baking Day:
- Morning: Make cake layers, cool completely
- Afternoon: Prepare frosting, assemble cake
- Evening: Chill assembled cake for clean slicing
Storage and Make-Ahead Tips
Cake Layers:
- Room temperature: 2 days, wrapped tightly
- Refrigerated: 1 week, wrapped in plastic
- Frozen: 3 months, wrapped in plastic and foil
Assembled Cake:
- Refrigerated: 5 days, covered
- Frozen: 2 months (frosting may change texture)
Pro Tip: Zebra cake actually improves after a day – the flavors meld and the texture becomes more tender.
Nutrition Information & Dietary Modifications
Standard Recipe (per slice, serves 12):
- Calories: 485
- Fat: 18g
- Carbs: 76g
- Protein: 7g
- Sugar: 62g
Dietary Adaptations:
Gluten-Free: Substitute cup-for-cup gluten-free flour blend. Add 1 teaspoon xanthan gum if not included in blend.
Dairy-Free: Use vegan butter and coconut cream. Replace sour cream with coconut cream.
Reduced Sugar: Replace half the sugar with erythritol or stevia blend. Cake will be slightly less tender.
Professional Presentation Tips
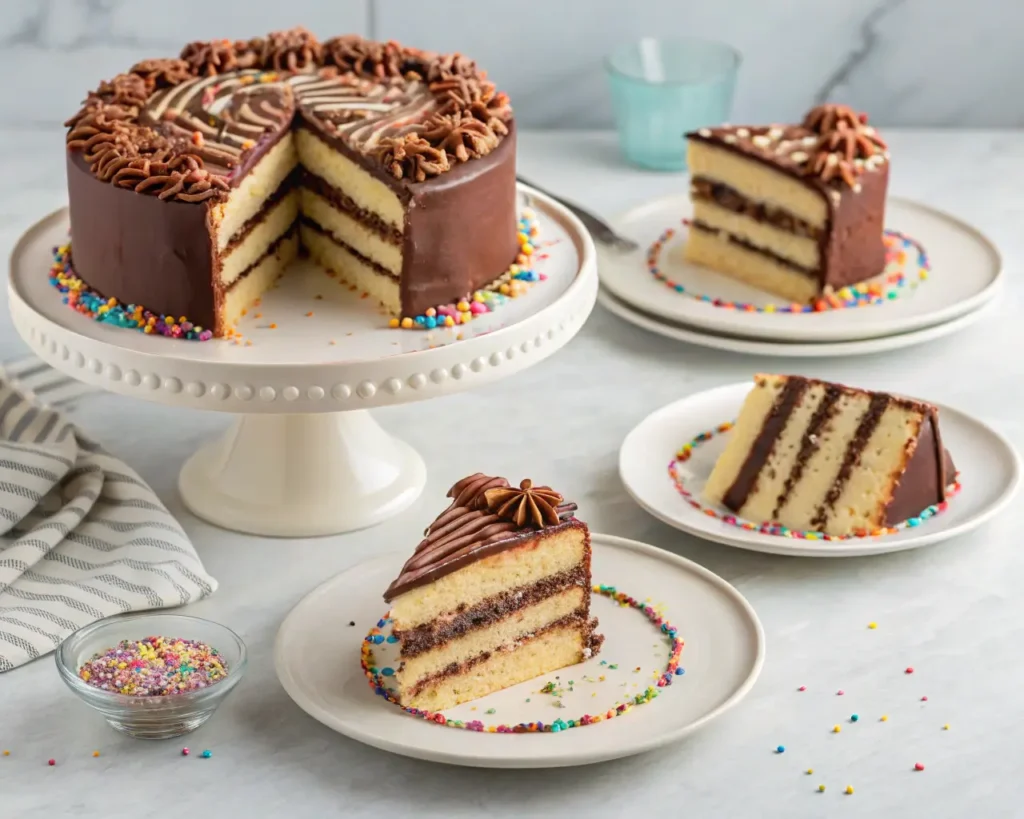
For Special Occasions:
- Birthdays: Add colorful sprinkles between layers
- Weddings: Create mini zebra cakes for individual servings
- Holidays: Tint vanilla batter seasonal colors (orange for Halloween, red/green for Christmas)
Photography Tips:
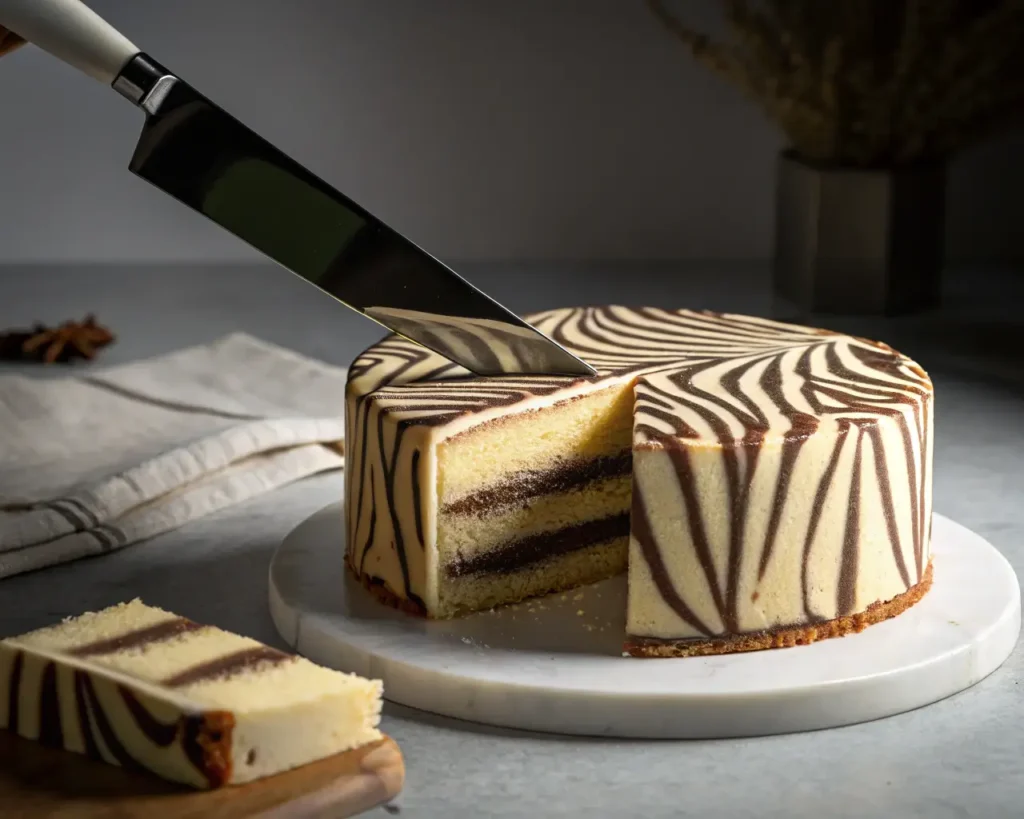
- Slice with a hot, clean knife for sharp edges
- Photograph the first slice being removed for maximum drama
- Natural lighting best shows stripe contrast
Frequently Asked Questions
Q: Can I make this as cupcakes? A: Absolutely! Use the same layering technique in lined muffin tins. Bake for 18-22 minutes.
Q: Why do my stripes look marbled instead of distinct? A: This happens when batters have different consistencies or when the pan is over-shaken. Follow measurements precisely and shake gently.
Q: Can I use a stand mixer throughout? A: Yes, but use the paddle attachment on low speed. High speeds create tough cake.
Q: How do I get perfectly round layers? A: Use cake strips around pans to ensure even baking, or trim domed tops with a cake leveler.
Q: What’s the difference between zebra cake and marble cake? A: Zebra cake uses a layering technique for distinct stripes, while marble cake swirls batters together for a random pattern.
The Science of Flavor Pairing
The vanilla-chocolate combination works because vanilla enhances chocolate’s complexity while chocolate provides depth to vanilla’s sweetness. The slight tang from sour cream and cream cheese frosting balances the sweetness perfectly.
Complementary Flavors:
- Fresh berries – Cut through richness
- Salted caramel – Enhances both vanilla and chocolate
- Coffee – Intensifies chocolate notes
- Orange zest – Brightens overall flavor profile
Expert Baker Testimonials
“This is the most reliable zebra cake recipe I’ve found. I’ve made it for dozens of clients, and it never fails to impress. The stripes are always perfect.” – Maria Rodriguez, Professional Baker
“Finally, a recipe that explains WHY each step matters. Understanding the science made all the difference in my results.” – David Chen, Culinary Student
“I’ve been baking for 30 years, and this technique is revolutionary. My zebra cakes look like they came from a bakery.” – Linda Thompson, Baking Instructor
Complete Recipe Card
Zebra Cake with Chocolate Cream Cheese Frosting
Prep Time: 45 minutes
Bake Time: 25-30 minutes
Total Time: 4 hours (including cooling)
Serves: 12-16
Difficulty: Intermediate
Instructions:
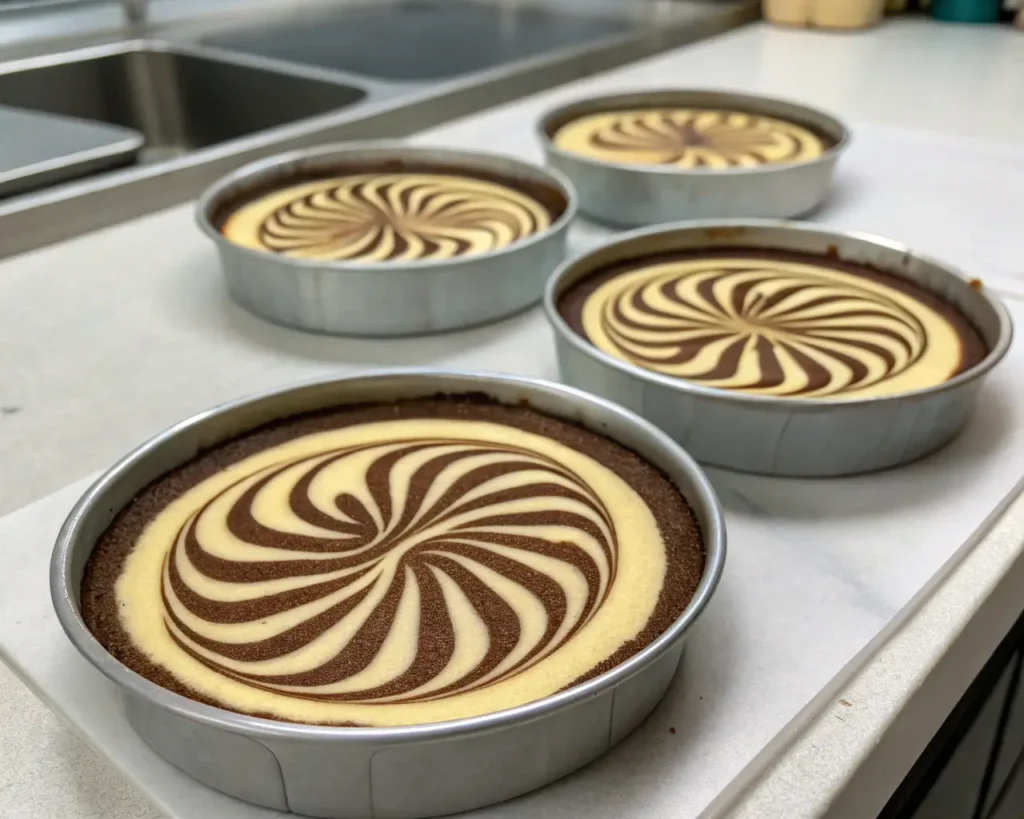
- Prep: Preheat oven to 325°F. Grease three 9-inch round pans, line with parchment rounds, grease parchment.
- Make vanilla batter: Sift flour, baking powder, and salt twice. Cream butter and sugar 5 minutes until light. Add eggs one at a time, then vanilla. Alternate flour mixture and milk in 3 additions. Fold in sour cream.
- Create chocolate batter: Divide vanilla batter in half. Whisk cocoa, hot coffee, sugar, and melted butter until smooth. Fold into half the vanilla batter.
- Layer batters: Using 2-oz scoop, alternate vanilla and chocolate batters from center outward in each pan. Tap pans gently to settle.
- Bake: 25-30 minutes until toothpick inserted in center comes out clean. Cool in pans 10 minutes, then turn out onto wire racks.
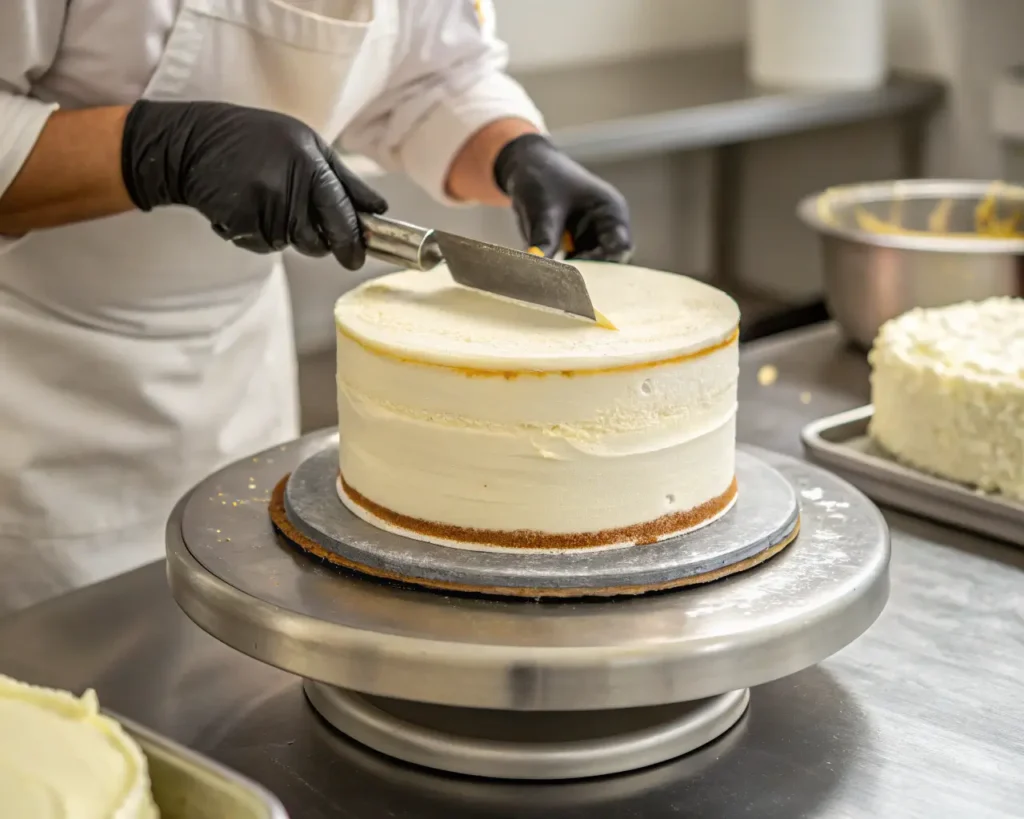
- Make frosting: Beat cream cheese until smooth. Add butter gradually. Beat in sifted powdered sugar and cocoa, vanilla, cream, and salt until fluffy.
- Assemble: Level cake layers. Place first layer on serving plate, spread ¾ cup frosting. Repeat with remaining layers. Frost exterior with remaining frosting.
- Chill: Refrigerate 2 hours before serving for cleanest slices.
Storage:
Covered in refrigerator up to 5 days. Bring to room temperature 30 minutes before serving for best flavor.
Master this show-stopping zebra cake recipe and you’ll have a signature dessert that never fails to impress. The combination of foolproof technique and scientific understanding ensures perfect results every time. Whether you’re baking for a special occasion or just want to create something beautiful, this zebra cake delivers both stunning presentation and incredible flavor.
CTA:
Follow us on Facebook and Pinterest for more inspiration, trends, and tips — every season!