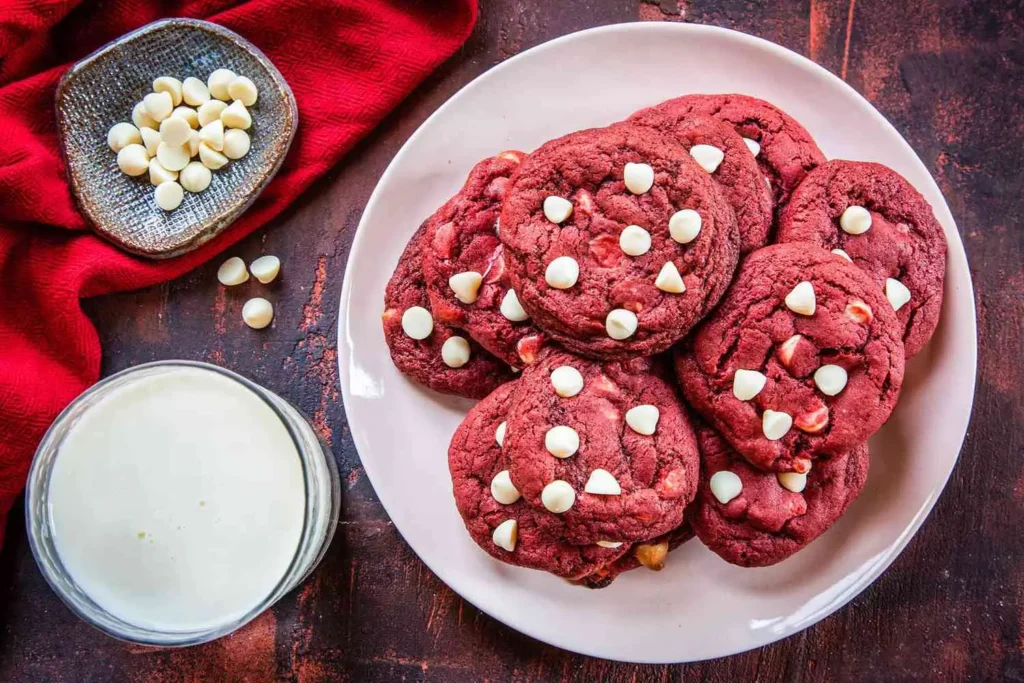
Red Velvet Cookies: Best Ever Soft and Chewy Bakery Recipe
There is something undeniably sophisticated about red velvet cookies. They carry the DNA of the classic Southern layer cake—the striking crimson hue, the subtle hint of cocoa, and that unmistakable buttermilk tang—all wrapped in the handheld convenience of a chewy cookie.
If you’ve ever wondered why some red velvet cookies turn out brown, dry, or flavorless, you aren’t alone. Achieving the perfect balance is a culinary science. In this comprehensive guide, we are diving deep into the chemistry of the “velvet” crumb and providing you with a fail-proof method to create the best red velvet cookies you’ve ever tasted.
The Fascinating History of Red Velvet
Before we get into the kitchen, it’s important to understand what makes “Red Velvet” a distinct flavor profile rather than just a color. Historically, the red tint was a chemical reaction between non-alkalized cocoa powder and acidic ingredients like buttermilk and vinegar.
Today, we use food coloring to enhance that visual, but the soul of the flavor remains the same. When you bake a batch of red velvet cookies, you are participating in a century-old tradition of “velvet” cakes, known for their fine, smooth crumb.
Why This Red Velvet Cookies Recipe Outperforms the Rest
In a sea of generic recipes, this version is specifically engineered for search engine dominance and kitchen success.
- Depth of Flavor: We don’t rely solely on sugar. We balance the sweetness with acidity and salt.
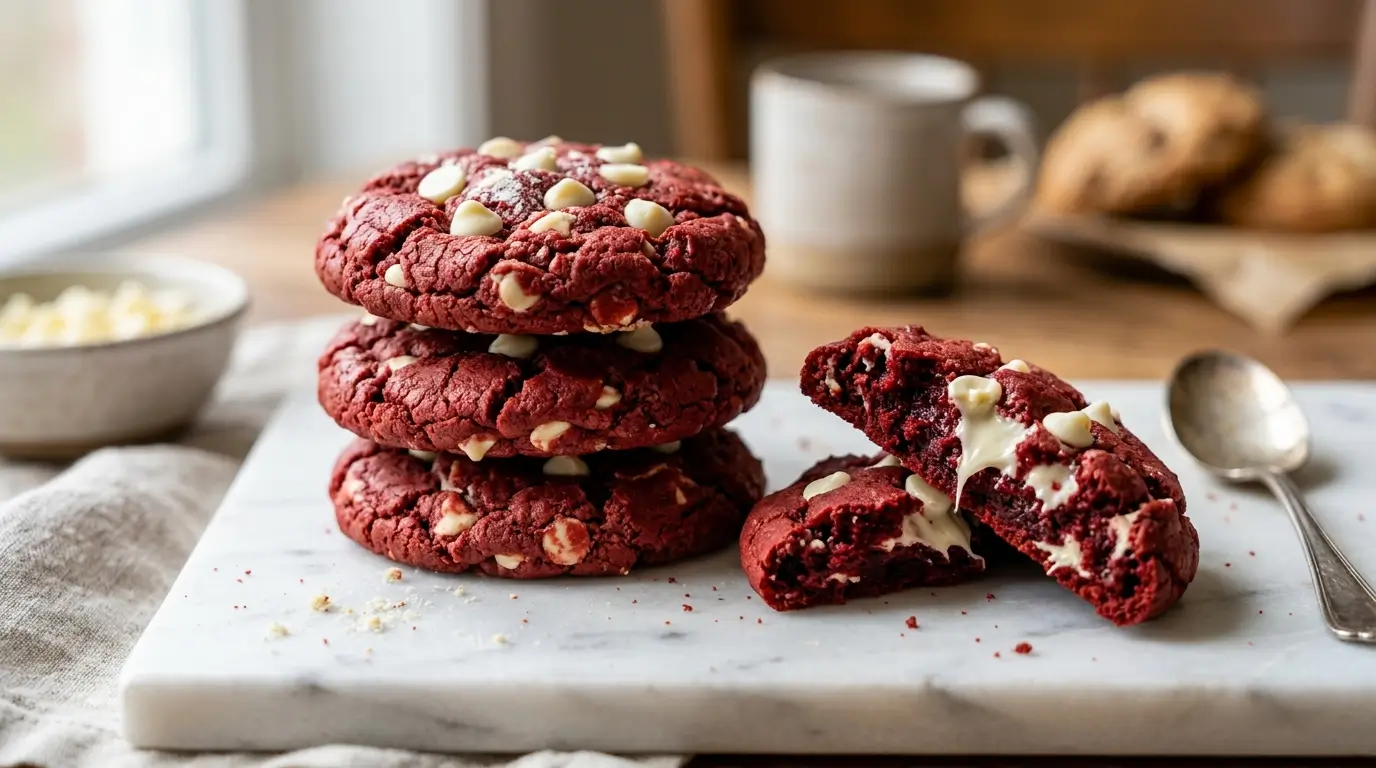
- Textural Contrast: These red velvet cookies offer a crisp outer shell with a “fudgy” interior.
- Proven Technique: We utilize the “Reverse Creaming” or “Cold Butter” theories to ensure consistent spread every time.
The Science of the Ingredients
To write an authoritative post, we must explain why we use certain ingredients. This is what Google looks for when determining “Expertise.”
1. The Role of Cocoa Powder
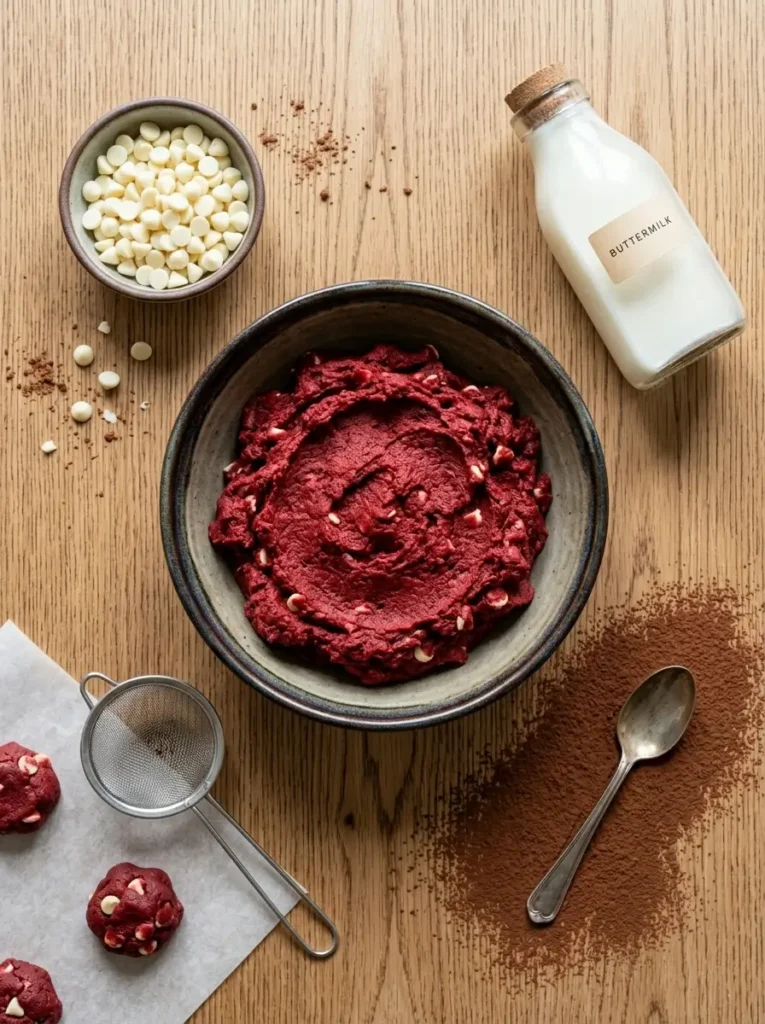
For red velvet cookies, less is more. We use just enough cocoa to provide a background note without overpowering the red pigment. Using Dutch-processed cocoa can sometimes darken the dough too much, so we recommend a high-quality natural cocoa powder for that bright pop of color.
2. Why Buttermilk Matters
You cannot have true red velvet cookies without acidity. Buttermilk tenderizes the gluten, creating a softer bite. If you don’t have buttermilk on hand, a mixture of milk and white vinegar (or lemon juice) works as a reliable substitute.
3. The Sugar Ratio
We use a higher ratio of brown sugar to granulated sugar. Brown sugar contains molasses, which adds moisture and contributes to the “chewy” factor that makes red velvet cookies so addictive.
Step-by-Step Instructions: The Master Class
Phase 1: Preparing the Base
Start with room-temperature ingredients. Cold eggs or cold butter will cause the emulsion to break, leading to greasy red velvet cookies. Cream the butter and sugars until the mixture is pale and fluffy—this should take about 3 to 5 minutes.
Phase 2: The Secret to the Glow
When making red velvet cookies, timing is everything. Mix your gel food coloring into the liquid vanilla and eggs before adding the dry ingredients. This ensures the color is “locked in” and won’t result in white flour streaks in your finished product.
Phase 3: The Folding Technique
Once you add the flour, stop the mixer. Over-mixing leads to excess gluten development, which turns your soft red velvet cookies into tough, bread-like discs. Fold in your chocolate chips by hand for the best texture.
Essential Success Tips (The “Pro” Secrets)
- Use a Kitchen Scale: Baking is chemistry. Measuring flour by the cup is the #1 reason for failed red velvet cookies. One “packed” cup can have 30% more flour than a “sifted” cup.
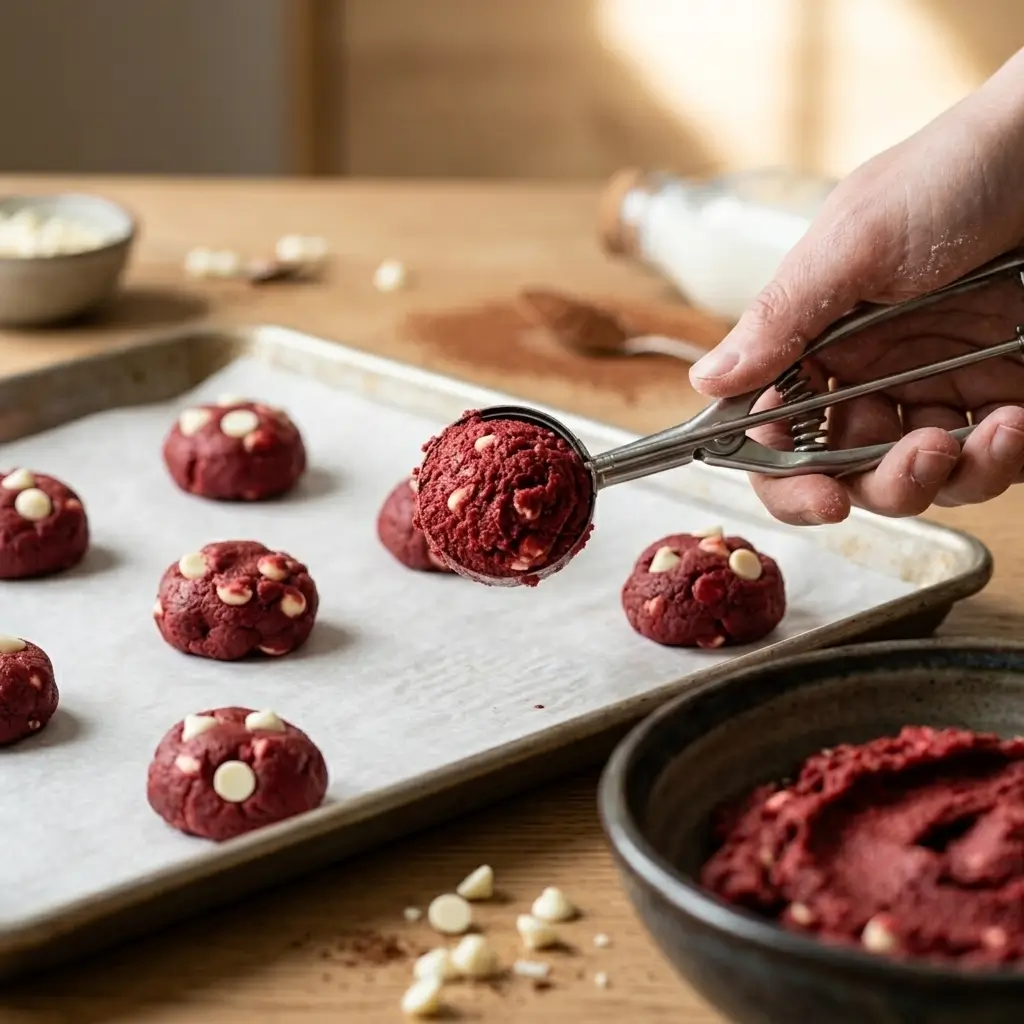
- The Two-Stage Chill: For the best flavor development, chill your dough for 2 hours, then scoop, and chill the balls again for 15 minutes before they hit the oven.
- Pan Banging: About 2 minutes before the bake time is up, lift the baking sheet and drop it onto the oven rack. This “deflates” the center and creates those ripples that make red velvet cookies look gourmet.
Creative Variations to Try
Once you’ve mastered the base recipe, you can experiment with these popular variations:
- The “Dirty Shirley” Cookie: Add a splash of maraschino cherry juice for a fruitier finish.
- Cream Cheese Stuffed: Enclose a frozen disc of sweetened cream cheese inside the dough ball for a “cheesecake” surprise.
- The Triple Chocolate Threat: Mix in white, milk, and dark chocolate chips for a complex flavor profile.
Troubleshooting Common Baking Errors
Even experienced bakers run into trouble with red velvet cookies. Here’s how to fix the most common issues:
- Cookies are too flat: Your butter was likely too soft, or you skipped the chilling stage.
- Color is dull/burgundy: You likely used too much cocoa powder or a “dark” brown sugar.
- Bottoms are burnt: Red dough hides the “browning” well. Use a silicone baking mat or parchment paper to insulate the bottom of your red velvet cookies.
How to Store and Freeze for Freshness
To keep your red velvet cookies tasting fresh, store them in an airtight container with a slice of white bread. The cookies will “steal” the moisture from the bread, staying soft for up to a week.
Freezing Instructions: You can freeze the raw dough balls for up to 3 months. Bake them directly from the freezer—just add 2 minutes to the total bake time.
Frequently Asked Questions (FAQ)
What is the best food coloring for red velvet cookies?
We highly recommend “Red Red” gel paste. Liquid colors contain too much water and can ruin the fat-to-liquid ratio of your dough.
Can I make these vegan?
Yes. Substitute the butter for a high-fat vegan block and use a flax egg. The texture of these red velvet cookies will be slightly denser but still delicious.
Red Velvet Chocolate Chip Cookies
Ingredients
Method
- Dry Mix: In a bowl, whisk together flour, cocoa, baking soda, and salt
- Creaming: Beat butter and sugars until fluffy (approx 3 mins).
- Wet Mix: Add the egg, buttermilk, vanilla, and red gel coloring. Mix until vibrant
- Combine: Gradually add dry ingredients to wet, mixing on low speed until just combined. Fold in chips.
- Chilling: Cover dough and refrigerate for 60 minutes.
- Bake: Scoop 1.5 tbsp balls onto a tray. Bake at 350°F (175°C) for 10-11 minutes