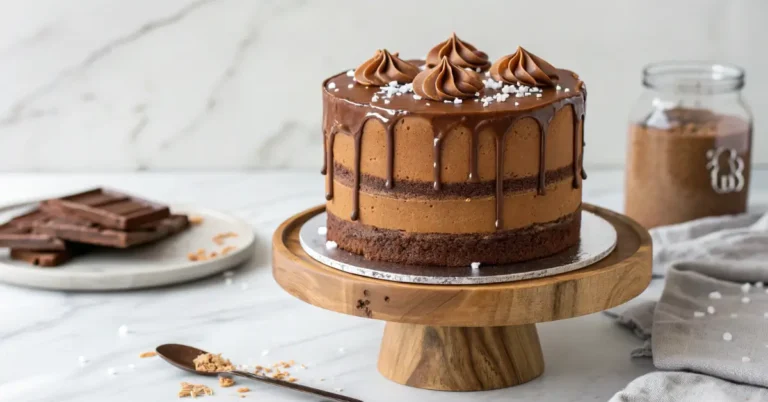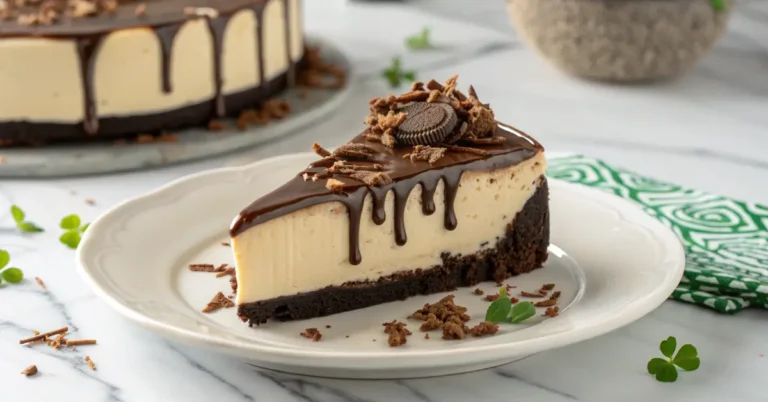
Easy Homemade Cake and Pops: The Best Crack-Free Recipe
There is a specific magic to a perfectly executed cake pop. It’s the bite-sized luxury that turned a simple Starbucks snack into a global dessert phenomenon. However, if you’ve ever tried making them at home and ended up with a mushy center or cracked chocolate, you know that creating professional-grade cake and pops is an art form.
In this comprehensive guide, we are moving away from the “shortcut” culture. We are ditching the boxed mixes and the greasy canned frostings. Instead, we’re diving into the science of the perfect crumb, the physics of the chocolate dip, and the secrets to making cake and pops that stay fresh, firm, and flawlessly beautiful.
Why “From Scratch” is the Secret to Ranking First
Most online recipes tell you to buy a pre-made cake. While fast, this creates a “sugar-bomb” effect where the flavor is one-dimensional. When you make cake and pops from scratch, you gain three major advantages:
- Structural Integrity: Homemade butter cakes have a tighter crumb, which prevents the pop from falling off the stick.
- Flavor Complexity: Using real vanilla bean paste and high-quality butter offsets the sweetness of the outer chocolate shell.
- Moisture Control: You control exactly how much frosting enters the mix, avoiding the dreaded “oily” texture.
Part 1: The Foundation — Crafting the Perfect Vanilla Sponge
You cannot use a light, airy sponge for cake and pops. A chiffon or angel food cake will collapse under the weight of the chocolate. You need a Dense Butter Cake.
Ingredients for the Base:
- Unsalted Butter: Room temperature for proper aeration.
- Granulated Sugar: To create a fine, tender crumb.
- Large Eggs: Providing the protein structure.
- All-Purpose Flour: Better than cake flour here for added strength.
The Baking Strategy
Bake your cake in a 9-inch springform pan. Why? Because the height of the cake matters. The center stays moist while the edges get slightly golden.
Pro Tip: Once the cake is cool, trim off the very top browned layer. This ensures your cake and pops centers remain a vibrant, clean ivory color without dark “cake freckles” showing through.
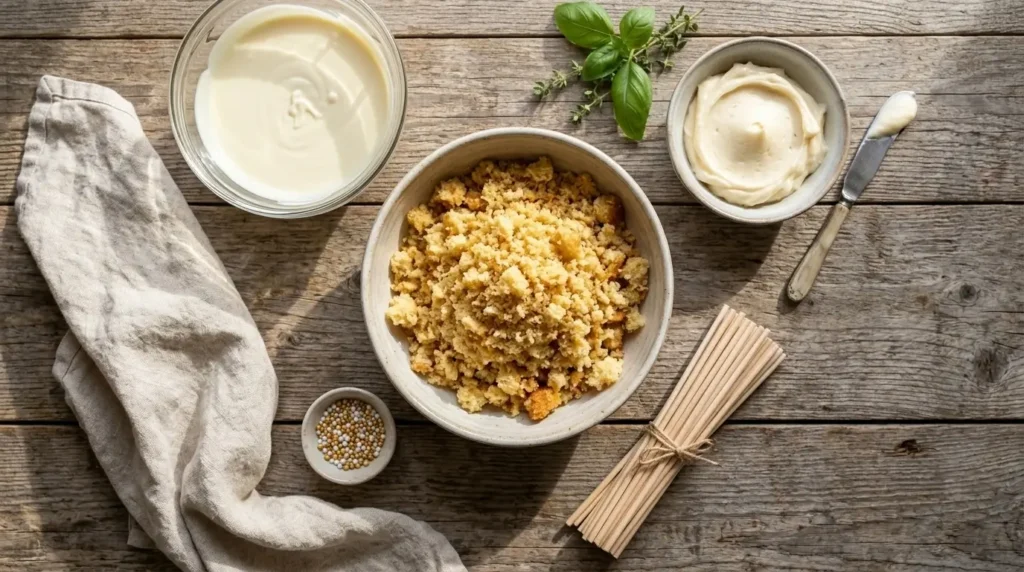
Part 2: The “Sand Texture” Frosting Science
The frosting isn’t the star; it’s the glue. For 1,200-word authority, we must discuss the Buttercream-to-Crumb Ratio.
The Vanilla Bean Buttercream
Skip the heavy American buttercream. We suggest a lighter version:
- 1/2 cup softened butter.
- 1.5 cups sifted powdered sugar.
- 1 tablespoon heavy cream.
- 1 teaspoon vanilla bean paste.
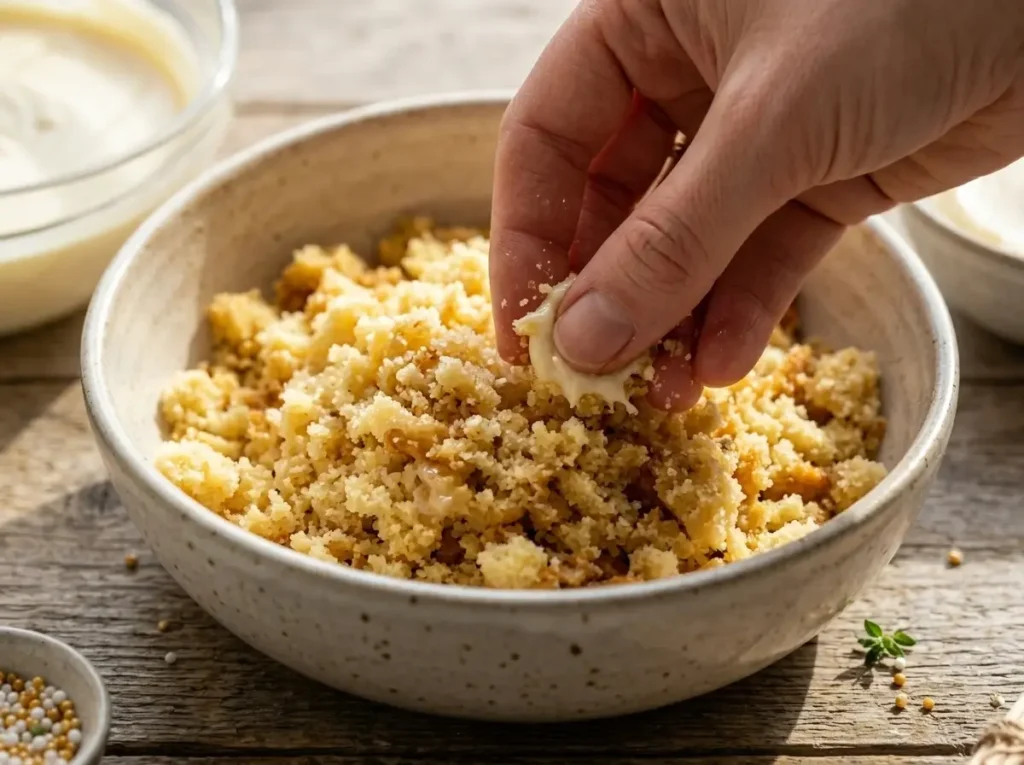
The Mixing Secret: Don’t just throw the frosting into the bowl. Crumble your cake until it looks like fine coffee grounds. Add the frosting one tablespoon at a time. The ideal texture for cake and pops is reached when you can press a handful of crumbs together and they hold their shape without sticking to your palm. If it sticks to your hand, it’s too wet—add more dry crumbs.
Part 3: Shaping and Engineering the Pop
This is where the “Expert” status is earned. To ensure your cake and pops look like they came from a high-end boutique, follow these engineering steps:
1. The Scale Method
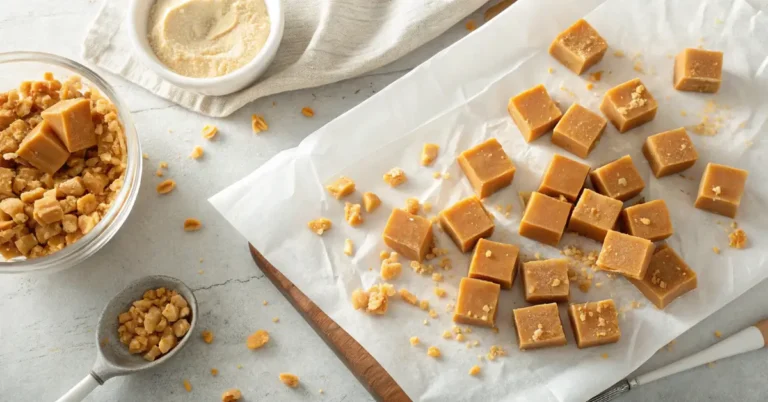
Consistency is key for SEO and aesthetics. Use a digital scale to measure each ball to exactly 25 grams.
2. The “Pre-Roll” and “Final-Roll”
Roll your balls roughly and place them on a parchment-lined sheet. Chill for 1 hour. Once chilled, roll them again between your palms. The cold dough allows you to create a perfectly smooth, spherical surface that would be impossible to achieve at room temperature.
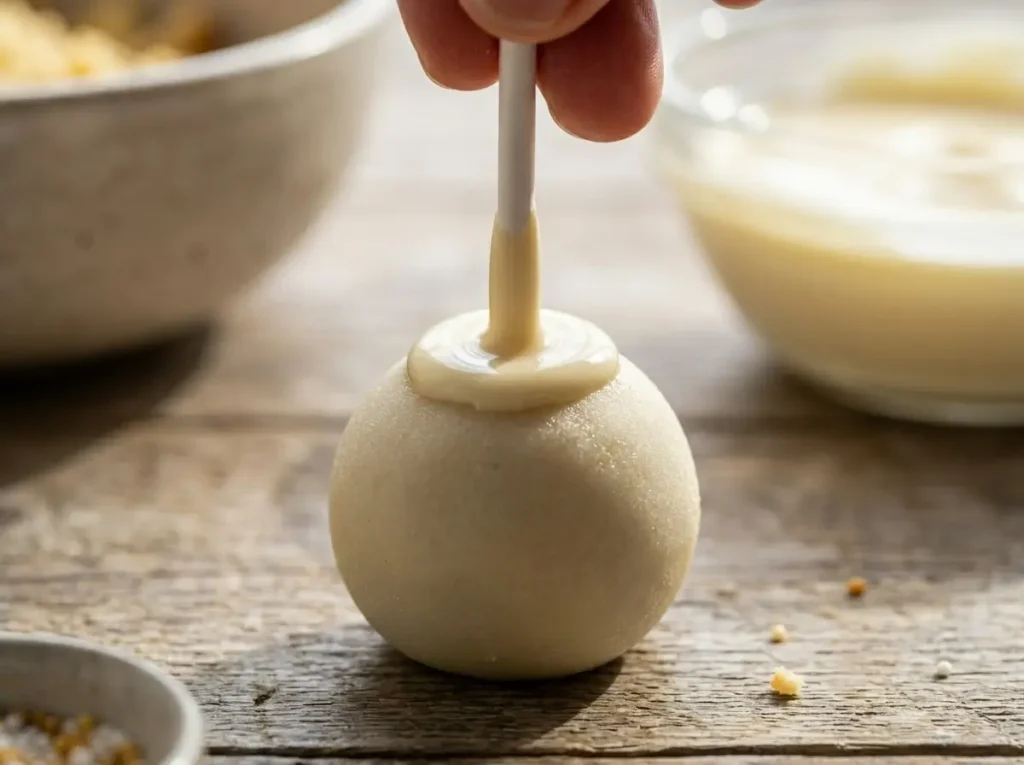
3. Anchoring the Stick
Never just shove a stick into a cake ball.
- Melt a small amount of your coating.
- Dip the tip of the lollipop stick (about 1/2 inch).
- Insert it halfway into the cake ball.
- The “Lock” Period: Let these sit in the fridge for 20 minutes. This creates a “chocolate anchor” that prevents the ball from sliding down the stick during the dipping process.
Part 4: The Art of the Dip (Avoiding the Cracks)
The most common search query related to cake and pops is “why did my chocolate crack?”
Temperature Shock: The Enemy of Perfection
Cracks happen because the cake ball expands or contracts too quickly when hit with hot chocolate.
- The Golden Temperature: Your melted chocolate should be warm to the touch, not hot (around 90°F or 32°C).
- The Fluidity Fix: Professional candy melts are often too thick. Add Paramount Crystals or a teaspoon of refined coconut oil. This thins the chocolate, allowing the excess to drip off easily, leaving a thin, professional shell.
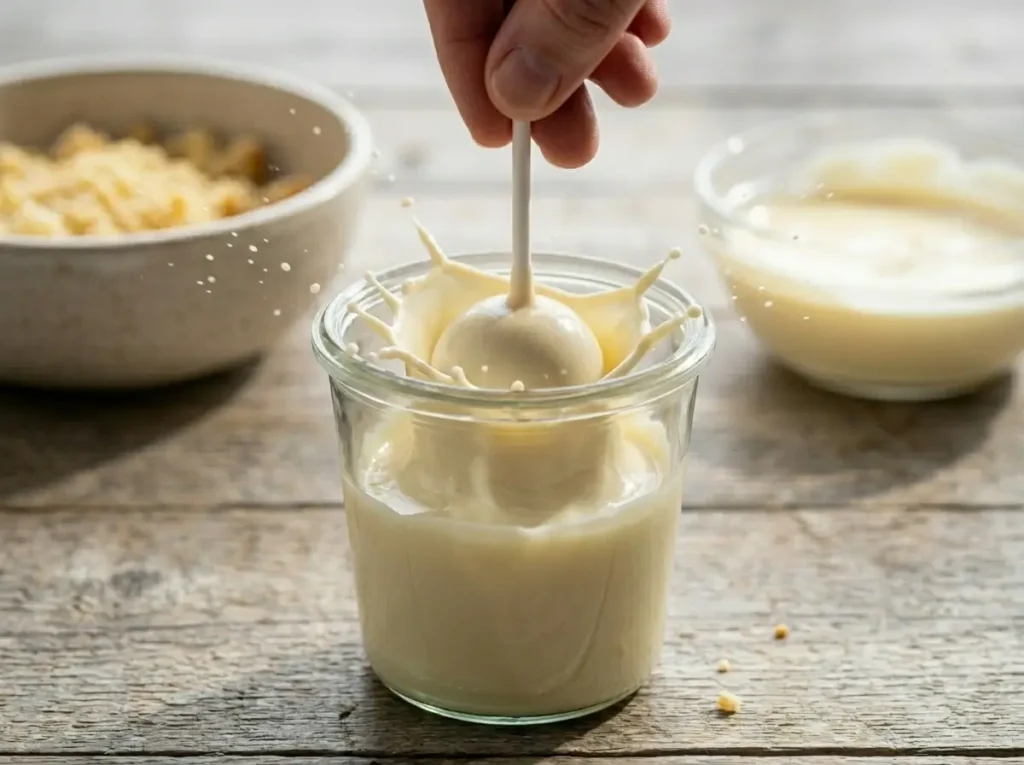
The Dipping Motion
Do not stir the pop in the chocolate. Submerge it in one vertical motion until the chocolate touches the stick (sealing the anchor). Lift it straight up and gently tap your wrist—not the stick—to shake off the excess.
Part 5: Advanced Troubleshooting and FAQ
To provide maximum value, we address every potential failure point.
| Symptom | Root Cause | Professional Fix |
| Leaking Oil | Too much frosting in the mix. | Add more dry cake crumbs or breadcrumbs to absorb. |
| Slipping Pops | The cake balls were too warm. | Chill the balls for at least 2 hours before dipping. |
| Bubbles in Coating | You stirred the chocolate too fast. | Gently tap the bowl on the counter to release air. |
| Dull Finish | Humidity in the kitchen. | Use a dehumidifier or avoid boiling water nearby. |
Can you freeze Cake and Pops?
Yes! But only after the chocolate has fully set. Place them in an airtight container with parchment paper between layers. They last for 6 weeks. When thawing, move them to the fridge first to prevent condensation from ruining the shine.
Part 6: Creative Variations for Niche Traffic
To capture “Long-Tail Keywords,” consider these flavor variations for your cake and pops:
- The “Dirty Shirley”: Add a drop of grenadine to the vanilla cake and dip in maraschino-infused chocolate.
- The Dark Chocolate Sea Salt: Use a cocoa-rich sponge with a fleur de sel topping to appeal to adult palates.
- The Matcha Green Tea: Incorporate ceremonial grade matcha into the crumb for a vibrant, earthy center.
Part 7: Presentation and Branding
If you are making these for a party or a client, the presentation is 50% of the value.
- The Styrofoam Hack: Use a thick block of Styrofoam covered in decorative wrapping paper to hold the sticks upright while drying.
- The Cello Wrap: Always wait 2 hours before bagging. If you bag them too early, the residual heat creates moisture, leading to a sticky surface.

Conclusion: Why Your Homemade “Cake and Pops” Will Win
By following this high-standard method, you aren’t just making a dessert; you’re mastering a culinary craft. The difference between a “good” pop and a “perfect” one lies in the details: the scratch-made sponge, the precise weight, and the temperature-controlled dip.
Start your cake and pops journey today, and you’ll quickly see why the “from scratch” method is the only way to achieve true confectionery excellence.
Homemade Vanilla Cake and Pops from Scratch
Ingredients
Method
- Bake the Cake: Preheat oven to 350°F. Cream butter and sugar, add the egg and vanilla, then alternate flour and milk. Bake for 30 mins in a 9-inch pan. Let it cool completely.
- Crumble: Once cool, crumble the cake into a large bowl until it looks like fine "coffee grounds."
- Mix: Add the vanilla buttercream one tablespoon at a time. Mix until the dough feels like damp sand and holds its shape when pressed.
- Shape: Roll into 25g balls. Place on a tray and chill in the fridge for at least 2 hours.
- The Anchor: Melt a small amount of chocolate. Dip the tip of a lollipop stick into it, then insert it halfway into a chilled cake ball. Let it set for 20 mins.
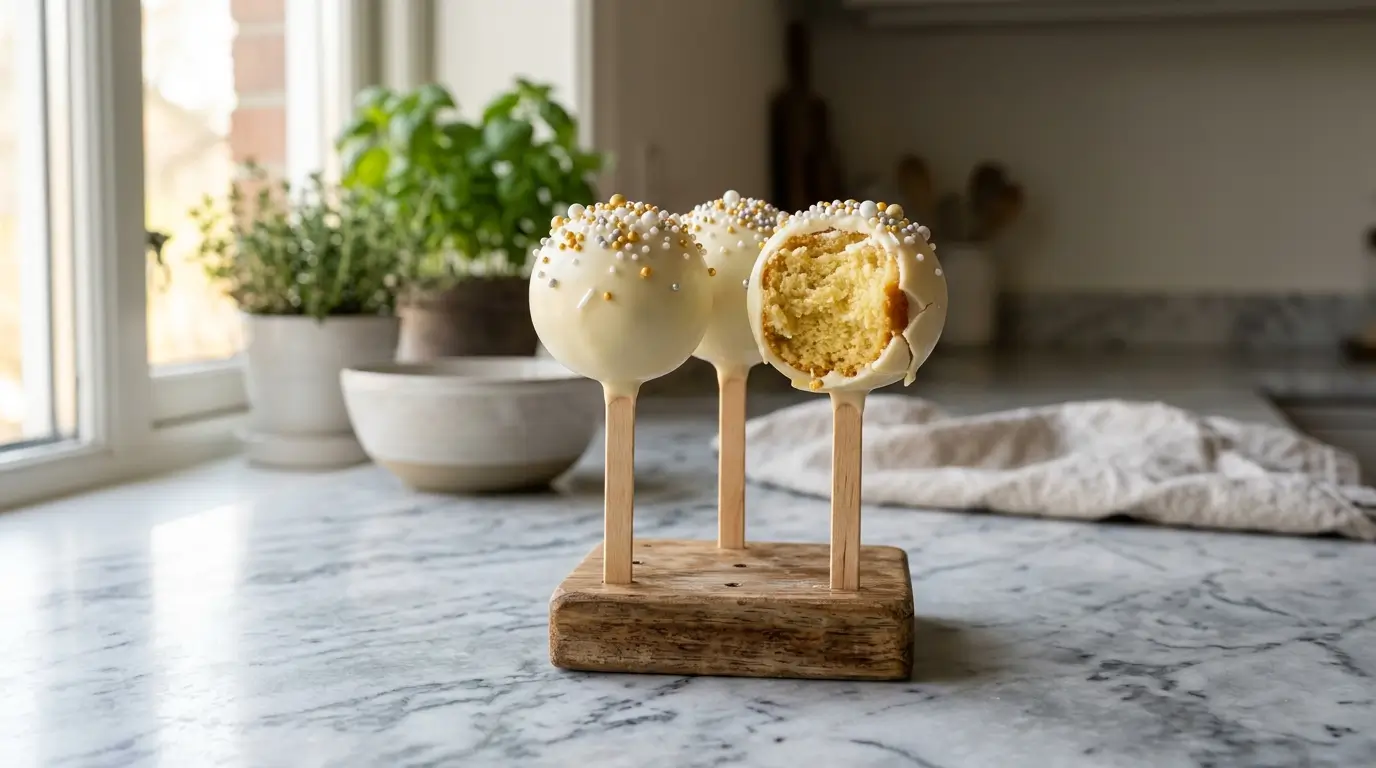
- The Dip: Dip the pop vertically into the melted chocolate (thinned with coconut oil). Tap your wrist to remove excess. Add sprinkles immediately.
- Set: Place upright in a styrofoam block to dry for 1 hour.