Best Moist Choco and Cake Recipe | Total Tastes Expert Guide
When you search for the perfect marriage between choco and cake, you aren’t just looking for a dessert; you’re looking for a reliable, repeatable masterpiece. This recipe represents the pinnacle of cocoa-based baking, engineered to deliver a crumb so moist it defies the standard shelf-life of traditional sponges. Whether you are a weekend hobbyist or a seasoned pro, mastering the chemistry of this specific chocolate cake will elevate your baking repertoire to a professional level.
Why This Choco and Cake Strategy Works
Most recipes fail because they lack the proper balance of acidity and fat. In this guide, we break down the “Total Tastes” method: a high-hydration batter that utilizes the “blooming” technique to ensure every molecule of cocoa is activated. This isn’t just another sweet treat; it is a calculated approach to achieving the deepest flavor profile possible.
The Essential Anatomy of the Perfect Choco and Cake
Before preheating your oven, you must understand the “why” behind the “what.” A truly elite cake relies on the synergy of its components.
1. The Role of Professional Leavening
We utilize a dual-action system of baking soda and baking powder. While the powder provides the initial lift, the soda reacts with the acidic components (like cocoa and our secret dairy swap) to create a tender, airy structure that stays soft for days.
2. The Science of the “Bloom”
One of the critical steps in this recipe is the addition of boiling liquid. When hot water or coffee hits the cocoa powder, it dissolves the lumps and “blooms” the cocoa solids. This process releases trapped flavor oils, ensuring that your choco and cake experience is intensely aromatic rather than just sugary.
Ingredients for the Ultimate Choco and Cake Experience
To hit that professional “Total Tastes” standard, quality is non-negotiable. Use the following measurements for a double-layer 9-inch masterpiece.
- All-Purpose Flour: 2 ¼ cups (High-quality, sifted).
- Granulated Sugar: 2 cups (Essential for both sweetness and moisture retention).
- Unsweetened Cocoa Powder: ¾ cup (Dutch-processed is preferred for a darker, smoother finish).
- Leavening Agents: 1 ½ teaspoons baking powder and 1 ½ teaspoons baking soda.
- Salt: 1 teaspoon (Vital to balance the richness).
- Large Eggs: 2 (Room temperature to ensure proper emulsification).
- Whole Milk or Sour Cream: 1 cup (See our moisture secret below).
- Vegetable Oil: ½ cup (Provides a superior mouthfeel compared to butter-only cakes).
- Vanilla Extract: 2 teaspoons (Use pure extract, not imitation).
- Boiling Coffee or Water: 1 cup (The hotter, the better).
Step-by-Step Execution: Building Your Masterpiece
Preparing the Foundation
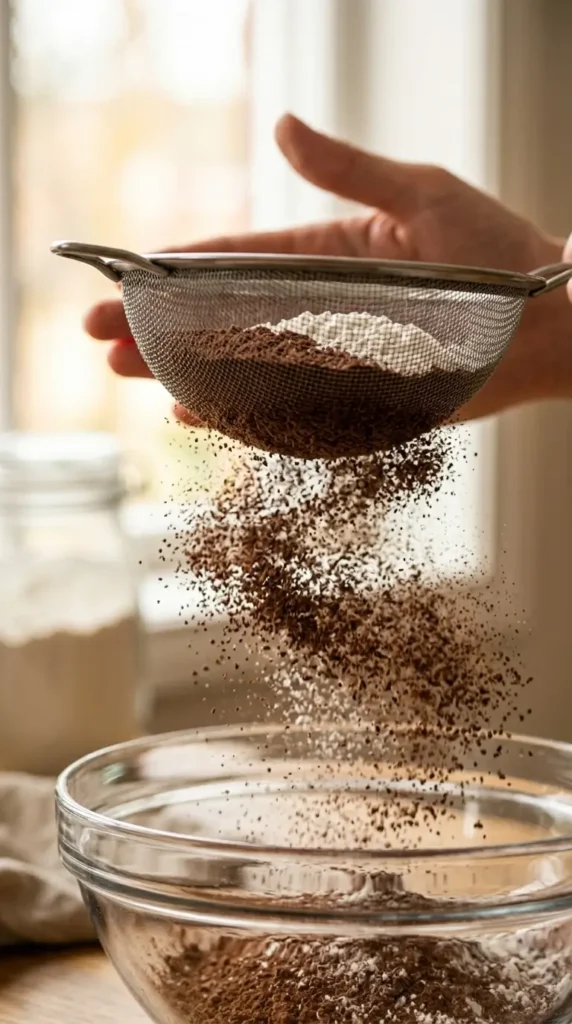
Begin by sifting your dry ingredients together in a massive mixing bowl. Sifting is a step many skip, but for a high-ranking choco and cake result, it is mandatory. It aerates the flour and ensures there are no clumps of bitter cocoa. Once sifted, whisk them together to ensure the leavening agents are perfectly distributed.
The Emulsion Phase
In a separate vessel, whisk your eggs, milk (or sour cream), oil, and vanilla. The key here is the room-temperature eggs; cold eggs can seize the fats in the batter, leading to an uneven bake. Slowly introduce the wet mixture into the dry, whisking by hand or on a low mixer setting. At this stage, the batter will look standard, but the next step changes everything.
The Infusion of Heat
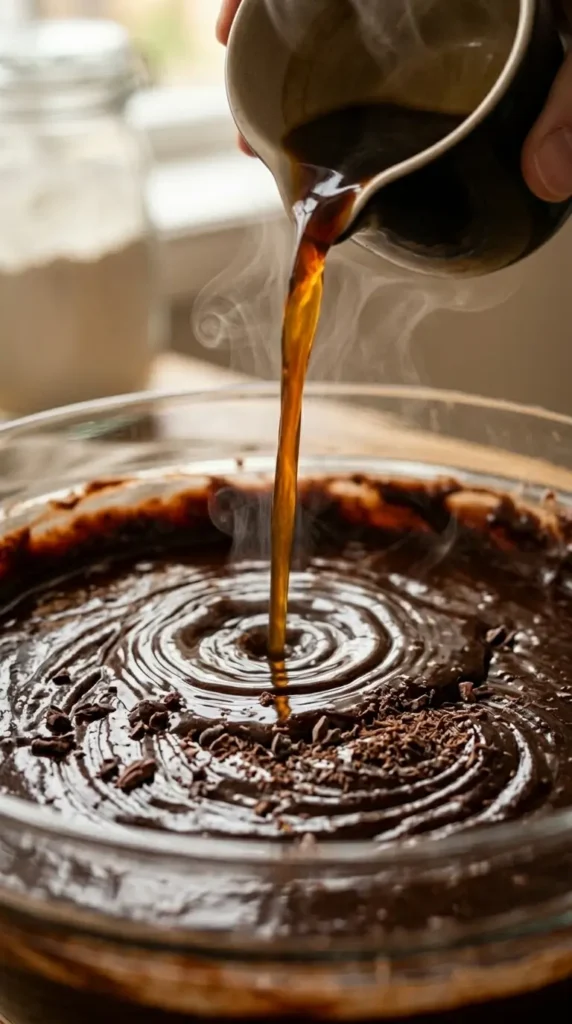
Carefully pour in your boiling coffee or water. Do not be alarmed—the batter will become very thin and liquid. This high hydration is exactly what creates the “velvet” texture. The heat immediately starts the chemical reaction with the leavening agents and blooms the chocolate.
The Precision Bake
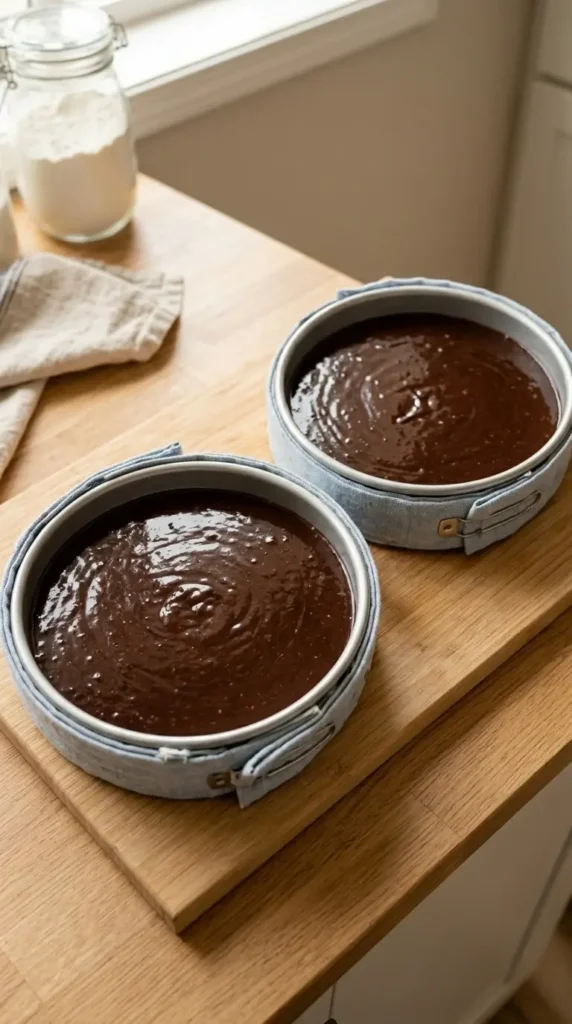
Divide your batter into two 9-inch pans lined with parchment paper. For the most professional look, use wet cake strips around the pans. Bake at 350°F (175°C) for 30–35 minutes. The cake is done when a toothpick comes out with just a few moist crumbs—never bake until it’s completely dry.
Total Tastes Exclusive: The Sour Cream Secret
If you want your choco and cake to remain fresh for up to five days, we recommend the “Professional Dairy Swap.” Replace half of the milk with full-fat sour cream. The higher fat content protects the protein structures from drying out, while the natural acidity of the sour cream tenderizes the gluten. This results in a cake that is nearly impossible to overbake and remains “bakery-fresh” long after it leaves the oven.
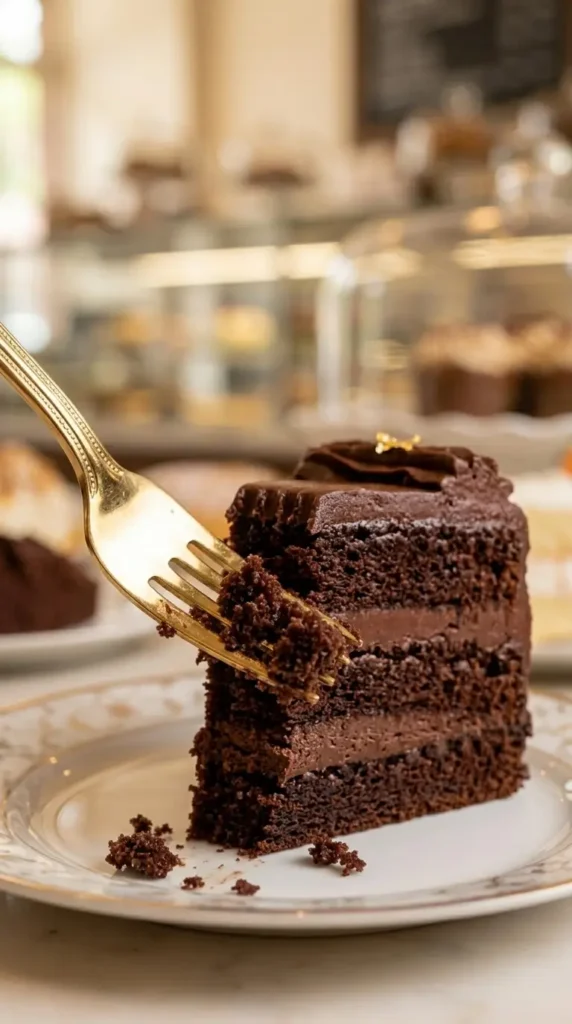
The Decadent Velvet Buttercream Frosting
A world-class choco and cake deserves a frosting that isn’t just a sugar bomb. Our signature buttercream is whipped for an extended period to incorporate micro-air bubbles, making it feel light despite its richness.

- Butter Preparation: Beat 1 ½ cups of softened unsalted butter for a full 3–5 minutes until it turns pale.
- The Cocoa Base: Sift in ¾ cup of cocoa powder. Adding it now, rather than at the end, allows the fat in the butter to coat the cocoa, preventing a “chalky” taste.
- The Sugar Balance: Gradually add 5 cups of powdered sugar, alternating with splashes of heavy cream.
- The Final Whip: Finish with vanilla and a pinch of salt. Whip on high for another 2 minutes until it resembles a chocolate cloud.
Advanced Troubleshooting for the Perfect Choco and Cake
- Why did my cake sink? This usually happens if the oven door is opened too early or if the leavening agents are expired. Always test your baking soda in a bit of vinegar before starting.
- Why is the top cracked? Your oven might be running too hot. Use an oven thermometer to ensure a true 350°F.
- Can I make this vegan? Yes. Substitute the eggs with flax eggs and use a high-fat plant milk like oat or coconut. The choco and cake profile remains remarkably similar due to the strong cocoa presence.
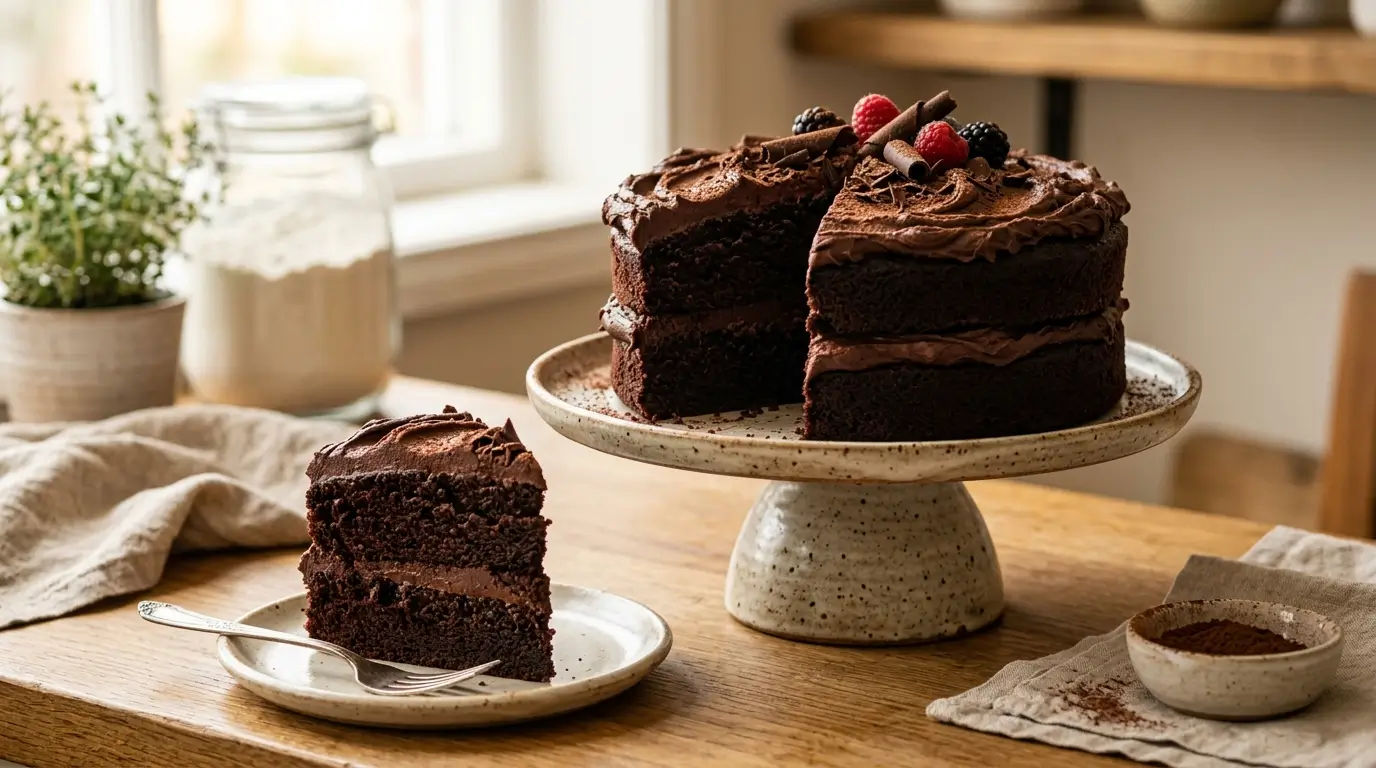
The Ultimate Moist Choco and Cake
Ingredients
Equipment
Method
- Preheat your oven to 350°F (175°C). Grease two 9-inch round cake pans and line the bottoms with parchment paper.
- In a large mixing bowl, sift together the sugar, flour, cocoa powder, baking powder, baking soda, and salt.
- In a medium bowl, whisk the eggs, milk (or sour cream), oil, and vanilla extract until fully combined.
- Gradually pour the wet ingredients into the dry ingredients. Whisk by hand or on low speed until just combined.
- Carefully pour in the boiling water (or hot coffee). The batter will be very thin—this is the secret to the moist choco and cake texture.
- Divide the batter evenly between the two prepared pans. Bake for 30-35 minutes or until a toothpick comes out clean.
- Let the cakes cool in their pans for 15 minutes before inverting them onto a wire cooling rack to cool completely.
- Make the frosting: Beat softened butter for 3 minutes. Sift in cocoa powder and salt, then mix on low.
- Gradually add powdered sugar alternating with heavy cream. Add vanilla and whip on medium-high for 2 minutes.
- Place one cake layer on a stand, frost the top, then place the second layer and cover the entire cake with buttercream.
Notes
- Pro Tip: If you use hot brewed coffee instead of water, the cake won’t taste like coffee, but the chocolate flavor will be significantly more intense.
- Storage: Store at room temperature in an airtight container for up to 3 days, or in the fridge for up to 5 days.
- Flat Layers: If you don’t have cake strips, wrap the outside of your pans in damp paper towels covered with aluminum foil to prevent the cake from doming.