Ingredients
Equipment
Method
- Reserve the juice: Drain both cans of cherry pie filling into a bowl, separating the cherries from the juice. Set the cherries aside and measure out about 1/3 cup of the reserved juice.
- Thicken the filling: In a saucepan, whisk the cornstarch into the reserved juice until smooth. Heat over medium heat, stirring constantly, until the mixture thickens and turns glossy, about 2-3 minutes.
- Add flavor: Remove from heat and stir in the lemon juice and almond extract. Fold the reserved cherries back into the thickened mixture until evenly coated.
- Cool the filling: Let the filling cool to room temperature before using it. This step matters more than it seems, pouring hot filling into a raw crust is one of the main causes of a soggy bottom crust.
- Assemble the pie: Line a 9-inch pie pan with your bottom crust. Pour in the cooled cherry filling and dot the top with the butter pieces.
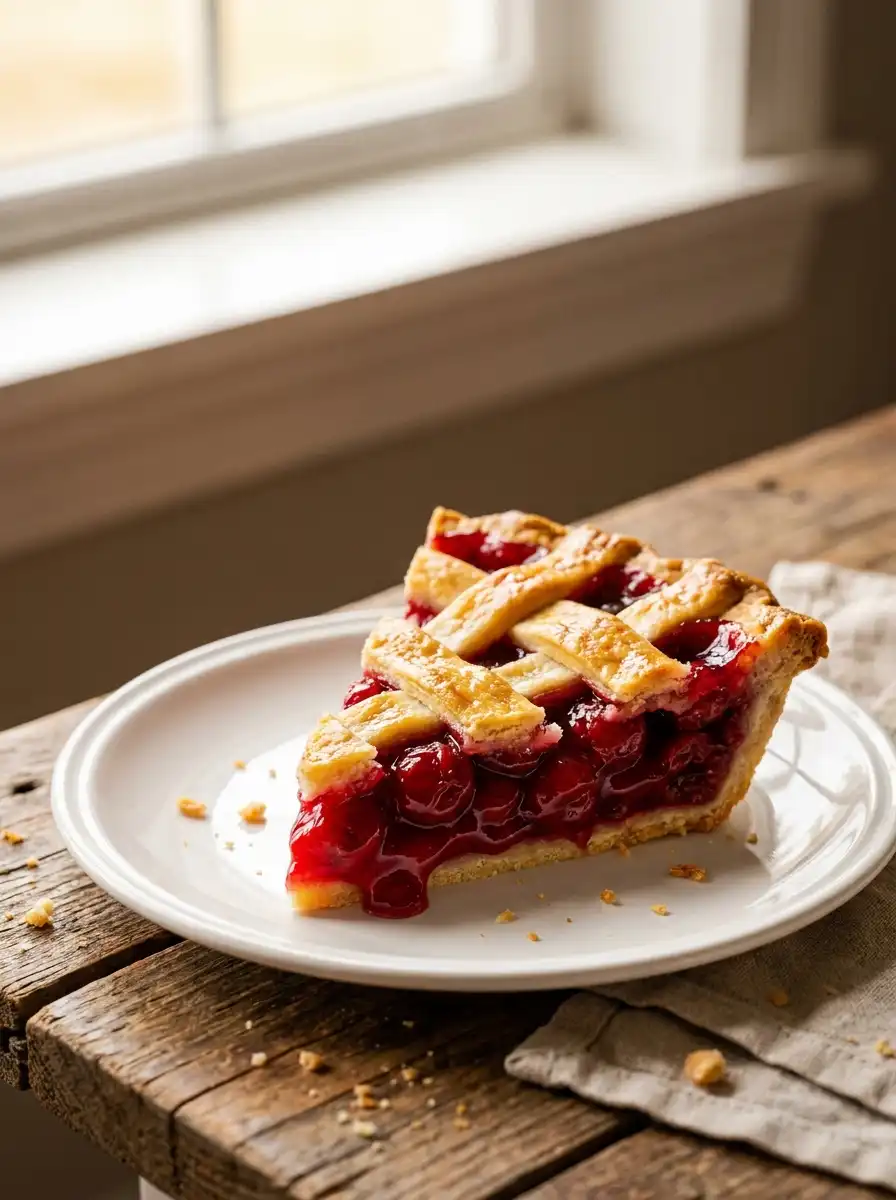
- Add the top crust: Cover with a full top crust (cutting a few vents for steam) or a lattice top. Seal and crimp the edges.
- Bake: Bake at 375°F to 400°F for 30 to 40 minutes, until the crust is golden and the filling is bubbling through the vents. Cover the edges with foil during the last 15 minutes if they're browning too fast.
- Cool completely before slicing: Let the pie cool for at least 2 to 3 hours before cutting. This gives the filling time to set so your slices hold together instead of running.
Notes
Use juice from only one can if using two cans of filling; using juice from both can make the filling too thin even after thickening.
Cool the filling completely before assembling and cool the baked pie completely before slicing, both steps are essential for clean slices.
Store covered in the fridge for up to 5 days, or freeze the baked pie (wrapped tightly) for up to 3 months.