Go Back
The best raspberry thumbprint cookies on a white plate with glossy jam centers.

The Best Thumbprint Cookies

These buttery, melt-in-your-mouth thumbprint cookies are made with a secret no-crack dough and filled with glossy raspberry jam. A professional-grade recipe for perfect results.
Prep Time 12 minutes
Cook Time 10 minutes
Total Time 22 minutes
Servings: 24 cookies
Course: Dessert, Snack
Cuisine: American, European
Calories: 95

Ingredients
  

  • 1, cup Unsalted Butter Softened to room temperature
  • 2, tbsp Full-Fat Cream Cheese Room temperature
  • 1/2, cup Granulated Sugar
  • 2, cups All-Purpose Flour Minus 2 tablespoons
  • 2, tbsp Cornstarch The secret for no-crack dough
  • 1, tsp Vanilla Bean Paste Pure vanilla extract works too
  • 1/4, tsp Almond Extract Optional but highly recommended
  • 1, pinch Sea Salt
  • 1/2, cup Raspberry Jam Use seedless for a glossy look

Equipment

  • 1 Electric mixer Stand mixer or hand mixer for creaming butter.
  • 1 Large mixing bowl To combine the dough ingredients.
  • 1 Baking sheet Large rimmed cookie sheet.
  • 1 Parchment paper To prevent the cookies from sticking.
  • 1 Cookie scoop 1 tablespoon size for consistent 20g balls.
  • 1 Measuring Spoon 1/2 teaspoon size to press the perfect "well".
  • 1 Sifter To sift the flour and cornstarch for a smooth dough.
  • 1 Wire cooling rack To let the cookies firm up properly after baking.

Method
 

  1. Cream Butter & Sugar: In a stand mixer, beat the softened butter, cream cheese, and granulated sugar for about 3 minutes until the mixture is pale and fluffy.
  2. Add Aromatics: Mix in the vanilla bean paste and almond extract until well combined.
  3. Mix Dry Ingredients: Sift in the flour, cornstarch, and salt. Turn the mixer to low speed and mix just until the flour streaks disappear. Do not overmix.
  4. Chill the Dough: Wrap the cookie dough in plastic wrap and refrigerate for at least 60 minutes. This is crucial for a no-crack finish.
  5. Preheat & Prep: Preheat your oven to 350°F (175°C) and line a large baking sheet with parchment paper.
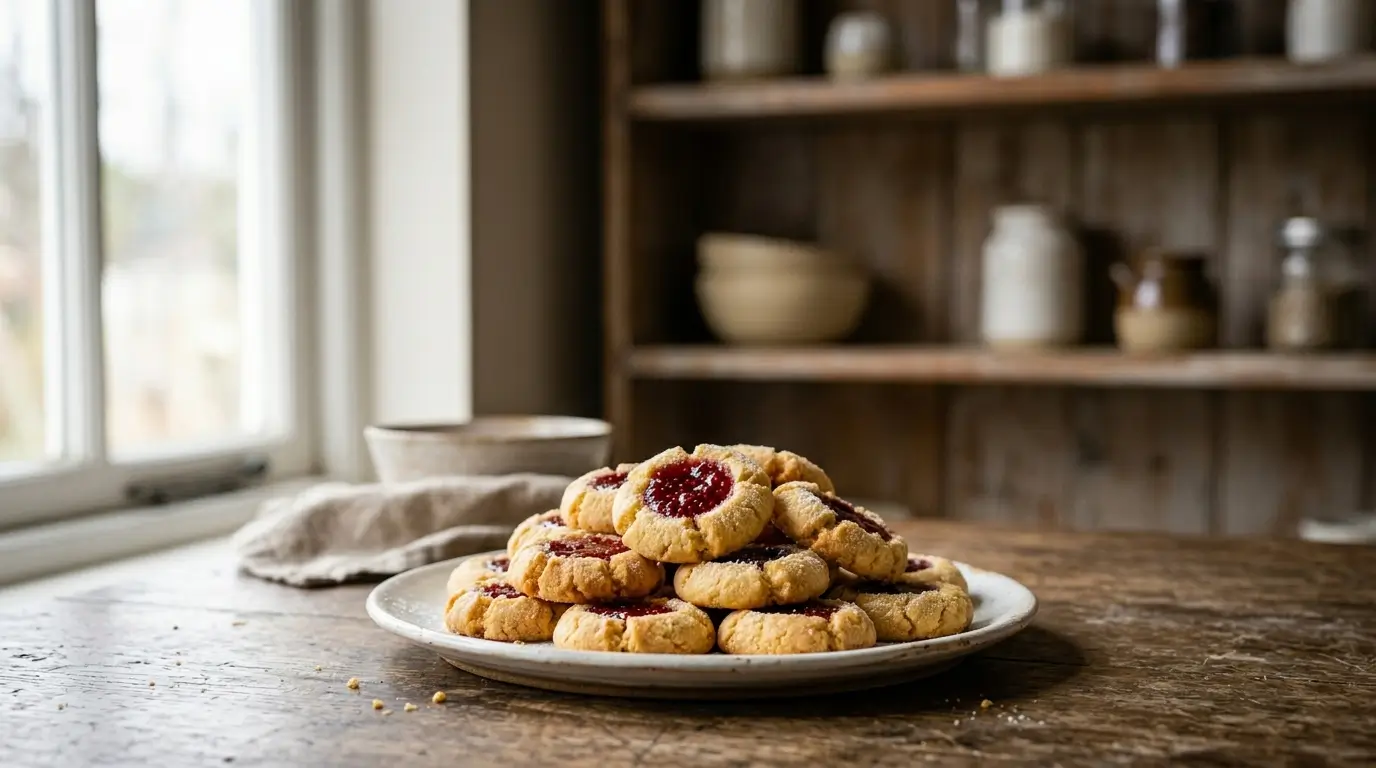
  6. Shape & Press: Roll the dough into 1-inch balls (about 20g each). Use the back of a 1/2 tsp measuring spoon to press a clean "well" in the center of each ball.
  7. Fill with Jam: Fill each indentation 3/4 full with your raspberry jam.
  8. Bake: Bake for 11-12 minutes or until the edges are just set and barely golden.
  9. The Glossy Finish: Remove from the oven and let cool on the pan for 10 minutes. Optional: Add a tiny drop of fresh jam to the centers for a professional, glossy look.

Notes

  • Storage Tips: Store your thumbprint cookies in an airtight container at room temperature for up to 5 days. For long-term freshness, freeze them for up to 3 months.
  • The No-Crack Secret: If the dough feels too cold after chilling, let it sit for 2-5 minutes before pressing. This ensures your jelly cookies stay smooth and crack-free.
  • Jam Variations: While this raspberry jam cookies recipe is a classic, you can swap the filling for apricot jam, lemon curd, or even Nutella after baking!
  • Measurement Note: For the best results with this thumbprint cookie recipe, I highly recommend using a digital kitchen scale to weigh your flour and butter.