Homemade Cosmic Brownies: Better Than the Original
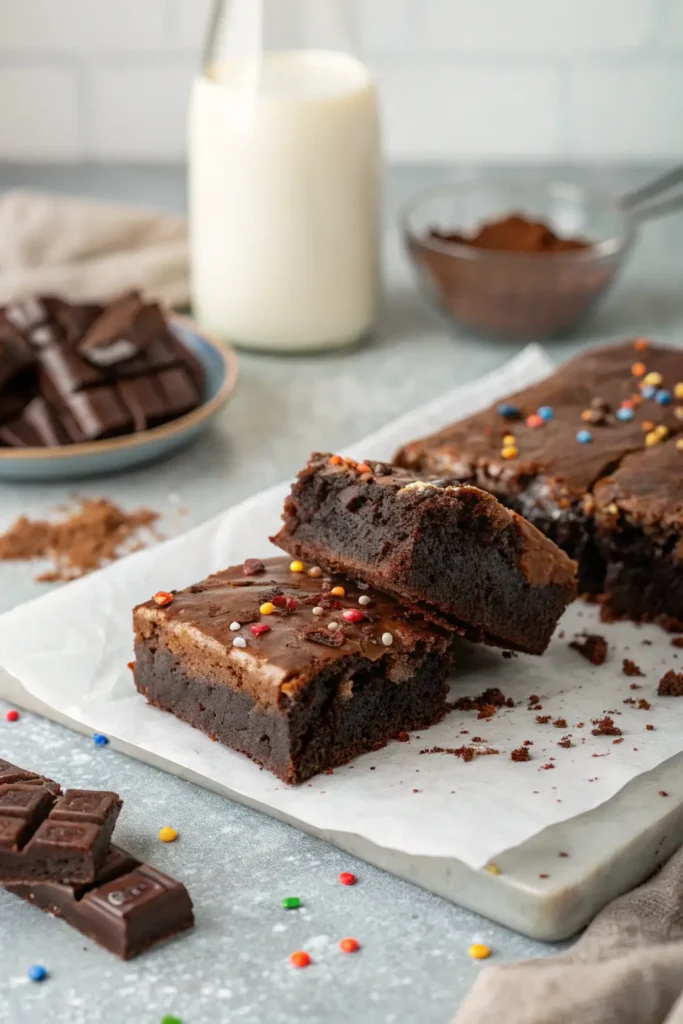
There’s something magical about biting into a perfectly fudgy brownie topped with that signature colorful ganache and rainbow chips. Cosmic Brownies remind us of our childhood lunchboxes. But what if I told you that you can make these tasty treats at home? You can enjoy better flavor and no preservatives!
After testing this recipe 14 times (my neighbors didn’t complain!), I’ve perfected a homemade Cosmic Brownie that will make the store-bought version pale in comparison.
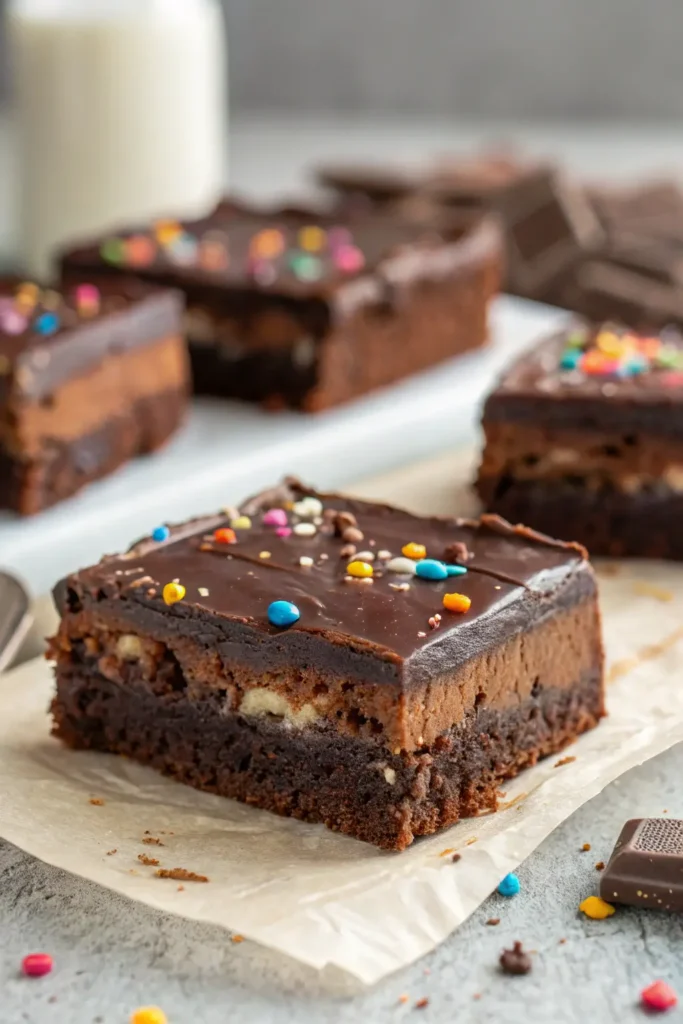
These brownies have a dense, chewy texture. A shiny chocolate ganache and colorful candy-coated chocolate chips top them. This makes them easy to recognize.
Table of Contents
Why You’ll Love These Homemade Cosmic Brownies
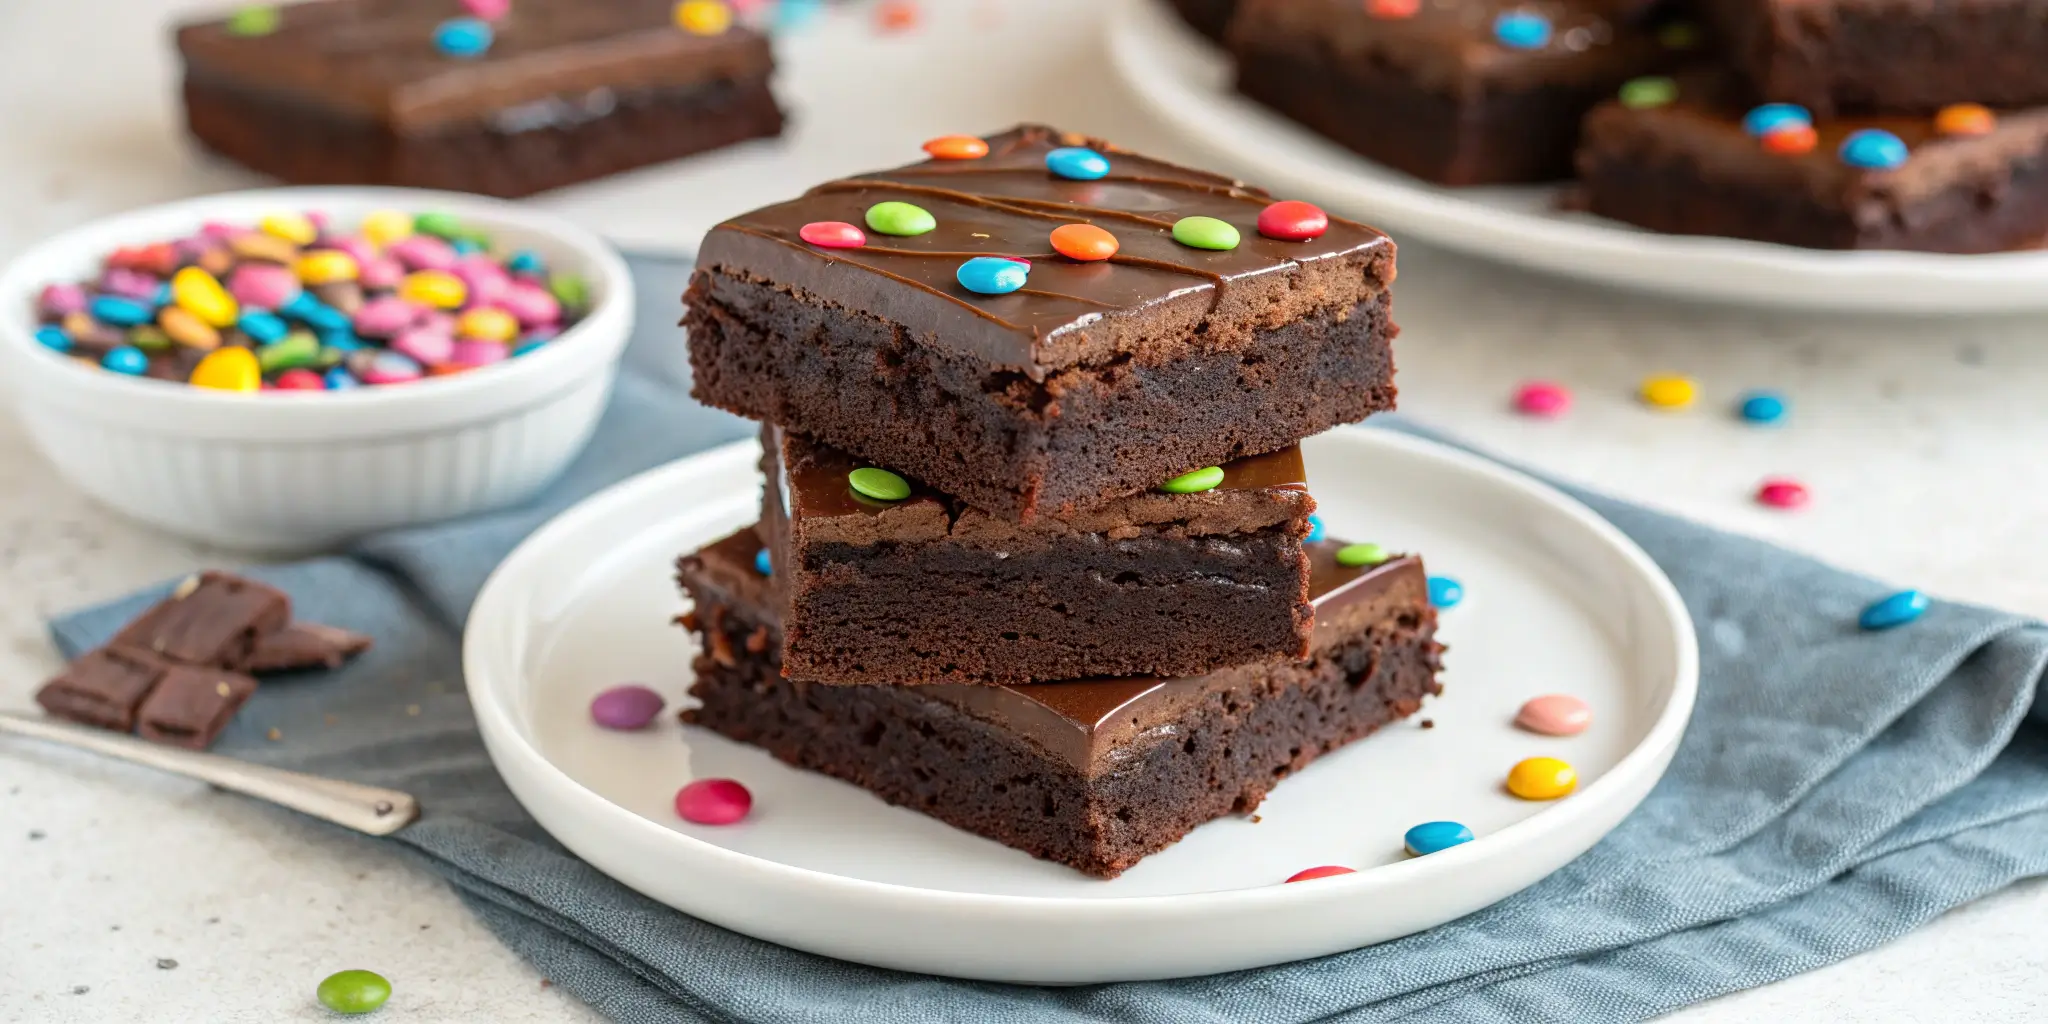
These aren’t just any brownies. They are a great copy of those Little Debbie treats we all enjoy. They have a rich, real chocolate flavor that comes from baking from scratch. The brownie base is incredibly fudgy with a tight crumb structure that gives you that perfect chewy bite every time.
The chocolate ganache topping has the perfect snap. The rainbow chips on top are not just for looks. They add a nice crunch and texture. This makes these brownies truly special.
The Secret to Perfect Cosmic Brownies
The key to achieving that signature Cosmic Brownie texture lies in three critical techniques:
- Using both melted chocolate AND cocoa powder – This creates depth of flavor and the perfect brownie texture
- Mixing just until combined – Overmixing creates cakey brownies, and we want dense and fudgy!
- Slightly underbaking – They continue cooking after you take them out of the oven, ensuring that perfect chewy center
Ingredients You’ll Need
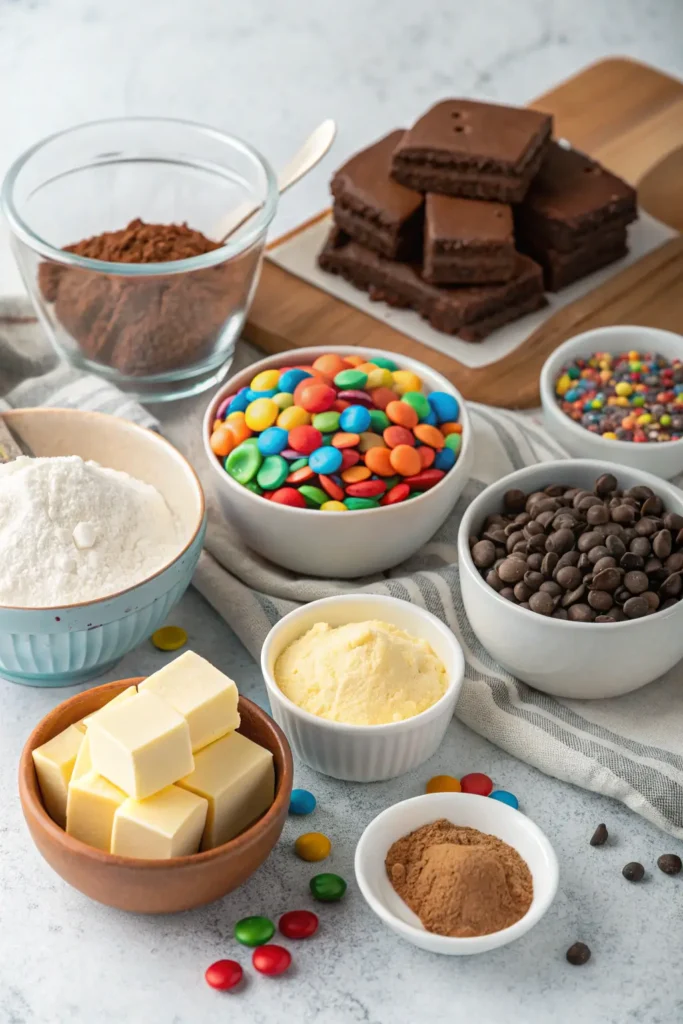
For the Brownie Base:
- 1/2 cup unsalted butter
- 4 oz semi-sweet chocolate, chopped
- 1 cup granulated sugar
- 2 large eggs, room temperature
- 1 teaspoon pure vanilla extract
- 3/4 cup all-purpose flour
- 1/4 cup unsweetened cocoa powder
- 1/2 teaspoon salt
- 2 tablespoons cornstarch (the secret ingredient for chewiness!)
For the Ganache Topping:
- 6 oz semi-sweet chocolate, finely chopped
- 1/2 cup heavy cream
- 1 tablespoon corn syrup (for that perfect shine)
- 1/3 cup rainbow chip sprinkles or mini M&Ms
How to Make Cosmic Brownies
Step 1: Prepare the Pan
Preheat your oven to 350°F (177°C). Line an 8×8-inch baking pan with parchment paper, leaving overhang on the sides for easy removal. Spray lightly with non-stick spray.
Step 2: Make the Brownie Batter
In a microwave-safe bowl, melt the butter and chopped chocolate in 30-second intervals, stirring after each until smooth. Let cool slightly.
Whisk in the sugar until fully mixed. Add the eggs one at a time, whisking well after each one. Stir in the vanilla extract.
In a separate bowl, whisk together the flour, cocoa powder, salt, and cornstarch. Gently mix the dry ingredients into the wet ingredients until they are just combined. It is fine to have a few small streaks of flour!
Step 3: Bake the Brownies
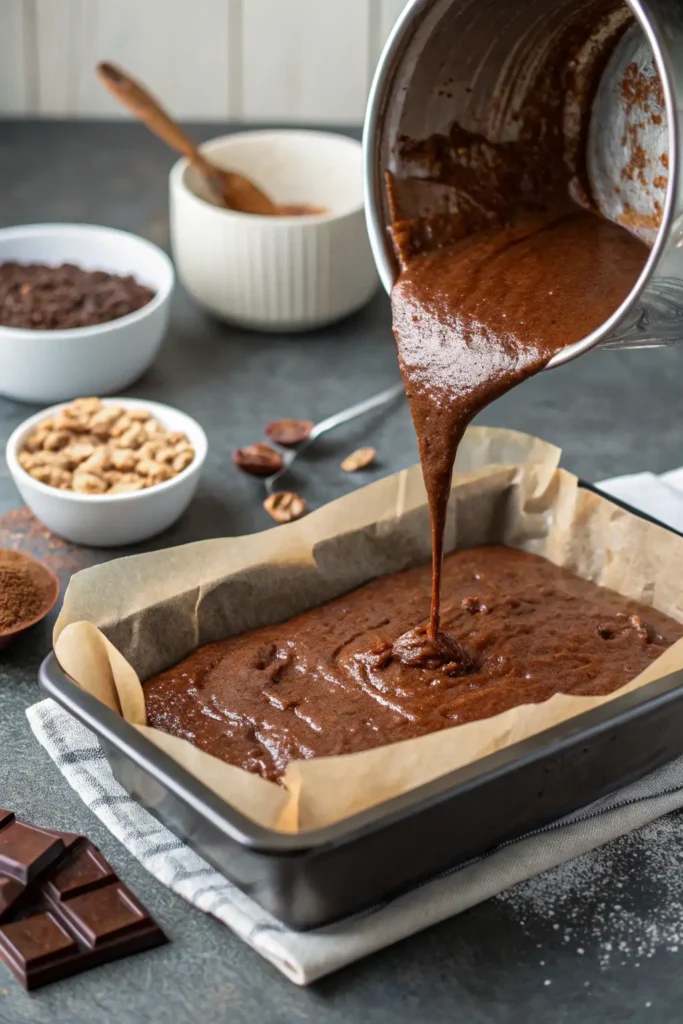
Pour the batter into your prepared pan and smooth the top with a spatula. Bake for 25-28 minutes, or until a toothpick inserted in the center comes out with a few moist crumbs. Set the edges, but let the center look slightly underdone – that’s perfect!
Cool the brownies completely in the pan placed on a wire rack.
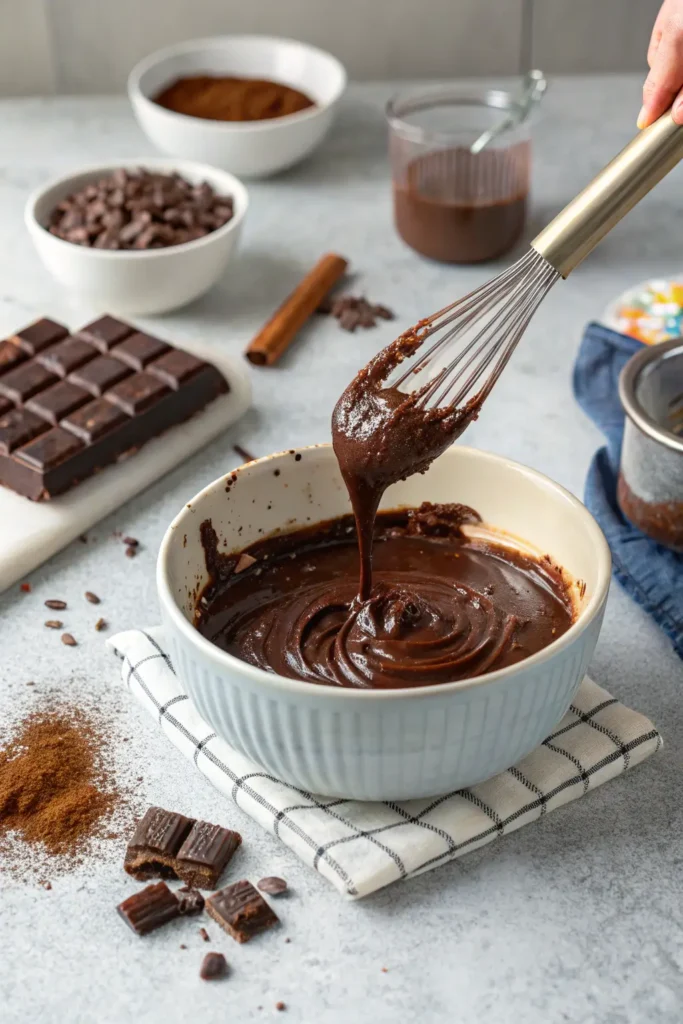
Step 4: Make the Ganache Topping
Place the chopped chocolate in a heatproof bowl. Heat the heavy cream in a small saucepan until it just begins to simmer. Pour the hot cream over the chocolate and let it sit for 2-3 minutes. Add the corn syrup and whisk until smooth and glossy.
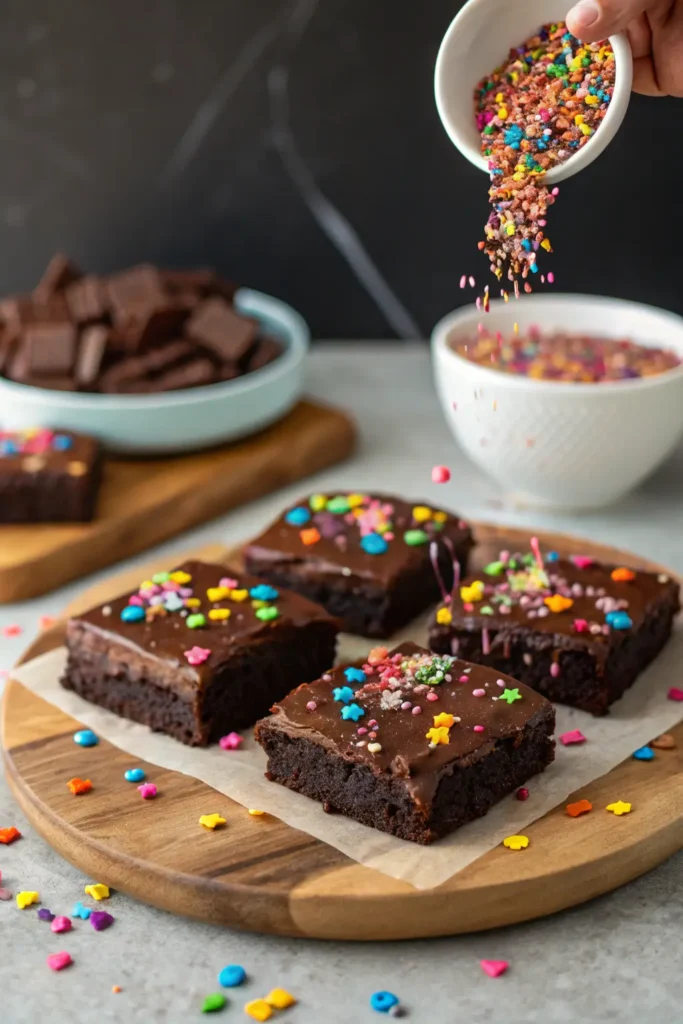
Step 5: Finish and Decorate
Pour the warm ganache over the cooled brownies, spreading evenly with an offset spatula. Immediately sprinkle with rainbow chips or mini M&Ms. Refrigerate for at least 1 hour to set the ganache.
Pro Tips for Perfect Cosmic Brownies
- Don’t substitute the cornstarch – It’s what gives these brownies that signature dense, chewy texture
- Use room temperature eggs – Cold eggs can cause the melted chocolate to seize
- For clean cuts: Use a warm knife and wipe it clean between each slice
- Make them thinner: Use a 9×13-inch pan for thinner brownies that more closely resemble the packaged version
Storing Your Cosmic Brownies
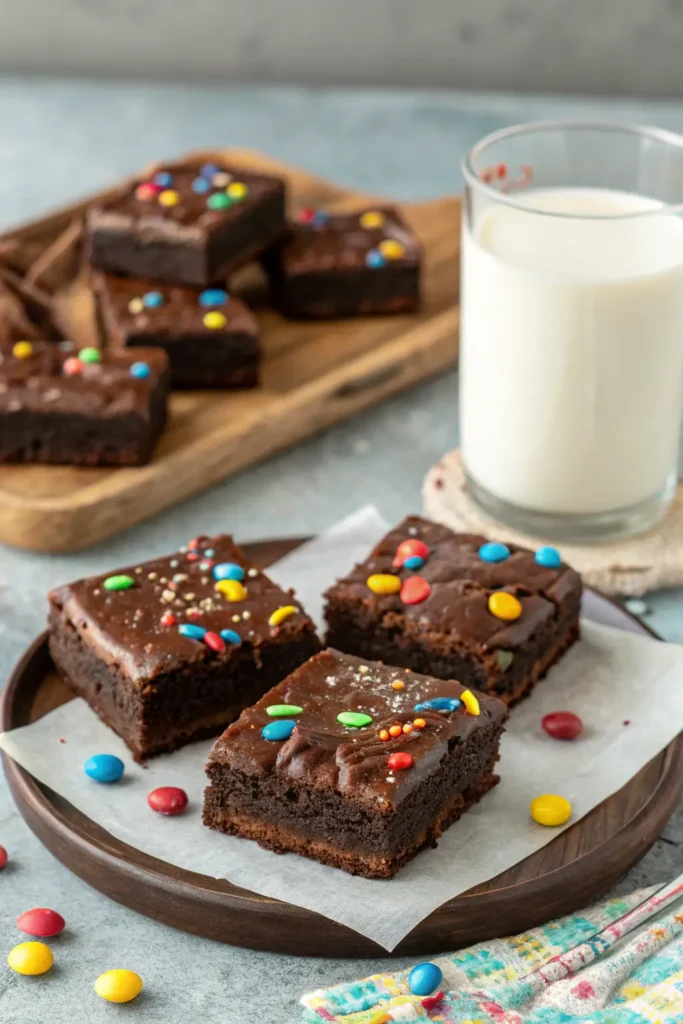
These homemade treats stay fresh in an airtight container at room temperature for up to 3 days. For longer storage, refrigerate for up to a week (though they never last that long in my house!).
You can also freeze these brownies for up to 3 months! Just thaw overnight in the refrigerator before serving.
Frequently Asked Questions
Can I double this recipe?
Absolutely! Double all ingredients and use a 9×13-inch pan. You will need to increase the baking time by about 5-7 minutes.
Can I use milk chocolate instead of semi-sweet?
Yes, but your brownies will be sweeter. I find semi-sweet chocolate provides the perfect balance.
Why add corn syrup to the ganache?
The corn syrup creates that signature shine and helps the ganache set with the perfect texture. You can substitute honey or golden syrup if needed.
My ganache is too thick. What happened?
The cream may have been too hot. Next time, let it cool slightly before pouring over the chocolate, or add an extra tablespoon of warm cream to thin it out.
Why These Beat Store-Bought Every Time
There’s something special about creating childhood favorites from scratch. These homemade Cosmic Brownies capture all the nostalgic elements we love while elevating the flavor with real ingredients. The chocolate is richer, the texture is perfectly chewy, and you can customize the toppings to your heart’s content.
Plus, knowing exactly what goes into your treats provides peace of mind that store-bought versions simply can’t match.
Try these homemade Cosmic Brownies this weekend – I promise they’ll become a new family favorite! If you make them, be sure to leave a comment below and let me know how they turned out.
Homemade Cosmic Brownies
Ingredients
Equipment
Method
- Prepare: Preheat oven to 350°F (177°C). Line an 8×8-inch pan with parchment paper and spray lightly with non-stick spray.
- Melt: Melt butter and chopped chocolate in the microwave in 30-second intervals until smooth.
- Mix Wet: Whisk in sugar, then add eggs one at a time, whisking well. Stir in vanilla.
- Mix Dry: Whisk flour, cocoa powder, salt, and cornstarch in a separate bowl.
- Combine: Gently mix dry ingredients into wet until just combined. Do not overmix!
- Bake: Pour into pan and bake for 25-28 minutes. Edges should be set but center slightly underdone.
- Cool: Cool completely in the pan on a wire rack.
- Make Ganache: Pour hot simmering cream over chopped chocolate. Let sit for 2-3 mins, add corn syrup, and whisk until glossy.
- Finish: Pour ganache over cooled brownies, add rainbow chips, and refrigerate for 1 hour to set.
Notes
- Don’t Substitute Cornstarch: This is what gives the brownies their signature dense, chewy texture.
- Room Temp Eggs: Prevents the melted chocolate from seizing up.
- Clean Cuts: Use a warm knife and wipe it clean between each slice for professional-looking squares.
- Storage: Keep in an airtight container for 3 days at room temperature or 1 week in the fridge.