The Ultimate Pineapple Upside Down Cake Recipe: 5-Star Guide
Finding the perfect pineapple upside down cake recipe is like finding a piece of culinary history that actually tastes as good as it looks. While many versions of this mid-century classic turn out soggy or overly cloying, this specific method focuses on the science of caramelization and a balanced sponge. This isn’t just a dessert; it’s a culinary centerpiece that demands attention the moment you flip it onto the platter.
Why This Pineapple Upside Down Cake Recipe Works
Most recipes fail because they don’t account for the moisture content of the fruit. By understanding the interaction between the brown sugar butter base and the pineapple juices, we create a jam-like topping that clings to a sturdy, velvety vanilla crumb. Whether you are a nostalgic baker or a newcomer, this pineapple upside down cake recipe ensures a “clean flip” and a professional finish every single time.
Essential Ingredients for a High-Altitude Sponge
To achieve a cake that doesn’t collapse under the weight of caramelized fruit, we need to move beyond basic pantry staples and look at the quality of our fats and leavening agents. A truly professional pineapple upside down cake recipe relies on the structural integrity of the batter just as much as the sweetness of the fruit.
The Golden Topping Unsalted Butter: Using high-fat European-style butter provides a richer mouthfeel in the caramel. Light Brown Sugar: We prefer light over dark to keep the tropical pineapple flavor as the protagonist without the molasses overpowering it. Canned vs. Fresh Pineapple: While fresh is great, canned pineapple rings in 100% juice provide a consistent thickness that is crucial for even baking. Maraschino Cherries: These are non-negotiable for the aesthetic. Ensure they are stemmed and patted dry to prevent “bleeding” into the yellow cake.
The Vanilla Bean Sponge All-Purpose Flour: Provides the necessary gluten structure to support the fruit. Whole Milk & Sour Cream: This is our secret weapon. Adding a touch of sour cream introduces acidity, which tenderizes the crumb and adds a subtle tang to balance the sugar. Room Temperature Eggs: This ensures the emulsion of your batter doesn’t break, leading to a smoother, tighter crumb texture.
Step-by-Step Guide to the Perfect Caramel Flip
Success in a pineapple upside down cake recipe is found in the preparation of the pan. The bottom of your pan is your future “top,” so precision in the first five minutes is mandatory.
Preparing the Caramel Foundation
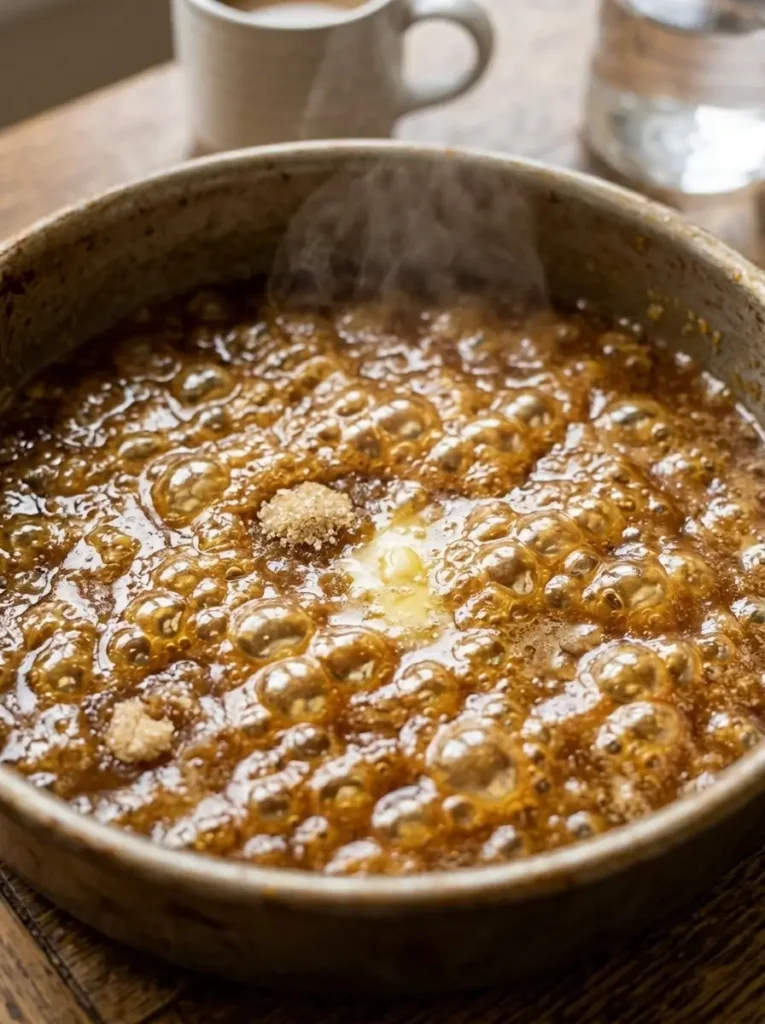
Start by melting your butter directly in your baking vessel. If you are using a 9-inch cake pan or a cast-iron skillet, ensure the butter coats the sides to prevent the cake from sticking. Sprinkle the brown sugar evenly over the melted butter. Do not stir it; let the heat of the oven do the work of merging the two into a bubbling, thick syrup that will eventually coat your fruit.
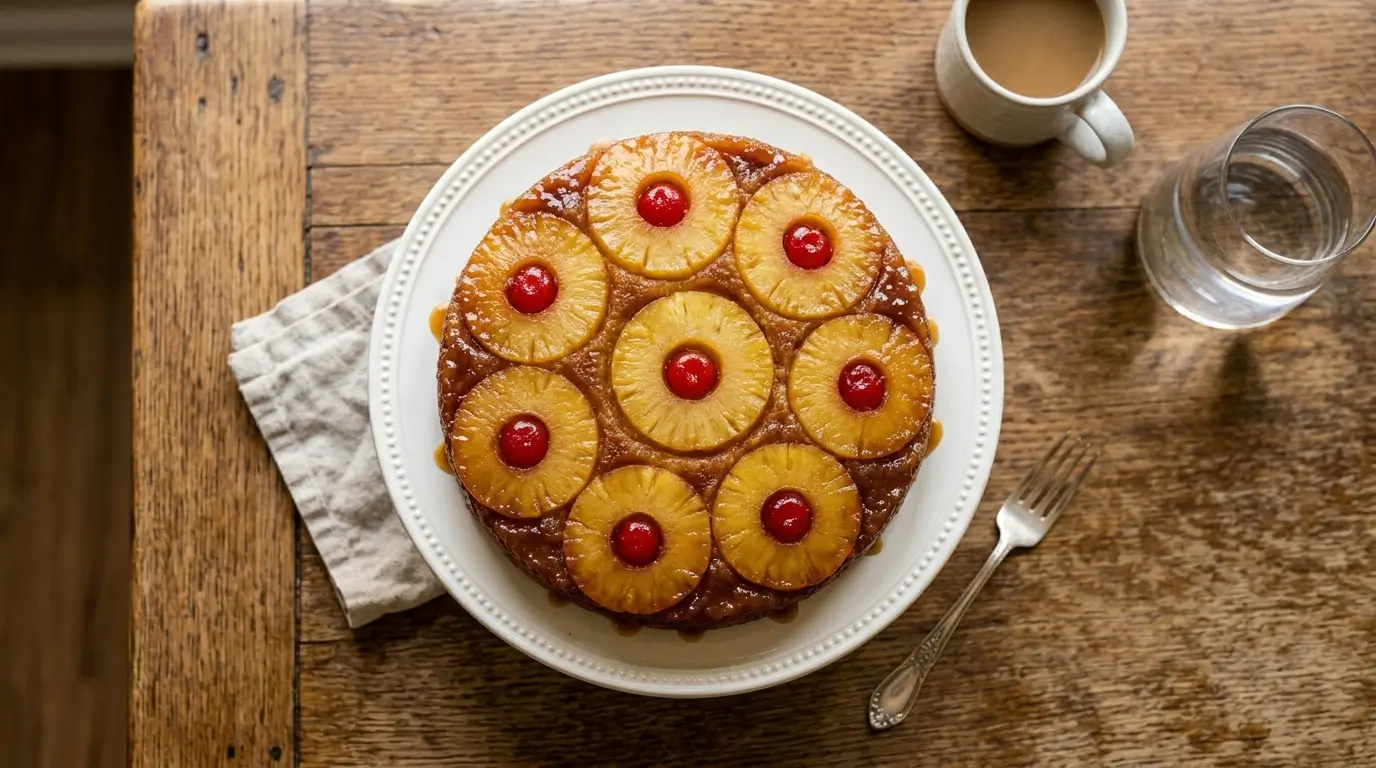
The Art of Fruit Arrangement

When placing your pineapple rings, start with one in the center and work your way out. If you want a more modern “mosaic” look, you can cut the rings into halves or quarters to fill every gap. Press a cherry into the center of each ring and into the spaces between them. This prevents the batter from seeping through and obscuring your fruit design, ensuring the visual “wow” factor of your pineapple upside down cake recipe.
Avoiding the “Soggy Bottom” Syndrome
The biggest complaint with any pineapple upside down cake recipe is a wet, mushy top that slides off the cake. To avoid this, you must treat your fruit like a professional pastry chef would.
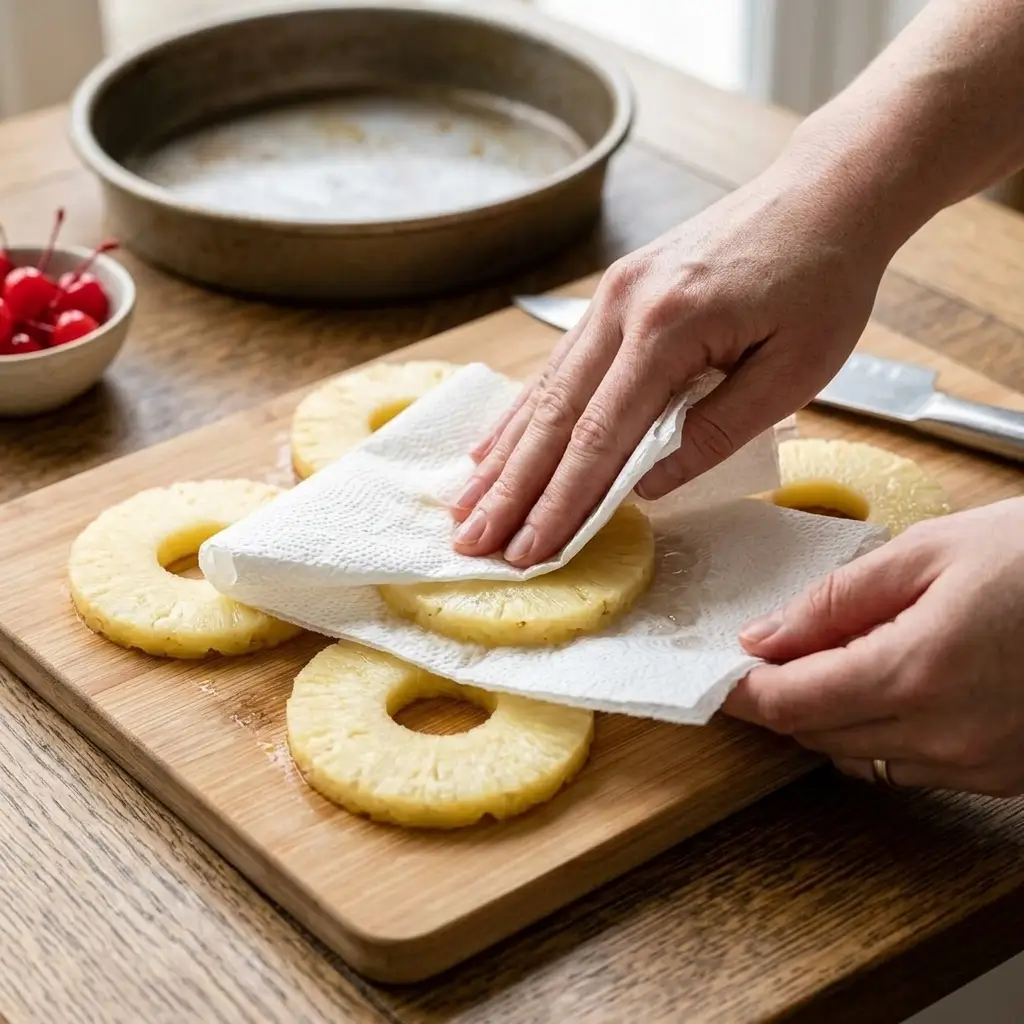
The Blotting Technique Never take a pineapple slice straight from the can to the pan. Place your slices on a double layer of paper towels and press firmly on the top and bottom. You want to remove the surface moisture so the sugar can actually caramelize the fruit rather than just boiling it in its own juice. This is the difference between a soggy cake and a gourmet pineapple upside down cake recipe.
The Sturdy Crumb Ratio A standard chiffon or sponge cake is too light for this specific application. We use a modified “Creaming Method.” By beating the butter and sugar for a full 5 minutes until pale and fluffy, we incorporate micro-bubbles of air that provide the lift needed to support the heavy fruit topping during the rise.
Advanced Baking Tips: Skillet vs. Cake Pan
While a standard 9-inch round pan works perfectly, using a Cast Iron Skillet is the “Pro Move” for this pineapple upside down cake recipe.
Cast iron retains heat more efficiently than aluminum. This extra heat creates a deeper, darker caramelization on the pineapples, almost giving them a “candied” edge that a regular cake pan cannot replicate. If you use cast iron, reduce your oven temperature by 5 degrees to prevent the sugar from burning before the cake center is fully set.
The Critical 12-Minute Window: How to Flip
The “Flip” is the most nerve-wracking moment for any baker following a pineapple upside down cake recipe. If you flip too soon, the caramel is too liquid and will run off the sides. If you wait too long, the sugar will harden and the fruit will stay stuck to the pan, ruining your presentation.
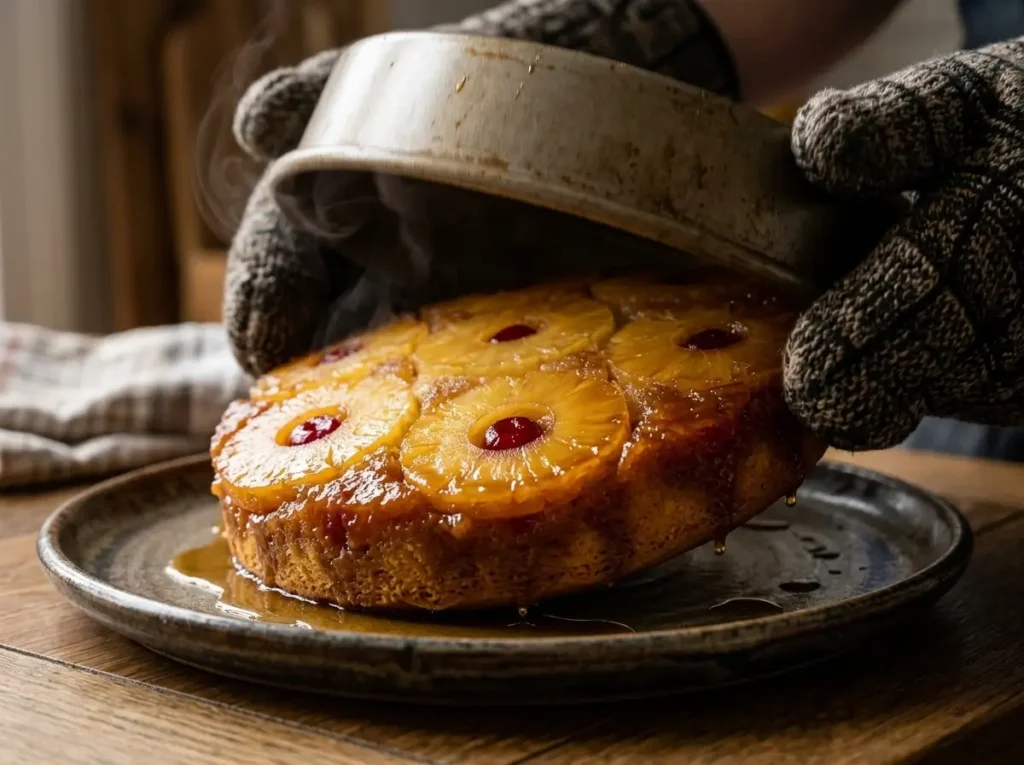
The Sweet Spot Set a timer for exactly 12 minutes after the cake comes out of the oven. Use a thin offset spatula to run around the edges of the pan to ensure no cake is sticking to the rim. Place your serving plate over the pan, hold both firmly with oven mitts, and commit to the movement. A swift, confident inversion is better than a slow, hesitant one. Give the bottom of the pan a few light taps before lifting it slowly to reveal your masterpiece.
Frequently Asked Questions for the Perfect Bake
Can I use pineapple juice in the batter? While tempting, replacing milk with juice increases the acidity and sugar levels significantly, which can make the cake sink in the middle. If you want more pineapple flavor in your pineapple upside down cake recipe, add a teaspoon of pineapple extract instead.
Why did my cake leak over the sides during baking? This usually happens if the pan is too shallow. To prevent a mess in your oven while making this pineapple upside down cake recipe, always place a baking sheet on the rack below your cake to catch any potential caramel drips.
Can I make this recipe gluten-free? Yes. A high-quality 1:1 gluten-free flour blend works well here because the moisture from the fruit helps prevent the grittiness sometimes found in GF bakes.
Maximizing Flavor: Serving and Storage
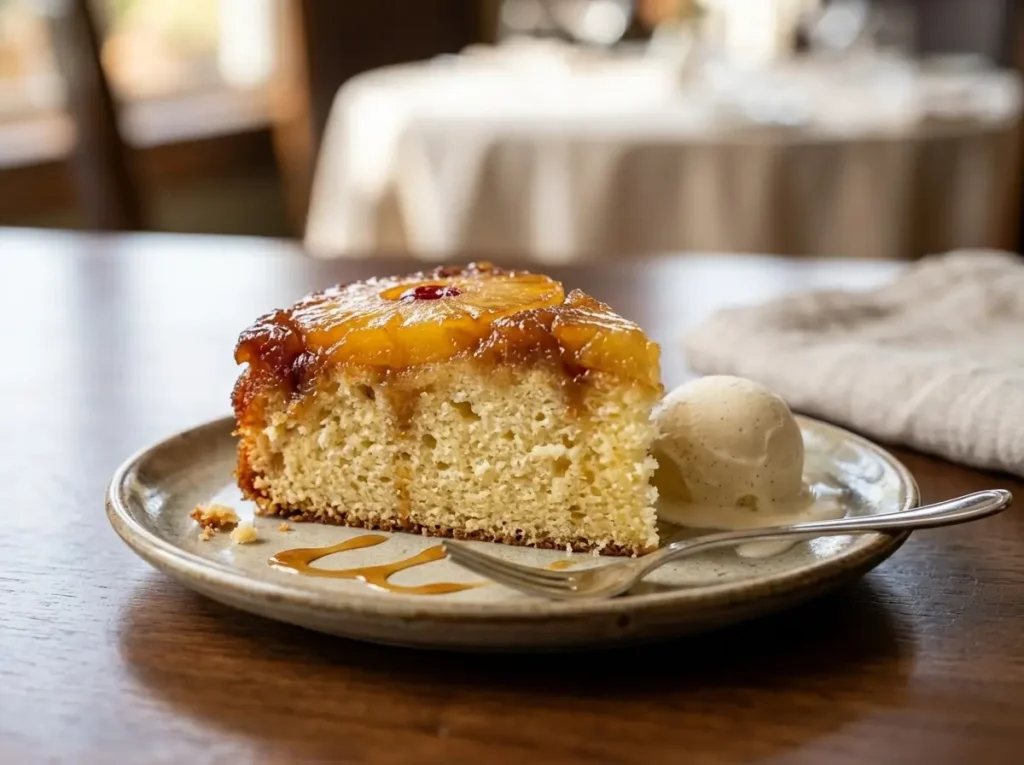
This pineapple upside down cake recipe is designed to be eaten warm. The contrast between the hot, buttery caramel and a scoop of cold vanilla bean ice cream or a dollop of unsweetened whipped cream is incomparable.
If you have leftovers, do not leave them at room temperature for more than a few hours. The fruit and sugar will cause the cake to become soggy quickly. Store it in an airtight container in the refrigerator for up to 3 days. To revive the texture, microwave a slice for 15 seconds to soften the caramel before serving.
The Verdict: A Timeless Classic Refined
Mastering the pineapple upside down cake recipe is a rite of passage for any serious home baker. It challenges your ability to balance moisture, manage caramelization, and execute a perfect technical flip. By following the “Blotting Technique” and using the “12-Minute Flip Rule,” you are guaranteed a result that isn’t just a dessert, but a masterpiece of textures and tropical flavors.
Perfect Pineapple Upside Down Cake Recipe
Ingredients
Equipment
Method
- Prepare your pan Pour melted butter into the pie plate and make sure you spoon or brush a bit up the sides of the plate as well. Sprinkle brown sugar evenly overtop the butter.
- Layer the fruit Arrange the pineapple rings and cherries over the pie plate and around the edge, too. Make sure to blot your pineapple slices well with paper towels first to absorb excess liquid and avoid a soggy cake.
- Make the cake batter Cream the sugar and butter, add eggs and vanilla, then gradually alternate adding the dry ingredients and milk until the batter is combined. Do not over-mix the dry ingredients; just stir until combined.
- BakePour the batter over the fruit and bake. Check the cake at the 30-minute mark and loosely tent with foil to avoid over-browning. Bake until a toothpick comes out clean.
- Flip & serve Let the cake cool for just 10-15 minutes. Use a knife to gently loosen the edges, place a platter larger than your cake over the pan, and quickly but firmly flip everything over. Remove the pan carefully.
Notes
Pro Tips for the Best Result
- Blotting the Pineapple: This is the most important step! Use paper towels to pat the pineapple slices completely dry. Any excess juice will make the top of the cake soggy and prevent that beautiful caramelization.
- The 12-Minute Rule: Don’t flip the cake immediately after taking it out of the oven, and don’t wait too long. Exactly 12 minutes allows the caramel to set slightly so it doesn’t run off, but keeps it warm enough to release from the pan.
- Room Temperature Ingredients: Make sure your eggs and milk are at room temperature. This ensures the batter emulsifies perfectly, resulting in a light and airy sponge rather than a dense one.
- Preventing Over-Browning: Because of the high sugar content, the edges can brown quickly. Check the cake at the 30-minute mark; if it’s already golden, loosely tent a piece of aluminum foil over the top for the remaining bake time.
Storage & Reheating
- Storage: This cake is best served warm, but you can store leftovers in an airtight container in the refrigerator for up to 3 days.
- Reheating: To get that “just baked” texture, microwave a slice for 15-20 seconds before serving.