Ingredients
Equipment
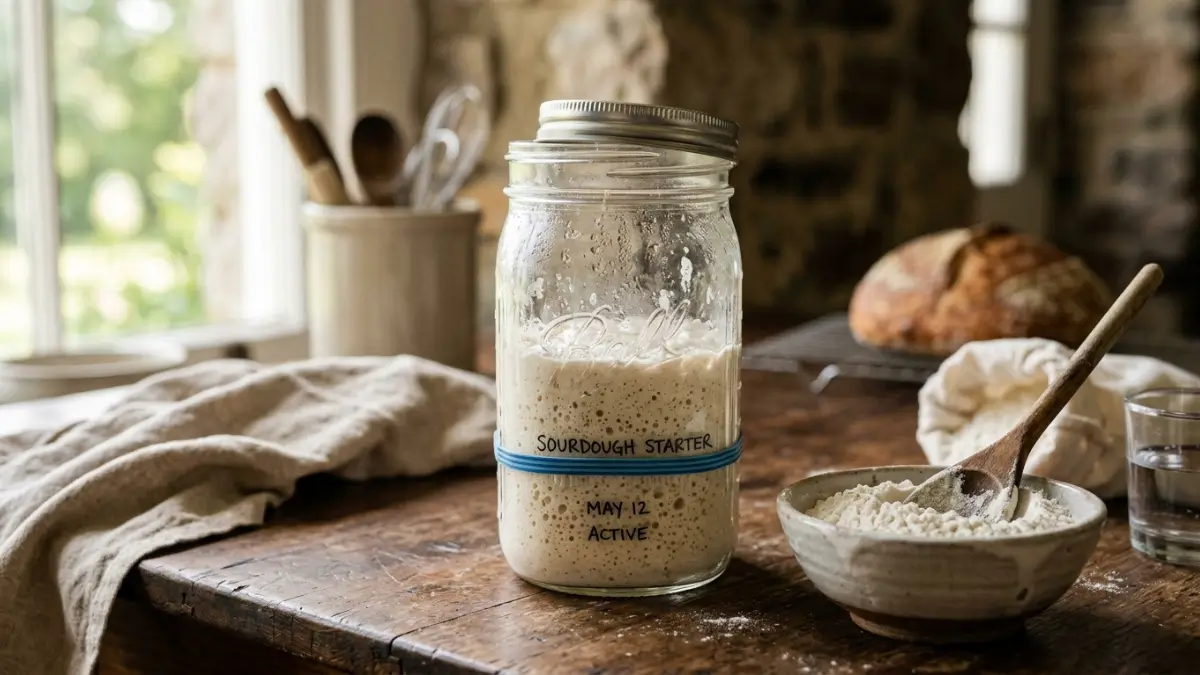
Method
- Day 1 Mix 60g flour and 60g water in the jar. Cover and rest for 24h.
- Day 2 Discard half the mix. Add 60g flour + 60g water. Stir well.
- Day 3-5 Repeat the Day 2 process (Discard + Feed) every 24 hours.
- Day 6-7 Feed every 12 hours until it doubles in size and gets bubbly.
- Final Test Perform the Float Test in water to check readiness.
Notes
- The "Hooch" (Dark Liquid): If you see a dark, watery liquid on top, don't worry! This is called "hooch." It just means your starter is hungry. Pour it off or stir it in, and feed your starter immediately.
- Water Quality: Always use filtered or bottled water. Chlorine in tap water can kill the natural yeast you're trying to grow.
- Temperature Matters: A warm spot (21°C–24°C) is perfect. If your kitchen is cold, the process might take 10–14 days instead of 7.
- Don't Toss the Discard: You can use the "discard" (the part you remove before feeding) to make delicious pancakes, waffles, or crackers once it starts smelling sour but isn't yet strong enough for bread.
- Metal vs. Glass: While stainless steel is usually fine, glass jars are best because you can see the bubbles and track the growth easily.