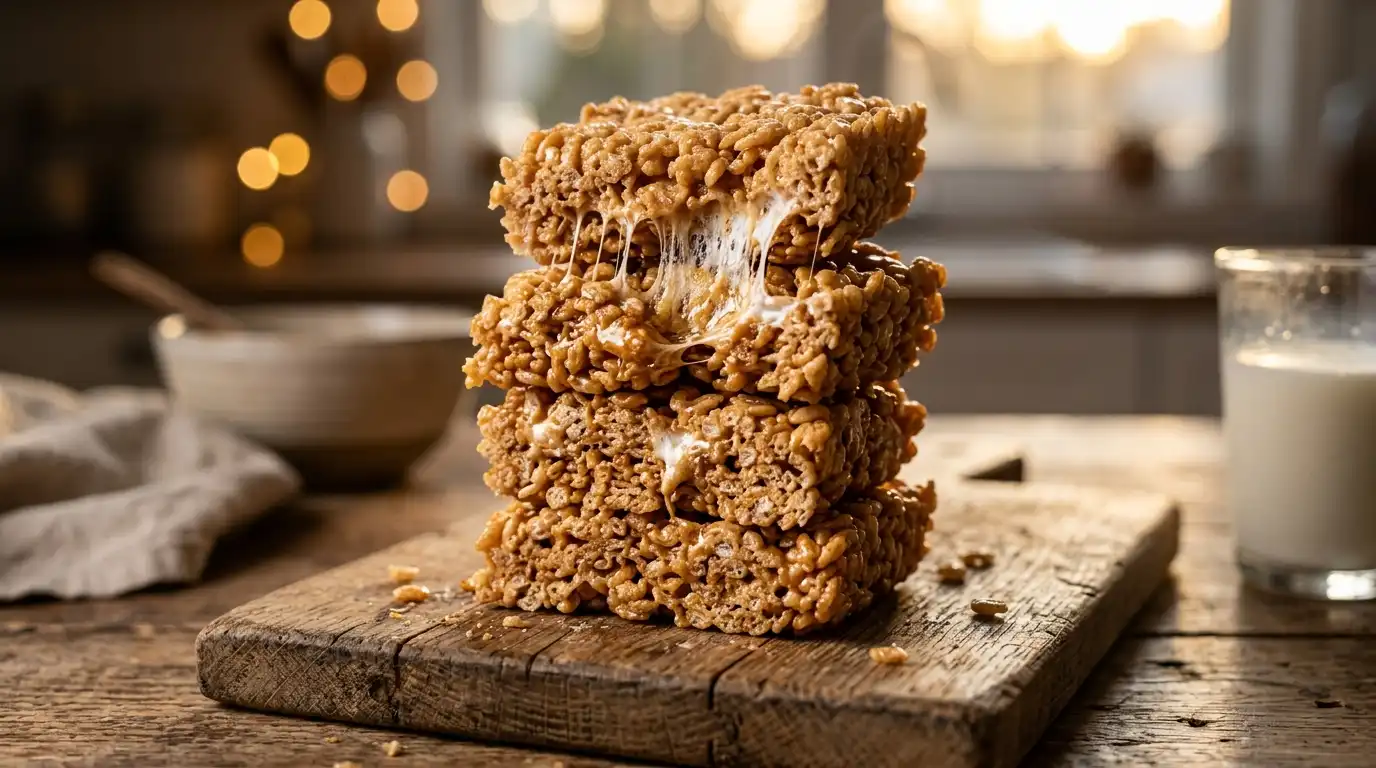
Brown Butter Rice Krispie Treats: The Ultimate Recipe for Crispy Perfection
Take your favorite childhood snack to a whole new level with this game-changing brown butter rice krispie treats recipe. Nutty, caramelized, and absolutely irresistible! These brown butter rice krispie treats will become your new go-to dessert.
Table of Contents
Why Brown Butter Rice Krispie Treats Are a Game Changer
If you think regular rice krispie treat recipe is good, wait until you try the brown butter version. The magic happens when you take ordinary butter and cook it until it develops a deep, nutty flavor that transforms these classic krispy treats into something truly extraordinary. Brown butter rice krispie treats offer a sophisticated twist on a beloved classic.
Browning the butter adds a complex, toffee-like depth that pairs perfectly with the sweetness of marshmallows and the crunch of rice cereal. This is hands down the best rice krispie treat recipe you’ll ever make, and once you try these brown butter rice krispie treats, you’ll never go back to the original!
What Makes This Recipe the Best
There are hundreds of good rice krispie treat recipe options out there, but what sets this browned butter rice krispy treats version apart is the careful technique and attention to detail. Here’s why this recipe stands out:
- Nutty, caramelized butter flavor that adds sophistication
- Perfect texture – crispy on the outside, chewy on the inside
- Simple ingredients you probably already have
- Ready in under 30 minutes
- Customizable with your favorite add-ins
Ingredients You’ll Need
🧈 Brown Butter Rice Krispie Treats
Ingredients:
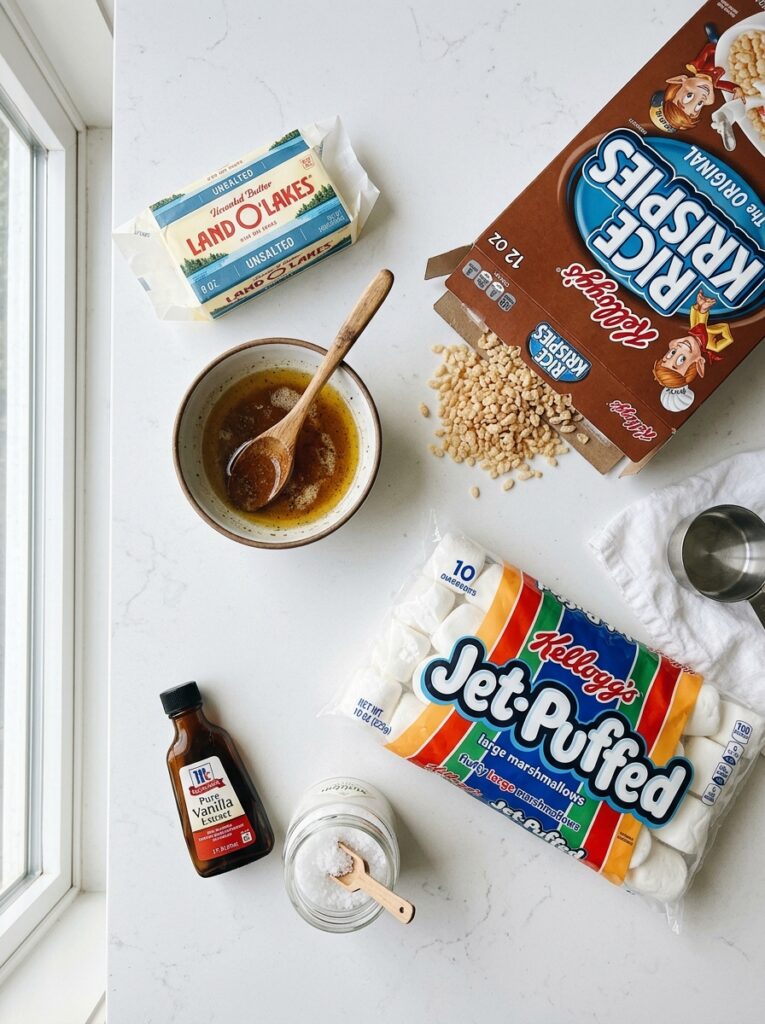
- 6 tablespoons unsalted butter
- 10 oz (about 40) large marshmallows
- 6 cups Rice Krispies cereal
- 1 teaspoon vanilla extract
- ½ teaspoon sea salt
- Optional: ½ cup chocolate chips or sprinkles
Step-by-Step Instructions
Instructions:
- Prepare your pan: Grease a 9×13 inch baking dish and set aside. You can also line it with parchment paper for easy removal.
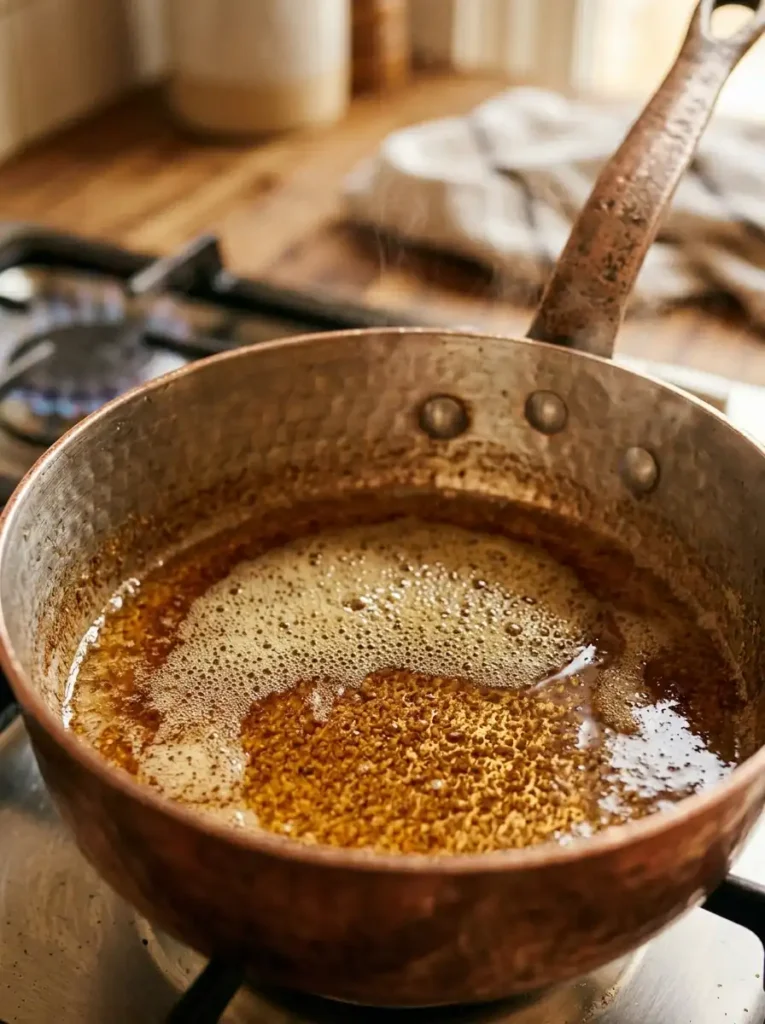
- Brown the butter: In a large saucepan over medium heat, melt the butter. Continue cooking, stirring frequently, until the butter turns golden brown and develops a nutty aroma (about 3-5 minutes). Watch carefully to avoid burning! This step is crucial for the best browned butter rice krispy treats.
- Add marshmallows: Immediately add the marshmallows to the browned butter and stir continuously until completely melted and smooth.
- Remove from heat: Take the pan off the stove and stir in the vanilla extract and sea salt.
- Add cereal: Pour in the Rice Krispies cereal and fold gently until everything is evenly coated. Be careful not to crush the cereal – you want those krispy treats to stay light and crispy!
- Press into pan: Quickly transfer the mixture to your prepared pan. Using a greased spatula or your hands (lightly greased), press the mixture evenly into the pan. Don’t press too hard – you want to maintain that perfect crispy texture!
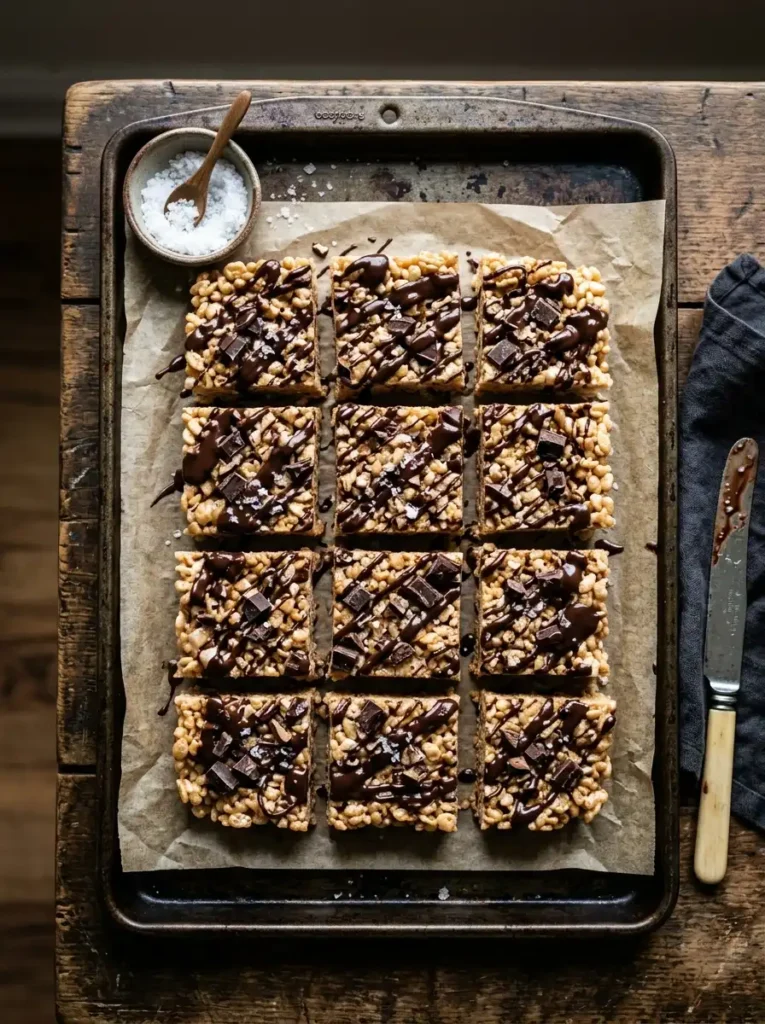
- Add toppings (optional): If you’re adding chocolate chips or sprinkles, scatter them on top while the mixture is still warm.
- Let cool and cut: Allow the treats to cool completely (about 30 minutes) before cutting into squares. This rice krispie treat recipe makes about 24 servings.
Pro Tips for Perfect Brown Butter Rice Krispie Treats

🔥 Watch the butter closely! The difference between perfectly browned butter and burnt butter is just seconds. Once you smell that nutty aroma and see golden brown specks at the bottom, it’s done!
🧈 Use quality butter: Since butter is the star of this rice krispie treat recipe, invest in good quality unsalted butter. The flavor difference is noticeable!
🍫 Get creative with add-ins: This good rice krispie treat recipe base is incredibly versatile. Try adding:
- Crushed pretzels for a sweet-salty combo
- Dried cranberries or raisins
- Peanut butter (swirled in)
- Mini M&Ms or chocolate chips
Storage and Make-Ahead Tips
One of the best things about krispy treats is how well they store. These brown butter beauties will stay fresh at room temperature in an airtight container for up to 5 days. You can also freeze them for up to 3 months – just wrap individual squares in plastic wrap before freezing.
Pro tip: These make an excellent gift! Wrap them in cellophane bags with a ribbon, and you’ve got a homemade treat that looks and tastes like the best rice krispie treat recipe from a gourmet bakery.
Variations to Try
🍫 Chocolate Brown Butter Krispie Treats
Add ½ cup of cocoa powder to the marshmallow mixture for a rich chocolate version of this browned butter rice krispy treats recipe. The combination of chocolate and brown butter is absolutely divine!
🥜 Peanut Butter Brown Butter Treats
Swirl in ½ cup of peanut butter after adding the marshmallows for a protein-packed twist. This variation proves why this is the best rice krispie treat recipe – so many possibilities!
🍓 Fruity Krispie Treats
Add freeze-dried strawberries or raspberries for a colorful, tangy version. These fruity krispy treats are perfect for spring and summer gatherings.
Why This Recipe Works
The science behind this good rice krispie treat recipe is simple but effective. When you brown butter, the milk solids caramelize, creating new flavor compounds that add depth and complexity. This Maillard reaction is the same process that gives bread its golden crust and steak its delicious sear.
By incorporating browned butter into your rice krispie treat recipe, you’re not just making snacks – you’re creating a gourmet experience that will impress everyone who tries them. Whether you call them krispy treats or Rice Krispie treats, the brown butter upgrade is a must-try!
Frequently Asked Questions
Can I use salted butter for brown butter rice krispie treats?
Yes, but you’ll need to adjust the added salt in the recipe. Unsalted butter gives you better control over the final flavor of your browned butter rice krispy treats.
Why did my butter burn?
Burning butter happens quickly! Keep the heat at medium and stir constantly. The butter should turn golden brown with a nutty aroma – if it starts to smell bitter or turn dark brown/black, it’s burnt and you should start over.
Can I make these gluten-free?
Absolutely! Use a gluten-free crispy rice cereal and check that your marshmallows are gluten-free too. This rice krispie treat recipe adapts well to dietary restrictions.
How do I get clean cuts?
Use a sharp knife and wipe it clean between cuts. For the best rice krispie treat recipe results, let the treats cool completely before cutting.
Final Thoughts
There’s a reason this brown butter rice krispie treats recipe has become a favorite. It takes a beloved classic and elevates it with minimal effort. The nutty, caramelized flavor of brown butter transforms simple ingredients into something truly special.
Whether you’re making these krispy treats for a party, packing them in lunchboxes, or just craving a sweet snack, this good rice krispie treat recipe will not disappoint. Give it a try and see for yourself why so many people consider it the best rice krispie treat recipe around!
Don’t forget to explore more delicious recipes at Total Tastes for even more inspiration
Brown Butter Rice Krispie Treats
Ingredients
Equipment
Method
- **Prepare your pan:** Grease a 9×13 inch baking dish and set aside. You can also line it with parchment paper for easy removal.
- **Brown the butter:** In a large saucepan over medium heat, melt the butter. Continue cooking, stirring frequently, until the butter turns golden brown and develops a nutty aroma (about 3-5 minutes). Watch carefully to avoid burning!
- **Add marshmallows:** Immediately add the marshmallows to the browned butter and stir continuously until completely melted and smooth.
- **Remove from heat:** Take the pan off the stove and stir in the vanilla extract and sea salt.
- **Add cereal:** Pour in the Rice Krispies cereal and fold gently until everything is evenly coated. Be careful not to crush the cereal.
- **Press into pan:** Quickly transfer the mixture to your prepared pan. Using a greased spatula or your hands (lightly greased), press the mixture evenly into the pan. Don’t press too hard.
- **Add toppings (optional):** If you’re adding chocolate chips or sprinkles, scatter them on top while the mixture is still warm.
- **Let cool and cut:** Allow the treats to cool completely (about 30 minutes) before cutting into squares. This recipe makes about 24 servings.
Notes
– Use quality unsalted butter – the flavor difference is noticeable!
– These treats stay fresh at room temperature for up to 5 days in an airtight container.
– Freeze for up to 3 months by wrapping individual squares in plastic wrap.
– For a gluten-free version, use gluten-free crispy rice cereal and check marshmallow labels.