Cannoli Filling Recipe: How to Make Authentic Italian Cannoli
Imagine walking through the narrow, sun-drenched streets of Palermo, where the aroma of fried pastry and sweet cream fills the air. Cannoli are more than just a dessert; they are a symbol of Sicilian celebration. While many recipes offer a quick fix, achieving that professional, bakery-style result requires understanding the delicate balance between a shatteringly crisp shell and a velvety, stable filling.
Finding the perfect cannoli filling recipe is the secret to making your homemade Italian desserts taste exactly like they came from a bakery in Sicily.
In this comprehensive guide, we are going to master the authentic cannoli filling recipe that stays thick and creamy without making your shells soggy. Whether you are a seasoned baker or a curious beginner, this step-by-step blueprint covers everything from the science of dough elasticity to the secret of draining ricotta for the perfect texture.
Table of Contents
The Secret to a Professional-Grade Cannoli Filling Recipe
When looking for the perfect cannoli filling recipe, many people overlook the importance of the mixing technique.
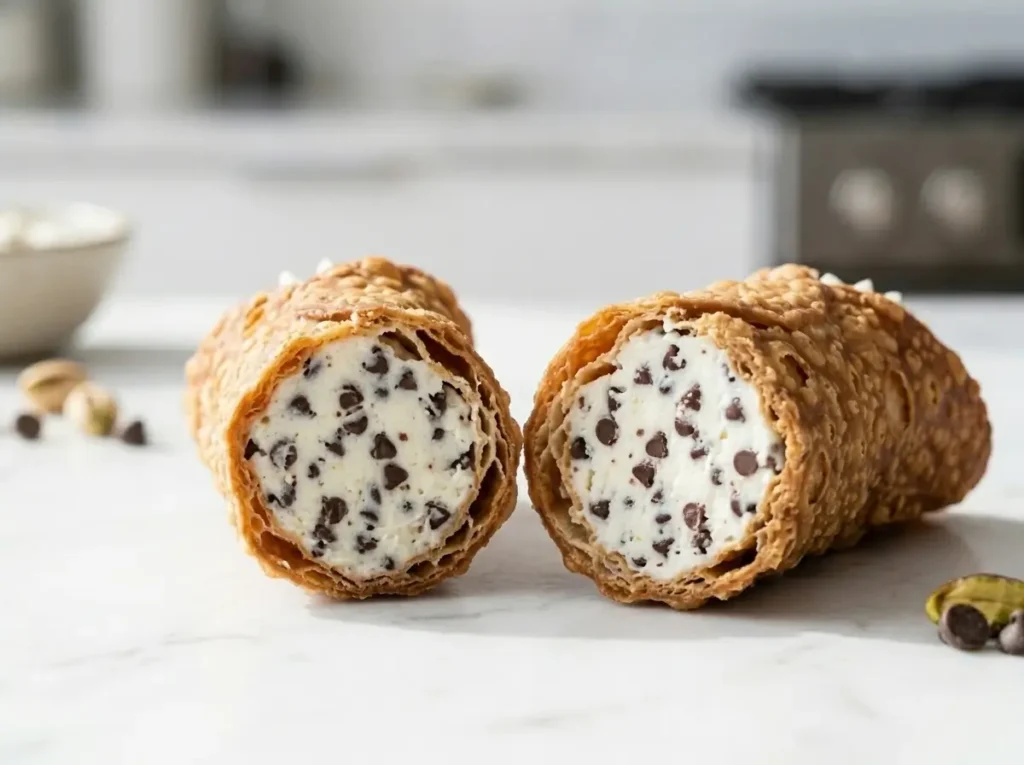
The heart of any cannoli is the cream. Many home cooks struggle with a filling that is too runny or becomes “weepy” after an hour. The difference between an amateur dessert and a masterpiece lies in the moisture content of your cheese.
Why Quality Ricotta Matters
Standard grocery store ricotta is often packed in whey to keep it fresh, which is the enemy of a crisp cannoli. For a truly elite cannoli filling recipe, seek out “Impastata” style ricotta if possible. If you only have access to standard whole-milk ricotta, the draining process is non-negotiable. You aren’t just looking for “thick” cheese; you are looking for a cheese that has the consistency of a spreadable paste.
Achieving the Signature Sicilian Flavor
While sugar and vanilla are the basics, the “Unique Perspective” of a true Italian bakery often involves a hint of citrus and spice. A tiny pinch of ground cinnamon and a whisper of orange zest provide a complex aromatic profile that cuts through the richness of the fat, making the dessert feel lighter and more sophisticated.
Mastering the Cannoli Dough: Texture and Technique
The shell is the vessel of the experience. It must be strong enough to hold the cream but fragile enough to shatter upon the first bite. Achieving those iconic “blisters” on the shell isn’t magic; it’s chemistry.
The Role of Acid and Alcohol
You will notice that traditional recipes call for Marsala wine or even a splash of vinegar. The acid breaks down the gluten, ensuring the dough remains tender rather than bread-like. More importantly, the alcohol evaporates rapidly during frying, creating those beautiful air bubbles (blisters) that give the shell its signature crunch.
Proper Thinness: The 1/16th Inch Rule
The biggest mistake beginners make is leaving the dough too thick. Thick dough results in a chewy, hard shell that is difficult to eat. You should be able to almost see the silhouette of your hand through the dough before you cut your rounds. If you have a pasta roller, this is the perfect time to use it.
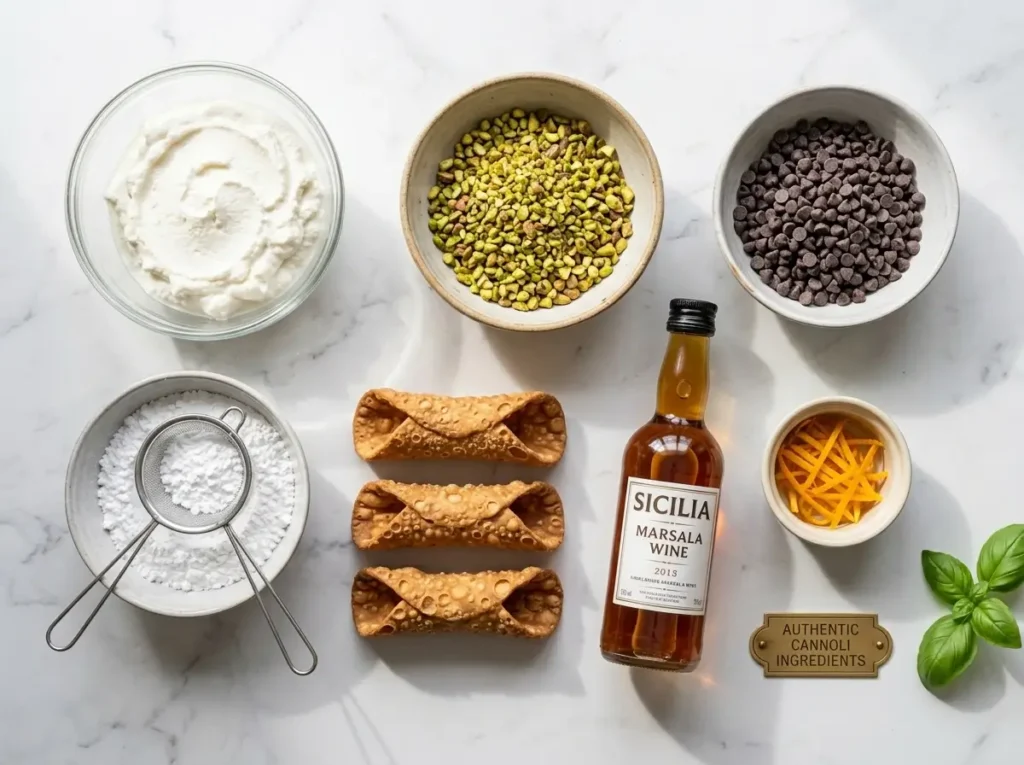
Ingredients for the Best Cannoli Filling Recipe and Shells
To ensure your success, gather these high-quality ingredients before you begin. Quality over quantity is the rule for Sicilian pastry.
For the Signature Cannoli Filling:
- 16 oz Whole Milk Ricotta: Must be drained for a minimum of 6 to 24 hours.
- 3/4 cup Powdered Sugar: Sifted to ensure zero clumps in your velvety cream.
- 1/4 tsp Ground Cinnamon: The secret spice that defines Sicilian tradition.
- 1 tsp Pure Vanilla Extract: Avoid imitation flavorings at all costs.
- 1/2 cup Mini Semi-Sweet Chocolate Chips: Or chopped high-quality dark chocolate.
- Optional: 1 tsp of Orange Zest or finely chopped candied fruit.
For the Homemade Shells:
- 2 cups All-Purpose Flour: Provides the necessary structure.
- 2 tbsp Granulated Sugar: Helps with the golden-brown caramelization.
- 1/2 tsp Salt: To balance the sweetness.
- 3 tbsp Cold Unsalted Butter: Cut into small cubes.
- 1/2 cup Marsala Wine: The traditional liquid for flavor and acidity.
- 1 Egg: To bind the dough.
- 1 Egg White: For sealing the shells (the “glue”).
- Neutral Oil: For frying (Vegetable, Canola, or Refined Coconut Oil).
Step-By-Step Instructions: Bringing it All Together
Phase 1: Preparing the Ricotta (The Foundation)
At least 12 hours before you plan to serve, line a fine-mesh strainer with cheesecloth. Place your ricotta inside and set the strainer over a bowl. Place a weight on top of the cheese to press out every drop of excess whey. This step ensures your cannoli filling recipe produces a pipeable, stable cream that won’t liquefy.
Phase 2: Crafting the Dough
In a food processor, pulse the flour, sugar, salt, and cold butter until it looks like coarse sand. Add the egg and the Marsala wine slowly while pulsing. Once a ball forms, move it to a floured surface and knead it for about 5 minutes until smooth. Wrap the dough in plastic and let it rest at room temperature for at least 1 hour. Resting is crucial; it allows the gluten to relax so the dough doesn’t shrink when fried.
Phase 3: Rolling, Cutting, and Frying
Roll the dough out until it is paper-thin. Use a 4-inch circular cutter to create your rounds. Wrap each round around a greased cannoli mold. Use a tiny bit of egg white on the edge to seal the dough to itself—be careful not to get egg white on the mold, or the shell will stick!
Heat your oil to 360°F (182°C). Fry the shells 2 or 3 at a time for about 1-2 minutes until they are a deep golden brown. Slide them off the molds while still warm, but let them cool completely on paper towels before filling.
Pro-Tips for the Ultimate Cannoli Experience
To truly outshine any competitor, you need to know the “Golden Rules” of cannoli assembly that most recipes omit.
The Anti-Soggy Strategy
Never fill your cannoli more than 30 minutes before serving. Even the best cannoli filling recipe contains some moisture, and the shells will eventually lose their crunch. If you are serving these at a party, keep the filling in a piping bag in the fridge and fill them “to order” for your guests. It adds a touch of theatricality and guarantees a perfect crunch.
Chocolate Coating Hack
If you absolutely must fill them ahead of time, try this: melt a small amount of dark chocolate and brush the inside of the cooled shells. Let the chocolate harden completely before adding the filling. This creates a moisture barrier that keeps the shell crisp for hours.
Flavor Variations to Try
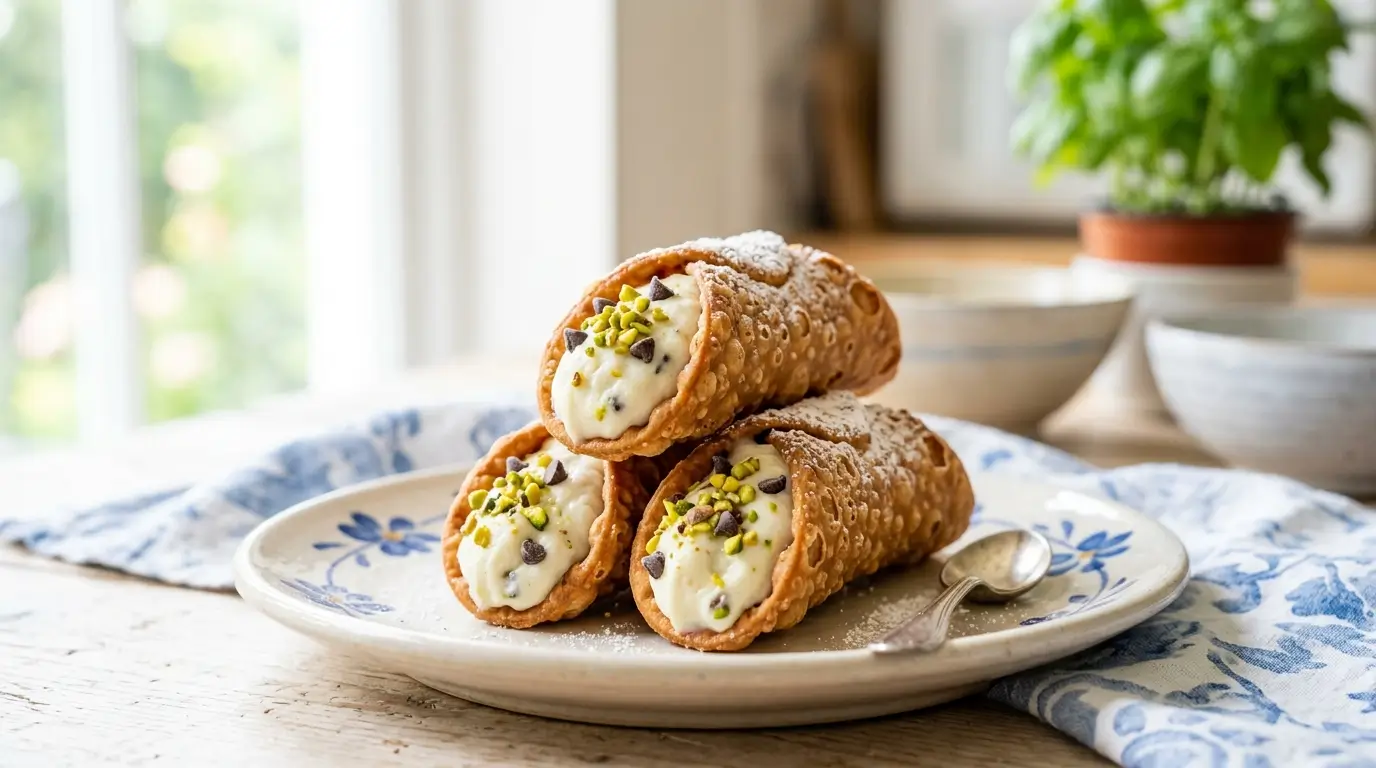
The beauty of this cannoli filling recipe is that you can customize it with orange zest, pistachios, or even a hint of dark chocolate.
While the classic cannoli filling recipe is king, you can diversify your platter by dipping the ends in:
- Finely chopped roasted pistachios (The Bronte, Sicily favorite).
- Candied orange peel for a citrus punch.
- Crushed honeycomb for a modern twist.
- Cocoa powder or a dusting of powdered sugar just seconds before serving.
Troubleshooting Common Cannoli Issues
Even with a great recipe, things can go wrong. Here is how to fix them:
The Shells are Greasy: This usually means your oil wasn’t hot enough. If the oil is below 350°F, the dough absorbs the fat instead of searing. Use a digital thermometer to stay consistent.
The Filling is Grainy: This happens if your powdered sugar wasn’t sifted or if you over-mixed the ricotta. Fold the ingredients together gently with a spatula; don’t use an electric mixer.
The Shells Unraveled in the Oil: This means the egg-white seal wasn’t strong enough or you didn’t overlap the dough sufficiently. Ensure a good 1/2 inch overlap when wrapping the mold.
Conclusion: Why This Is the Best Cannoli Filling Recipe for Your Home
Making cannoli from scratch is a labor of love, but the result is incomparable to anything you can buy in a grocery store. By focusing on the moisture control of your ricotta and the thinness of your dough, you create a dessert that is balanced, textured, and authentically Italian. This cannoli filling recipe provides the perfect canvas for your culinary creativity.
Now that you have the secrets of Nonna-level pastry in your hands, it’s time to head to the kitchen. Remember: keep the shells thin, the cheese dry, and the filling fresh!
Authentic Cannoli Filling Recipe and Homemade Shells
Ingredients
Equipment
Method
- 1,Drain Ricotta,Place ricotta in a strainer lined with cheesecloth. Drain in the fridge for 6+ hours.
- 2,Make Dough,”Pulse flour, sugar, salt, and butter. Add egg and wine. Knead 5 mins. Rest for 1 hour.”
- 3,Fry Shells,”Roll dough to 1/16 inch. Cut 4-inch circles. Wrap forms, seal with egg white, and fry at 360°F.”
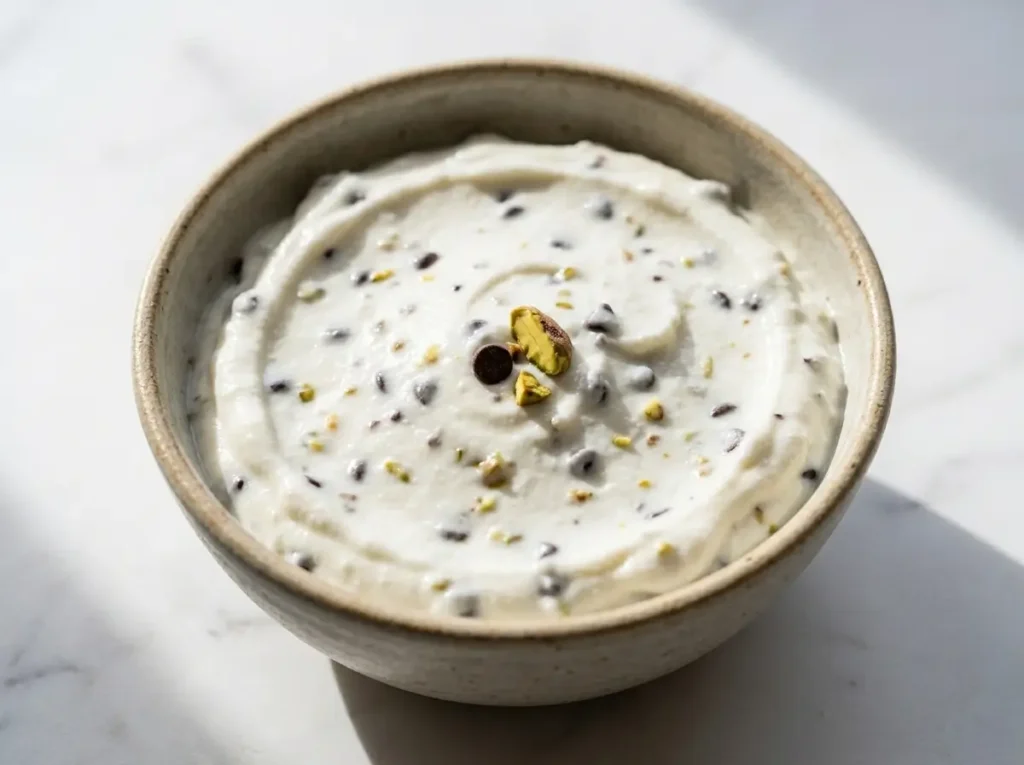
- 4,Mix Filling,”Fold drained ricotta with sugar, cinnamon, vanilla, and chips. Fill a piping bag.”
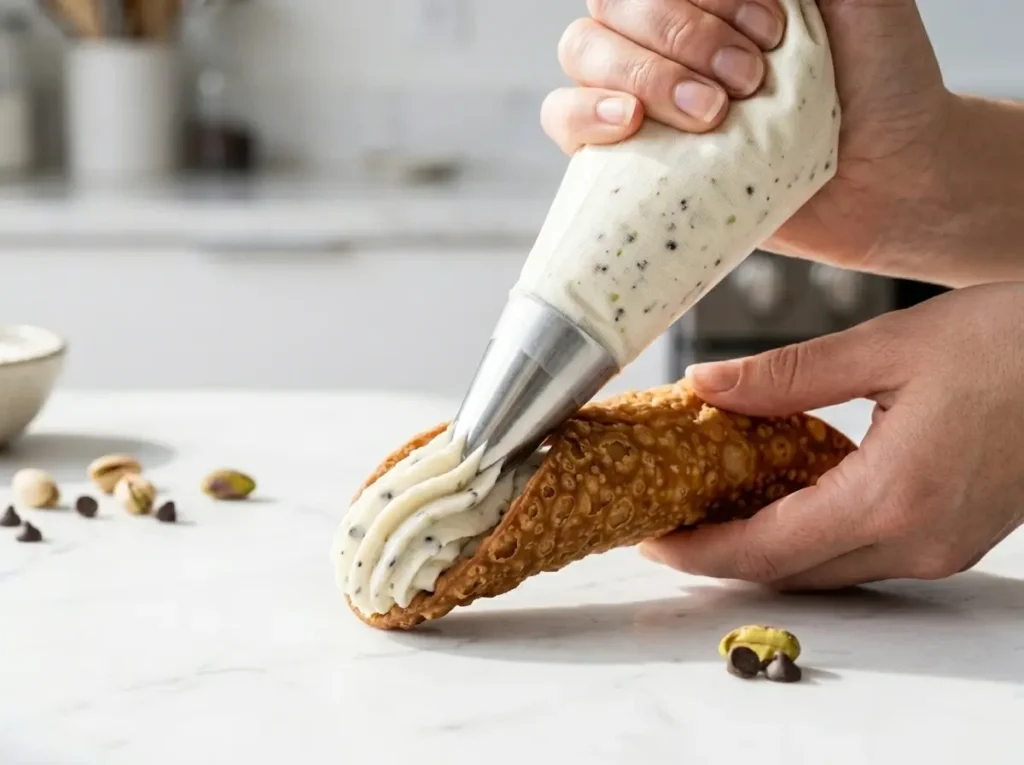
- 5,Assemble,Pipe filling into shells only before serving. Dust with sugar and enjoy!
Notes
| Pro Tip (Anti-Soggy) | To prevent your cannoli shells from getting soggy, brush the inside of the cooled shells with a thin layer of melted dark chocolate. Let it harden completely before piping your cannoli filling recipe. This creates a moisture barrier! |
| Storage | Store unfilled cannoli shells in an airtight container at room temperature for up to 5 days. Once filled, they should be eaten within 30 minutes to maintain maximum crunch. |
| Make Ahead | You can prepare the cannoli filling recipe up to 24 hours in advance. Keep it in the piping bag in the refrigerator for the best texture and stability. |
| Filling Alternative | If you don’t like chocolate chips, swap them for crushed roasted pistachios or finely chopped candied orange peel for a traditional Sicilian finish. |
| Drying Trick | If you are in a rush to drain the ricotta, place a heavy weight (like a canned good or a small cast-iron skillet) on top of the cheese in the strainer to speed up the process. |