Canned Cherry Pie Recipe (Better Than From the Can)
If you’re short on time but still want a homemade-tasting dessert, this canned cherry pie recipe shows you exactly how to upgrade store-bought filling so nobody can tell it came from a can.
A canned cherry pie recipe uses store-bought cherry pie filling as a shortcut, but a few simple upgrades make it taste homemade. The keys are reserving a little juice to thicken the filling further, adding lemon juice and almond extract for depth, and cooling the filling before baking so the bottom crust doesn’t turn soggy. Most canned cherry pie recipes use 1 to 2 standard 21-ounce cans for a 9-inch pie, depending on how full you want it.
This guide covers the full canned cherry pie recipe, exactly how many cans you need for different pie sizes, and answers to the most common questions people have before baking.
Why Use Canned Cherry Pie Filling in Your Recipe?
Canned cherry pie filling is already sweetened, thickened, and ready to use, which cuts out the most time-consuming part of making cherry pie from scratch — pitting cherries and cooking down the filling. The tradeoff is flavor: straight out of the can, the filling can taste flat or overly sweet compared to a homemade version.
The good news is that a few small additions close that gap almost completely. Reserving some of the can’s juice and reducing it separately, adding fresh lemon juice, and using almond extract are the three upgrades that make the biggest difference in flavor. If you love working with pie fillings in general, our chocolate pudding pie uses a similar cook-and-cool technique for a completely different flavor.
If you want to compare, our graham cracker crust recipe works well under this canned cherry pie recipe too, if you want a no-bake or icebox-style version instead of a traditional baked pie.
How Many Cans Do You Need for This Canned Cherry Pie Recipe?
For a standard 9-inch pie, one 21-ounce can is usually enough, though many bakers use two cans for a fuller, more generous pie — especially if using a deep-dish pie plate. Here’s a quick guide:
| Pie Size | Cans Needed (21 oz each) |
|---|---|
| 9-inch standard | 1 can |
| 9-inch deep dish | 1.5 to 2 cans |
| 10-inch standard | 2 cans |
If you’re using two cans, drain both but reserve the juice from just one — that reserved juice is what you’ll use to make the filling thicker and richer before it goes into the crust.
Canned Cherry Pie Recipe (Full Recipe)
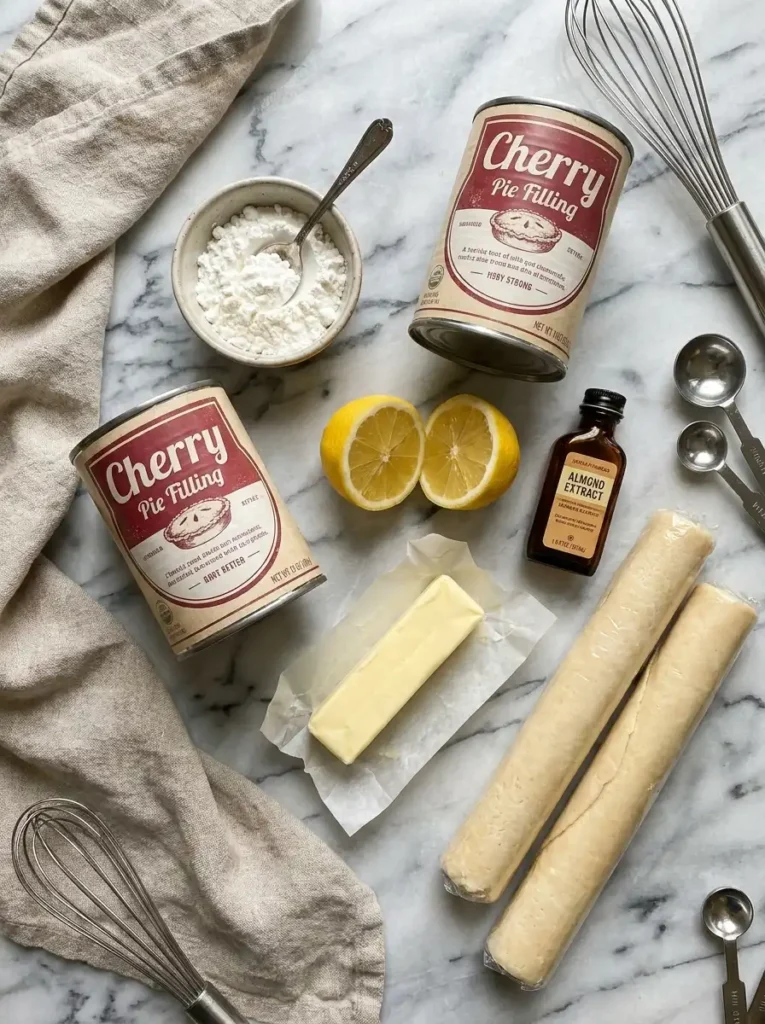
Ingredients
- 2 cans (21 oz each) cherry pie filling
- 3 tablespoons cornstarch
- 1 to 2 tablespoons lemon juice
- ¼ teaspoon almond extract (optional, but recommended)
- 1 tablespoon butter, cut into small pieces
- 2 pie crusts (store-bought or homemade), for bottom and top
Instructions
Step 1: Reserve the juice.
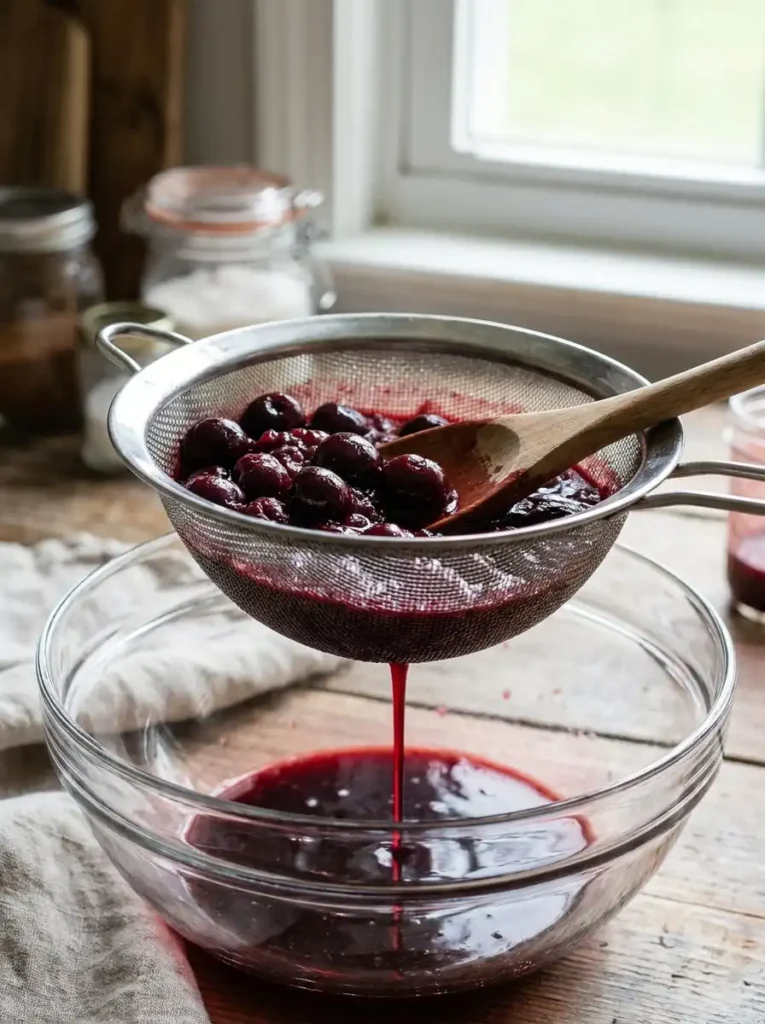
Drain both cans of cherry pie filling into a bowl, separating the cherries from the juice. Set the cherries aside and measure out about ⅓ cup of the reserved juice.
Step 2: Thicken the filling.
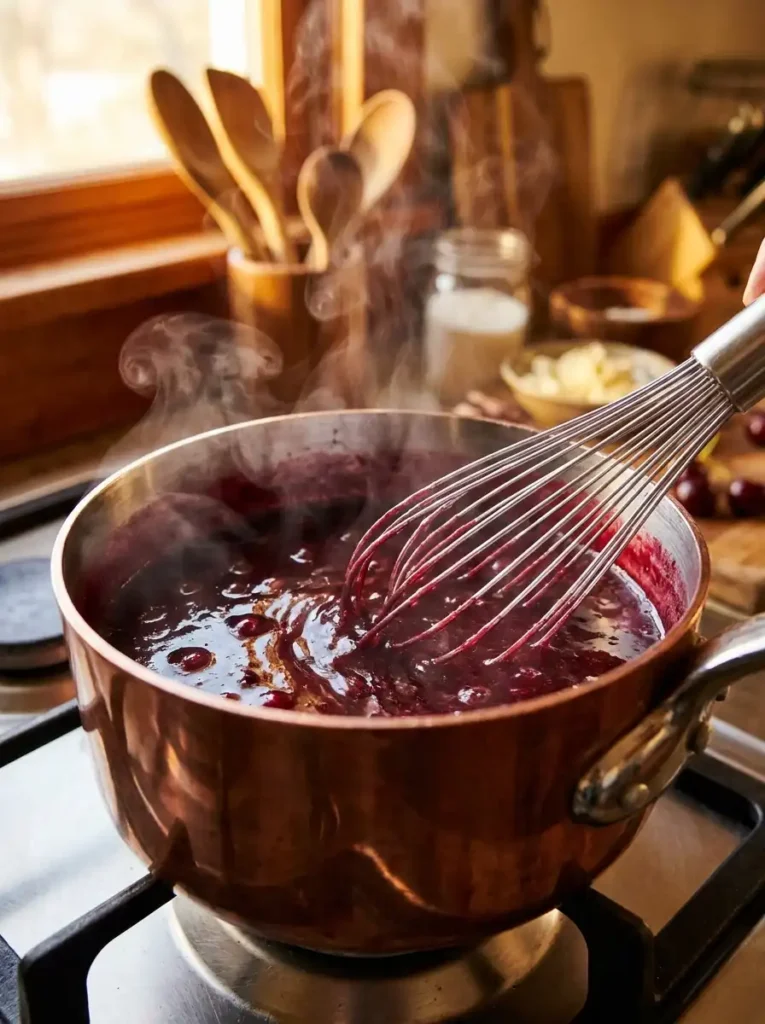
In a saucepan, whisk the cornstarch into the reserved juice until smooth. Heat over medium heat, stirring constantly, until the mixture thickens and turns glossy, about 2-3 minutes.
Step 3: Add flavor.
Remove from heat and stir in the lemon juice and almond extract. Fold the reserved cherries back into the thickened mixture until evenly coated.
Step 4: Cool the filling.
Let the filling cool to room temperature before using it. This step matters more than it seems — pouring hot filling into a raw crust is one of the main causes of a soggy bottom crust.
Step 5: Assemble the pie.
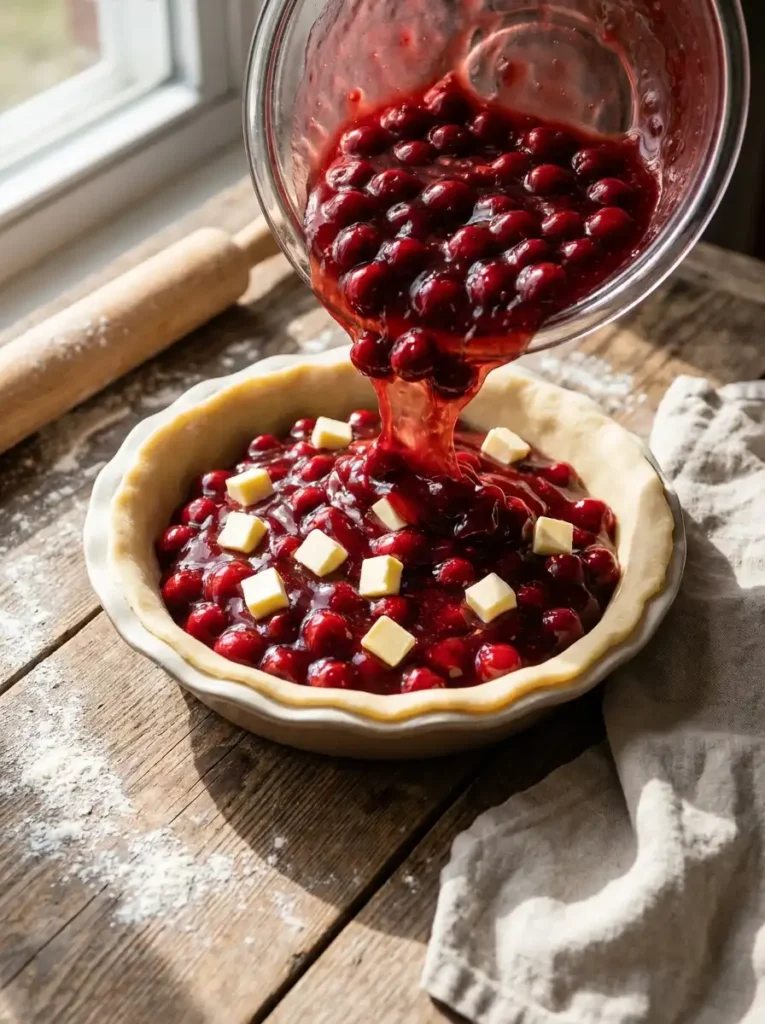
Line a 9-inch pie pan with your bottom crust. Pour in the cooled cherry filling and dot the top with the butter pieces. This is what turns canned pie filling into an actual homemade-tasting canned cherry pie recipe.
Step 6: Add the top crust.
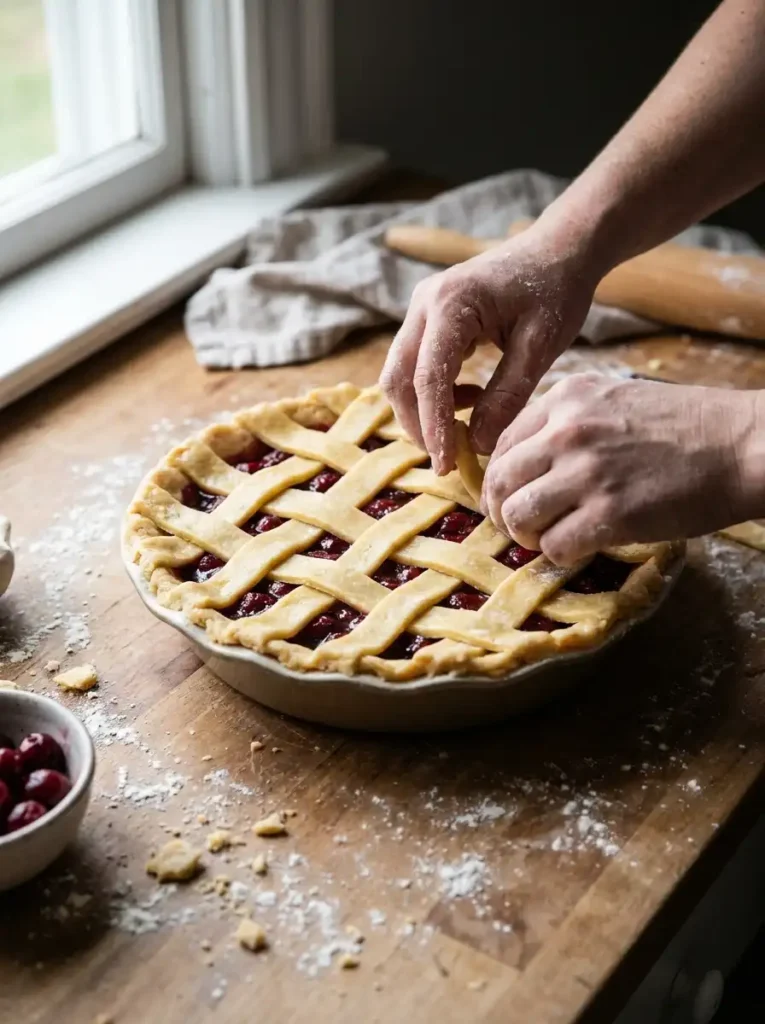
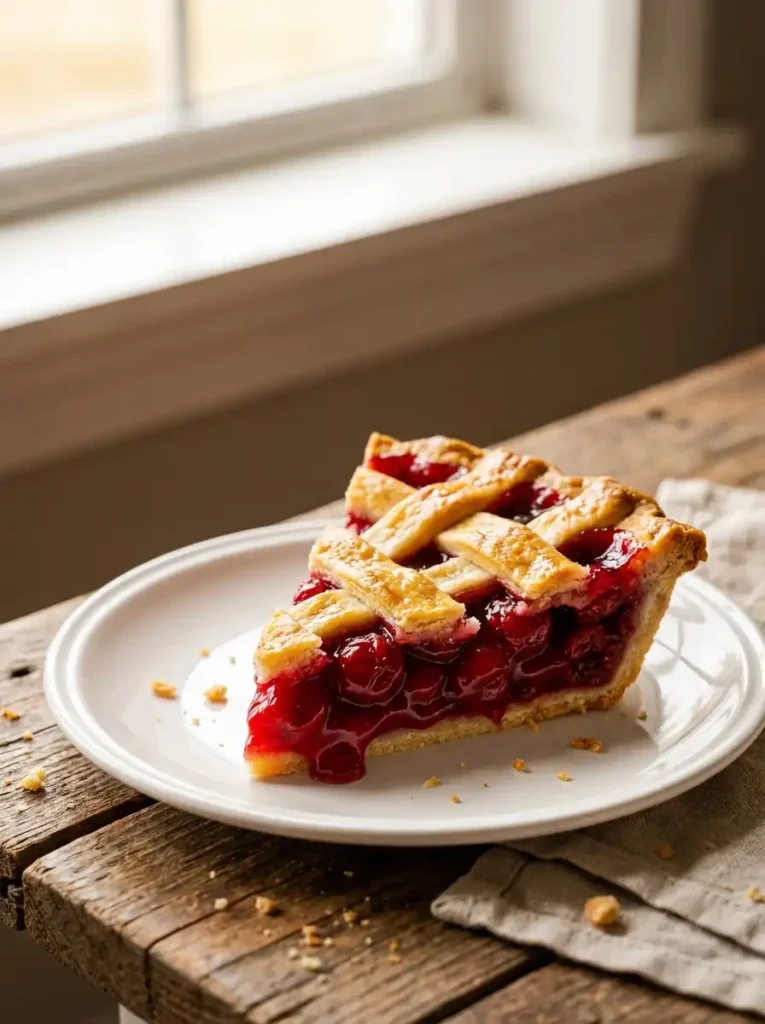
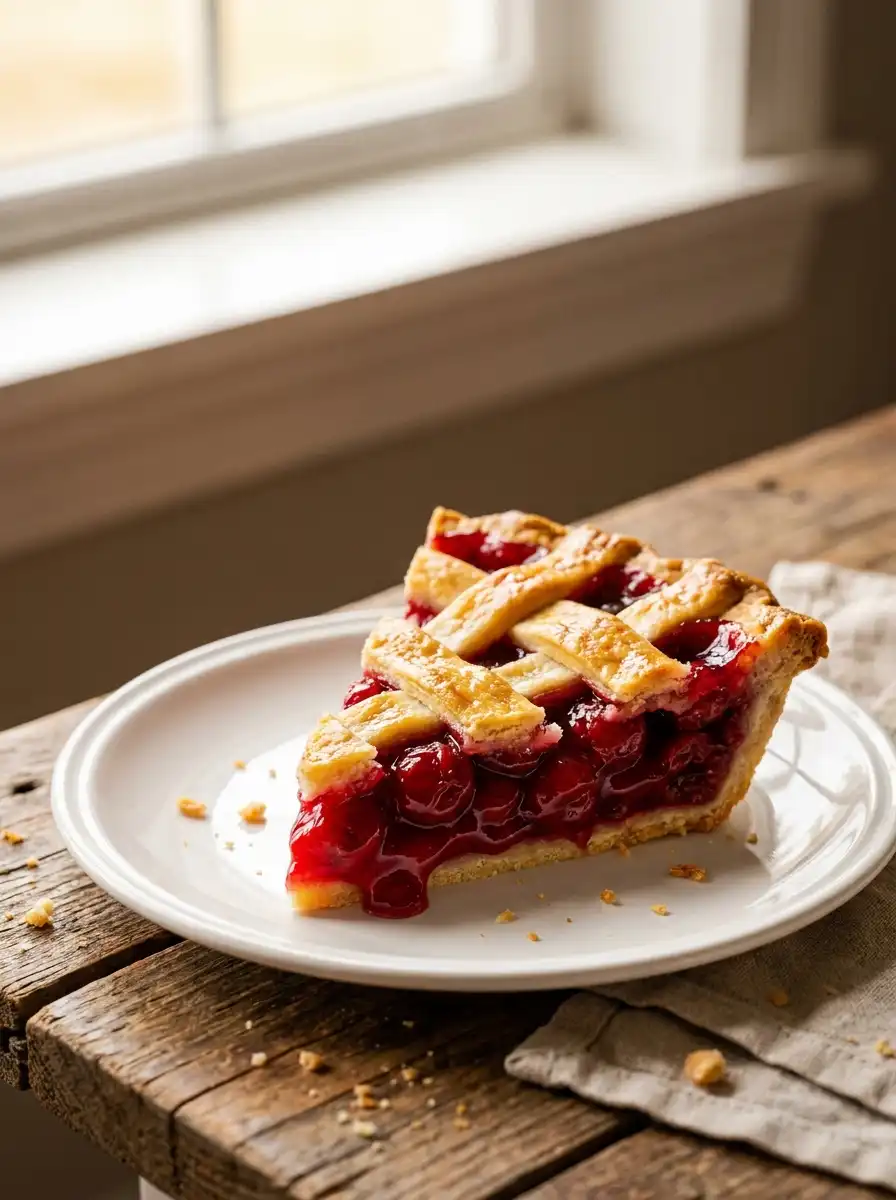
Cover with a full top crust (cutting a few vents for steam) or a lattice top. Seal and crimp the edges.
Step 7: Bake.
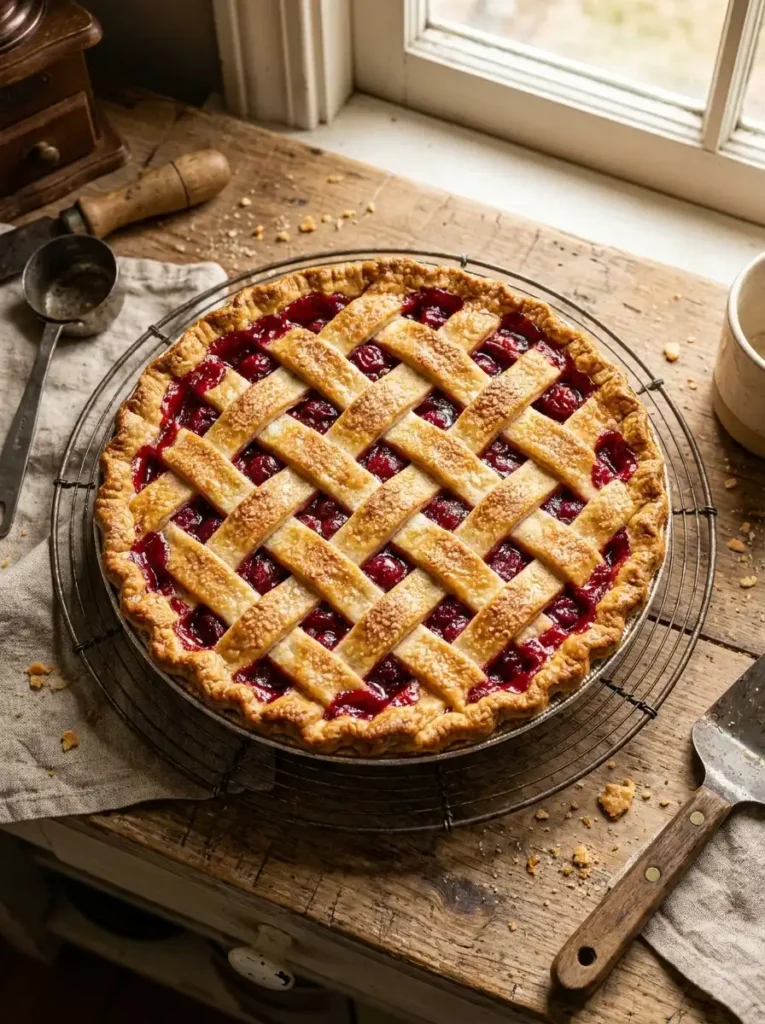
Bake at 375°F to 400°F for 30 to 40 minutes, until the crust is golden and the filling is bubbling through the vents. Cover the edges with foil during the last 15 minutes if they’re browning too fast.
Step 8: Cool completely before slicing.
Let the pie cool for at least 2 to 3 hours before cutting. This gives the filling time to set so your slices hold together instead of running.
This canned cherry pie recipe makes one 9-inch pie — about 8 servings.
Common Questions About This Canned Cherry Pie Recipe
Can you eat cherry pie filling straight from the can?
Yes, it’s fully cooked and safe to eat directly from the can. Many people use it straight over ice cream, cheesecake, or pancakes without baking it into a pie at all.
Can I mix cherry pie filling into cake mix?
Yes — canned cherry pie filling is a popular shortcut for cherry dump cakes, where it’s spread in a baking dish, topped with dry cake mix and butter, and baked. It won’t work as a mix-in for regular cake batter, but it’s excellent as a topping or base layer.
Which canned cherry pie filling is best for this recipe?
This mostly comes down to personal taste, but tart or sour cherry varieties (rather than sweet dark cherries) tend to give a more classic, balanced pie flavor, since the added sugar in the filling can make sweet cherry versions taste one-note.
Do you need to add anything to canned pie filling?
It’s not required, but a squeeze of lemon juice and a small amount of almond extract go a long way toward making canned filling taste less flat and more like a scratch-made pie.
Tips for the Best Canned Cherry Pie Recipe Results
- Reserve juice from only one can if using two — using juice from both can make the filling too thin even after thickening.
- Don’t skip the cooling step twice — both cooling the filling before assembly and cooling the baked pie before slicing are what keep the texture right.
- Prebaking the bottom crust is optional but helpful if you’re worried about sogginess, especially with a fuller, deep-dish pie. If you’d rather skip pie crust altogether, our peanut butter pie uses a no-bake crust that works with a similar cool-and-set method.
- A little butter dotted over the filling before the top crust goes on adds richness and helps the filling look glossy once baked.
Storage and Make-Ahead
- Room temperature: Covered, the baked pie keeps for up to 2 days.
- Refrigerator: Store covered for up to 5 days; this is recommended if your kitchen runs warm.
- Freezer (baked): Wrap tightly and freeze for up to 3 months. Thaw overnight in the fridge, then warm briefly in the oven before serving.
- Freezer (unbaked): You can also freeze the fully assembled, unbaked pie. Bake it straight from frozen, adding about 15-20 extra minutes to the bake time.
Canned Cherry Pie Recipe FAQ
How long does canned cherry pie filling last once opened?
Once opened, transfer any unused filling to an airtight container and refrigerate for up to a week.
How do you keep the bottom crust from getting soggy in a canned cherry pie recipe?
Cool the filling completely before pouring it into the crust, and consider brushing the bottom crust with a thin layer of melted chocolate or egg wash before adding the filling to create a moisture barrier.
What is the 3-2-1 rule for pie crust?
It’s a classic ratio for homemade pie dough: 3 parts flour, 2 parts fat (usually butter), and 1 part cold water, by weight. It’s a helpful starting point if you’re making your own crust instead of using store-bought.
Should I prebake the crust for a canned cherry pie?
It’s not required if you cool the filling first, but prebaking (blind baking) the bottom crust for about 10 minutes gives extra insurance against a soggy bottom, especially for a fuller, deep-dish canned cherry pie.
Can I use frozen cherries instead of a canned cherry pie recipe?
Yes, though the recipe changes. Frozen cherries need to be cooked down with sugar and cornstarch to create a filling from scratch, since they don’t come pre-thickened and sweetened like canned filling does.
Looking for more easy dessert shortcuts besides this canned cherry pie recipe? Try our strawberry puree recipe or graham cracker crust recipe for more simple bases and toppings that taste homemade.
Canned Cherry Pie
Ingredients
Equipment
Method
- Reserve the juice: Drain both cans of cherry pie filling into a bowl, separating the cherries from the juice. Set the cherries aside and measure out about 1/3 cup of the reserved juice.
- Thicken the filling: In a saucepan, whisk the cornstarch into the reserved juice until smooth. Heat over medium heat, stirring constantly, until the mixture thickens and turns glossy, about 2-3 minutes.
- Add flavor: Remove from heat and stir in the lemon juice and almond extract. Fold the reserved cherries back into the thickened mixture until evenly coated.
- Cool the filling: Let the filling cool to room temperature before using it. This step matters more than it seems, pouring hot filling into a raw crust is one of the main causes of a soggy bottom crust.
- Assemble the pie: Line a 9-inch pie pan with your bottom crust. Pour in the cooled cherry filling and dot the top with the butter pieces.
- Add the top crust: Cover with a full top crust (cutting a few vents for steam) or a lattice top. Seal and crimp the edges.
- Bake: Bake at 375°F to 400°F for 30 to 40 minutes, until the crust is golden and the filling is bubbling through the vents. Cover the edges with foil during the last 15 minutes if they’re browning too fast.
- Cool completely before slicing: Let the pie cool for at least 2 to 3 hours before cutting. This gives the filling time to set so your slices hold together instead of running.